
Related Manuals for lifelong FitPro LLTM90


Summary of Contents for lifelong FitPro LLTM90
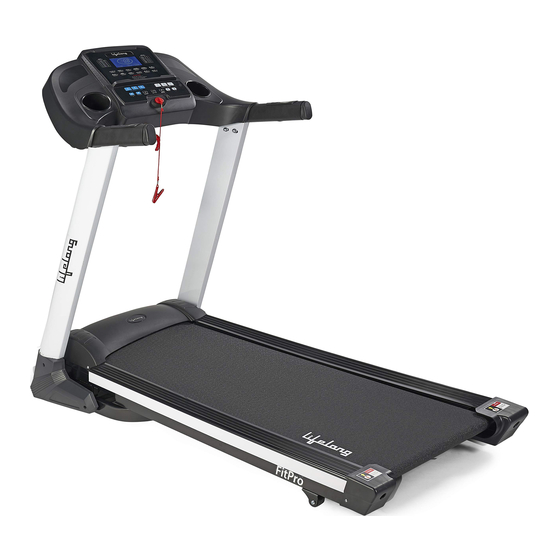
- Page 1 FitPro Treadmill With Auto Incline 1 YEAR W A R R A N T Y 5 HP INCLINE FOLDABLE MAX USER USB MUSIC UPTO 15 WEIGHT- 110 KGS CONNECTOR...
-
Page 2: Table Of Contents
Table of Contents FEATURES LLTM90 TO REDUCE THE RISK OF ELECTRIC SHOCK, BURN, FIRE OR OTHER INJURY, PLEASE READ FOLLOWING CAUTIONS 1. FEATURES INFORMATION BEFORE OPERATING THIS TREADMILL. 2. PRECAUTION 3. ASSEMBLY INSTRUCTION ● It is the responsibility of the owner to be sure that all the users of this 4. - Page 3 stopped (at the end of your workout). FOR YOUR OWN SAFETY, BE ADVISED OF THE FOLLOWING: ●Never attempt to turn around while on the treadmill with the belt running. ●Assemble and operate the treadmill on a solid level surface. Keep Keep your head and body facing forward at all times.
-
Page 4: Assembly Instruction
NOTE: IMPORTANT: Improper connection of the equipment-grounding 1. Above described parts are all the parts you need to assemble this treadmill. conductor can result in a risk of an electric shock. If you are in doubt Before you start to assemble, please check the hardware packing to make as to whether the treadmill is properly grounded, check with a sure they are included. - Page 5 2. USE the bolt (M8x 15) with the flat washer fix the consoler on the Exploring Drawing: upright post. STEP THREE: Assemble side decorative covers. Use the supplied screws (10 ) to fix the decorative cover (9 L&R) to the both sides.
-
Page 6: Console Panel
gas spring power cable SPARE PART LIST motor lower cover silicone oil round rubber cushion Allen key part parts name part no parts name rubber cushion cables up base frame cable middle deck frame spring washer side rail fixer cable lower upright post (L/R) bolt M8x55 screws... - Page 7 KEY FUNCTION 3. Countdown distance training mode: at the stopping state ,press “MODE” button ,enter setting state, the distance window flash display , default display 1.“START” ,Start the treadmill ;“STOP” ,Stop the treadmill. 5.0KM ,press SPEED+,-button and amend setting value ,setting range: 2.
- Page 8 HRC programs( This function only for the treadmill with HRC PROGRAM LIST function) 10 parts total 30 minutes each program Program - At the stop state and use the “PROG” button to choose the “HR1 or HR2 �me or HR3.And press the “START” button to start. SPEED “HR1”...
- Page 9 -Start the HRC program, at the first 1 minute is warm up time, the system will not adjust the speed or incline. After 1 minute, the system will adjust the speed by 0.5km/h every time to close your set goal. When add the speed to max speed and still did not reach your heart rate goal, then the system will increase the incline level to increase your exercise.
- Page 10 QUICK START (MANUAL MODE) BUILD-IN PROGRAM 1. Press power switch ,put the safe key to correct place. 1. At the alert state, press “START” button, the machine start to running 2. Press “START” button, the system into 3 seconds countdown time, the with 0.8km/h,other display window start to count data, Press “SPEED buzzer sounds ,the time display will show countdown time at the same +”, “SPEED-”...
- Page 11 After finished setting, press ”mode” button, windows will show into “F-5” TROUBLE SHOOTING ,keep both hands on the hand pulse for 2-3 seconds, windows will show your Fat data, please check whether your height and weight Code Problem Possible Reason Solu�on correspond.
-
Page 12: Operation Instruction
OPERATION INSTRUCTION 5. Be careful when you get on or off the machine. Before starting the machine, please grab the handlebars and place your feet on the side rails 1. PREPARATION BEFORE START (not the running belt). After starting the machine, stand on the belt with the 1.1 Plug in the power cord and press the power key at the down front part machine operating at the lowest speed. - Page 13 To maintain the running belt, we have included a small bottle of "Silicone - Please turn the Allen screw not more than ¼ turn for each step. Oil". "Silicone Oil" may be re-spread once the resistance has been - Stretch one side and release the other side. increased and the running belt starts rubbing against the running deck.
-
Page 14: Training Manual
4 Tighten the belt 1. Training frequency After longer exercise, the tension of the belt will decrease. It can be checked To improve physical fitness and to enhance condition over the long term, we if you put one foot on the belt and belt will stop. To solve this problem, recommend training at least please turn both screws clockwise for ¼... - Page 15 Note: - During the next 2 - 4 months, intensify training stepwise until you reach the Because there are persons who have „high“ and „low“ pulses, the individual upper end of the training pulse zone (approximately 85 %), but without optimum pulse zones (aerobic zone, anaerobic zone) may differ from those overexerting yourself.
- Page 16 Stop training immediately if you feel unwell or if any signs of overexertion quality performance, as well as easy installation and use. At Lifelong, we believe in occur.
- Page 17 6. Lifelong total liability for damages relating to or arising accident, negligence or improper handling. out of the purchase or use of the product regardless of d.
Need help?
Do you have a question about the FitPro LLTM90 and is the answer not in the manual?
Questions and answers