
Summary of Contents for GERMANICA GBV2400B-A
- Page 1 2400W CYCLONIC BAGLESS VACUUM CLEANER GBV2400B-A INSTRUCTION MANUAL Please read this manual carefully before using, and keep it for future reference.
-
Page 3: Table Of Contents
CONTENTS General Safety Unpacking Product Overview How to Use Connecting suction hose to vacuum cleaner Connecting suction hose to telescopic tube Connecting an attachment Cord rewind Airflow control Accessories Cleaning and Maintenance FAQs Specifications Customer Helpline Last Page... -
Page 4: General Safety
GENERAL SAFETY IMPORTANT INFORMATION Read this manual thoroughly before you start using the product. The safety precautions instructions reduces the risk of fire, electric shock and injury when correctly complied to. Please follow all instructions and take notice of all warnings. The lightning flash with symbol within the triangle is intended to warn you of a non-insulated dangerous voltage in the... - Page 5 GENERAL SAFETY (Cont.) • Before turning on, make sure your outlet voltage and circuit frequency correspond to the voltage stated on the appliance rating label. If this is not the case, do not use the appliance. • Insert the plug firmly into an appropriate mains socket. Do not alter the plug. Do not use an extension cord or electrical outlet with inadequate current-carrying capacity.
- Page 6 GENERAL SAFET (Cont.) ELECTRICAL SAFETY AND POWER CORD HANDLING • Voltage: Make sure that your outlet voltage and circuit frequency correspond to the voltage stated on the appliance rating plate. • Power outlet: Connect the appliance to a properly earthed power outlet, which must be easily accessible so that you can unplug it if necessary.
- Page 7 GENERAL SAFETY (Cont.) • The appliance is not intended for use by persons (including children) with reduced physical, sensory or mental capabilities, or lack of experience and knowledge, unless they have been given supervision or instruction on the use of the appliance by a person responsible for their safety. •...
-
Page 8: Unpacking
INSTALLATION Before installing your appliance, read all safety instructions in this manual, especially the sections on electrical safety and installation. UNPACKING • When unpacking the product, be sure to keep all the packaging materials until you have made sure your new product is undamaged and in good working order. - Page 9 PRODUCT OVERVIEW...
-
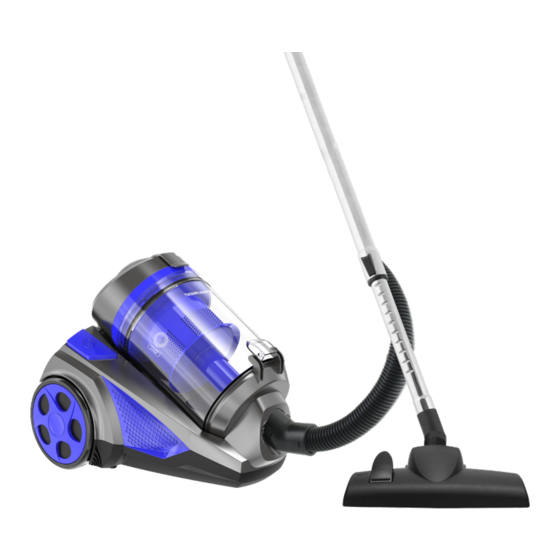
Page 10: Product Overview
PRODUCT OVERVIEW (Cont.) -
Page 11: How To Use
HOW TO USE SETTING UP THE VACUUM CLEANER WARNING! Make sure the vacuum cleaner is unplugged from the power outlet before assembling or removing any accessories. CONNECTING THE SUCTION HOSE TO THE VACUUM CLEANER BODY • Plug the suction hose into the suction hose connection at the front of the vacuum cleaner. -
Page 12: Connecting An Attachment
HOW TO USE (Cont.) PULLING OUT THE TELESCOPIC TUBE • Press the slider on the telescopic tube (D) in the direction shown by the arrow and pull the telescopic tube out to the length you want. • Let go of the slider and keep pulling out the telescopic tube until it locks in place. -
Page 13: Airflow Control
HOW TO USE (Cont.) AIRFLOW CONTROL • To lower the airflow (suction power) temporarily during vacuuming, push up the suction control valve on the curved handle. • Push it down again to cover the opening for increased suction (E). UPHOLSTERY NOZZLE Used for cleaning sofas, lounge, chairs, car seats, etc. -
Page 14: Cleaning And Maintenance
CLEANING AND MAINTENANCE WARNING! • Always unplug the vacuum from the power outlet before attempting to clean any part of the vacuum or removing its contents/accessories. • For optimum cleaning performance, clean the filters each time you empty the dust tank. •... - Page 15 CLEANING AND MAINTENANCE (CONT.) STEP 3 You can remove the in-tank filter unit to clean the product further. First locate arrows on the dust tank (H). STEP 4 When the intank filter is in place, the upper arrow points towards the lower arrow and the closed lock symbol (I).
- Page 16 CLEANING AND MAINTENANCE (CONT.) CLEANING THE HEPA FILTER As you now have the dust tank removed, you should also consider cleaning the HEPA filter, which is located underneath the dust tank lid. STEP 7 Push up the latch on the dust tank lid and flip the lid over to show the HEPA filter (see J.
- Page 17 CLEANING AND MAINTENANCE (CONT.) STEP 11 Following the same procedure but reverse, once assembling back the dust bin with filters and locking the dust canister and lid together by making sure the uppser arrow is pointing towards the lock logo. Place the bottom of the dust bin into the vacuum cleaner area it was removed from, then click the Top...
-
Page 18: Faqs
FAQS WARNING! Never use the vacuum when the suction power is very weak. When this occurs, switch off the vaccum cleaner and unplug it. Check if the dust canister is full. Then check if any airways is jammed with rubbish or debris, once removed turn vacuum back on to see if operated normally. -
Page 19: Specifications
SPECIFICATIONS 220-240V ~ 50/60Hz Ratings 2000W Norm. / 2400W Max. Dimensions 630 (w) x 370 (d) x 1155 (h) mm Weight Net: 6.1 kg / Gross: 7.1 kg... -
Page 20: Customer Helpline
CUSTOMER HELPLINE: info@ayonz.com DISTRIBUTED BY: Ayonz Pty Ltd...
Need help?
Do you have a question about the GBV2400B-A and is the answer not in the manual?
Questions and answers