Advertisement
Advanced Settings: Sensor Adjustments
Several switches are inside the battery compartment which regulate various sensor
functions. Follow this guide to adjust your unit to the desired setting(s).
NOTE: Your unit is already set by the manufacturer to the most commonly used settings.
Only make adjustments to these settings if the unit does not work as desired under the
factory settings.
Remove the sun shade and the four screws holding the sensor cover in place.
Inside the sensor unit is a battery compartment and rows of switches which control the
sensor settings. Use the guide below to set the sensor according to your preferences
using a pen or other hard, narrow object to move the switches.
Sensitivity
High Mid Mid Low
High High
Test
Button**
Sensitivity Jumpers
The default sensitivity setting of the PIR is set to 'High', if you are detecting objects
that you do not want to detect, please try adjusting the 'sensitivity jumpers between
Low, Low/Medium. Low/High by carefully moving the switch positions (as per
diagram).
Power Saving Mode
The default setting for the Power Saving Mode is 'OFF' which gives you 24 hour
operation, for applications where it would be convenient for the PIR to only work in
low & dark light levels, please adjust 'Power Saving Mode' to ON. Ideal if you have
a location where you just want Alerts during the night.
Interval Sleep Time
This is the time that the PIR will be inactive after an activation, therefore 30
seconds will result in better battery life, 7 seconds will result in better protection.
Filter
This allows you to set the PIR up to detect slower or faster movement.
* After detecting motion, the sensor can "sleep" for either 7 or 30 seconds,
allowing an o bject to pass through the field of vision before setting the alarm off
again.
** The Test Button can be pressed during set up to test that the sensor has been
correctly paired with its receiver. The Test Button is also used to recode the
sensor in cases where more than one receiver is being used (see Helpful Tip on
Page 3).
Hidden Mode
Press and hold test button for 5 seconds, the LED indicator will blink 2 times to
indicate switched to the hidden mode. The LED indicator will not light after trigger
in hidden mode. Press and hold the test button 5 seconds again, the LED wil light 3
seconds to indicate exit the hidden mode.
Power Saving Mode
24 Hour
Dusk till dawn
Interval "Sleep" Timer
30 sec.
7 sec.
Filter
1.5-3 ft /sec.
(45~90cm /sec.)
(slower movement)
3-6.5 ft/sec.
(0.9 ~2m/sec.)
(faster movement)
Page 4
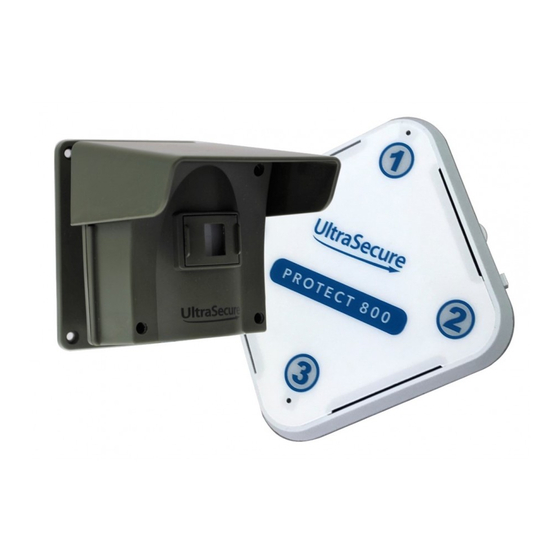
Your Driveway Alarm System
Sun Shade
Detection PIR
Pencil Beam
Adaptor
*
Sun Shade: To reduce the interference of the direct sun shine.
Detection PIR: Passive Infrared Detection Window
Narrow angle adaptor: Remove this adaptor to make wider angle.
Pencil Beam Adaptor: Replace narrow angle adaptor to create a pencil beam
Test button: Press this button to test the transmitter
Powering Your Sensor
The sensor runs on four (4) AA batteries and operates wirelessly at a maximum distance
of 800m from the receiver.
1. Unscrew the four cover screws and remove the cover.
2. Install four (4) AA batteries as indicated.
3. Replace the cover and secure the four screws.
4. Attach the sun shade.
NOTE: Your sensor has been preset by the manufacturer to the most commonly
used settings. It is recommended that users test the unit(s) under the default
settings beforem aking adjustments. If you have questions about these settings,
please contact Customer Service.
Interval "sleep" Timer
Power Saving
Mode
Filter
Sensitivity
800m Wireless Driveway Alert
USER MANUAL
Test button
Narrow angle
adaptor
7 seconds
OFF
3-6.5 ft (0.9~2m )/sec
High
Battery compartment
Advertisement
Table of Contents

Related Manuals for UltraSecure PROTECT 800


Summary of Contents for UltraSecure PROTECT 800
- Page 1 Advanced Settings: Sensor Adjustments Several switches are inside the battery compartment which regulate various sensor functions. Follow this guide to adjust your unit to the desired setting(s). 800m Wireless Driveway Alert NOTE: Your unit is already set by the manufacturer to the most commonly used settings. USER MANUAL Only make adjustments to these settings if the unit does not work as desired under the factory settings.
- Page 2 Installing your Sensor Pairing your Sensors with a Receiver It is recommended that the motion sensor be mounted at least 3 feet (0.9m) Your sensor(s) need to be paired with a receiver before your system can be from the ground on a sturdy, non-metal surface (i.e. a wall or stiff post) (as used.
Need help?
Do you have a question about the PROTECT 800 and is the answer not in the manual?
Questions and answers