Table of Contents
Advertisement
Quick Links
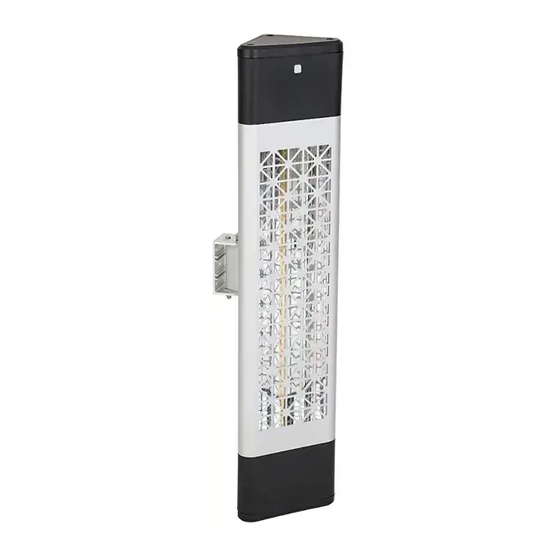
Infrared Heater
740101
IMPORTANT INSTALLATION AND WARRANTY INSTRUCTIONS
Thank you and congratulations on your purchase of the TXD infrared tube heater.
Please read these instructions carefully before installing and using the product. Keep
the instructions handy for future reference
Electrical mounted must only be done by a licensed electrician and a "Certificate of
Compliance must be issued at the completion of the installation.
LOCATION
The unit must be located and installed in accordance with AS/ NZS60335 and local
building codes relating to damp situations.
The unit can be installed in any room that requires direct radiant heating such as the
Dining room, outdoor courtyard, balcony, living room, etc. The unit can be installed
on the wall.
POWER
AC 240V/50Hz electrical supply is required. All electrical work must be carried out in
accordance with AS/ NZS60335 or the latest edition thereof, and local building codes
and regulations. Ensure that supply power is isolated before commencing
installation.
Mounting
1. Confirm the installation location: this product must be
installed on a wall
above 1.8 meters from the
and must be kept away from flammable materials.
2. Drill the mounting holes: remove the mounting bracket
from the product. According to the hole position of the
fixed bracket, mark the punching point with a marker
pen. And drill with a φ8mm drill bit at the mark
position, and the drilling depth is more than 35mm
3. Fix the mounting bracket: the drilling position
corresponds to the bracket hole position on the wall
panel, then drive the expansion rubber plug into the
wall, and use self-tapping screws ST5*40 to fix the
mounting bracket on the wall.
4. Fix the heater: make the product connect the fixing
bracket, adjust the appropriate angle, and fix the heater
with screws and nuts. (The fixing screws can be
installed in different holes, and the maximum
adjustment angle is 30 degrees. The adjustable angle of
the wing nut end slot is 10 degrees. Through the
cooperation of the double holes and the wing nut end
slot, the user can adjust the heater angle to meet the
different heating requirements.)
5. post-installation inspection: after the installation is
completed, confirm that the product is fixed and
tightened
6. without loosening, and it works normally when powered
on.
ground
Advertisement
Table of Contents

Subscribe to Our Youtube Channel
Related Manuals for TDX 740101


Summary of Contents for TDX 740101
- Page 1 Infrared Heater and must be kept away from flammable materials. 2. Drill the mounting holes: remove the mounting bracket 740101 from the product. According to the hole position of the fixed bracket, mark the punching point with a marker IMPORTANT INSTALLATION AND WARRANTY INSTRUCTIONS pen.
- Page 2 Heat (W) Hertz Weight Dimensions(W (HZ) x D x H mm) (KG) 740101 1500 745x167x104 CARE AND MAINTENANCE Attention! Careful and regular maintenance of your heater considering our instructions assumes great importance to attain a long efficient operation of your appliance.
Need help?
Do you have a question about the 740101 and is the answer not in the manual?
Questions and answers