Advertisement
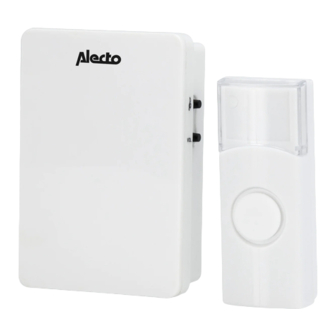
Receiver Unit
ADB-11 Installation
Remove the battery cover and insert 2×1.5V AA batteries; Ensure battery polarity macth the
internal markings.
Indoor-unit:
Outdoor-unit:
Wall Mount
To install you will require a drill and cross-headed screwdriver.
IMPORTANT: Before you drill any hole in the wall, please make sure there are not cables or pipes
that you may accidentally damage.
Auto-learning Code Set Up
The Door Chime Kit is equipped with auto-learning operation code ability.
1. Operation for 1 transmitter and 1 receiver
After battery installation on both Transmitter and Receiver, press the Transmitter once to generate
a new operation code. The Receiver will sound, which indicates that a new operation code is
registered and memorized.
2. Operation for 2 transmitters and 1 receiver
r
After battery installation on the two Transmitters firstly and then Receiver, press the push button
on each Transmitter once within 15 seconds to generate new operation codes. The Receiver will
sound, which indicates that two new operation codes are registered and memorized. This is the
only way for the 2 Transmitters to work with the Receiver.
(If user press the push button on each Transmitter after 15 seconds, only the first Transmitter will
generate a new operation code and the Receiver will sound to indicate the first operation code is
registered and memorized.)
3. Interference from another door chime operating nearby (For example, Receiver sounds for no
reason):
Remove the batteries from the Receiver and rest for 30 seconds, this will erase the memory. Insert
the batteries, and then the Transmitters and the Receiver are ready for the new code registration.
4. Operation for the 3rd / 4th / 5th Transmitters and the receiver (There is 2 Transmitters included):
(a) Remove the batteries from the Receiver and rest for 30 seconds, this will erase the memory.
(b) Load the batteries into the Transmitters and Receiver, and the Receiver is ready for the new code
registration.
(c) Press the Transmitters once per each within 15 seconds, they will individually generate new
1
Receiver
1
4
CR2032 Battery
2
2
3
5
2x1.5V AA
Alkaline Battery
3
6
Advertisement
Table of Contents

Related Manuals for Alecto ADB-11


Summary of Contents for Alecto ADB-11
- Page 1 CR2032 Battery Receiver Unit ADB-11 Installation Remove the battery cover and insert 2×1.5V AA batteries; Ensure battery polarity macth the internal markings. Indoor-unit: 2x1.5V AA Alkaline Battery Receiver Outdoor-unit: Wall Mount To install you will require a drill and cross-headed screwdriver.
- Page 2 Auto-learning Code Set Up DECLARATION OF CONFORMITY The Netherlands Hereby, Hesdo declares that the radio equipment type Alecto ADB-11 is in compliance with directive see detailed operation The Door Chime Kit is equipped with auto-learning operation code ability. The Door Chime Kit is equipped with auto-lea 2014/53/EU.
Need help?
Do you have a question about the ADB-11 and is the answer not in the manual?
Questions and answers