Table of Contents
Advertisement
Quick Links
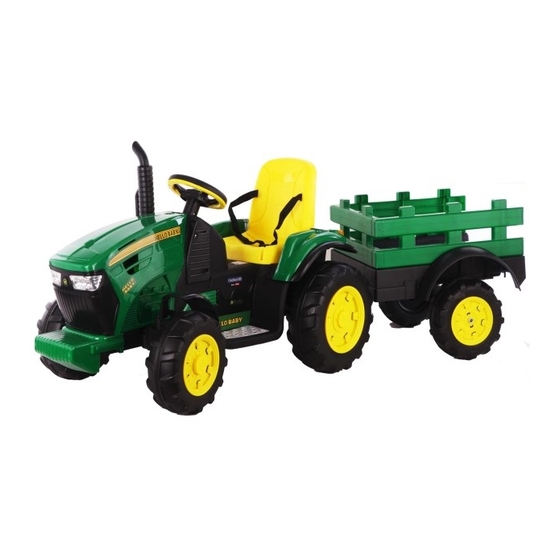
Kids Ride On Tractor
Model No. :
SV-0129
OWNERS MANUAL
R
ead and understand this entire
manual before using!
Please keep this manual for
future reference as it contains
important information.
Before first time use, charge the
battery for at least 8-12 hours.
WARNING
Must be assembled by an adult.
With Assembly Instructions
1 /
11
/ 12V
Weight Capacity :
INSTALLATION VIDEO
30kgs
Advertisement
Table of Contents

Summary of Contents for M-Power SV-0129
- Page 1 Kids Ride On Tractor / 12V Model No. : SV-0129 Weight Capacity : 30kgs OWNERS MANUAL With Assembly Instructions INSTALLATION VIDEO ead and understand this entire manual before using! Please keep this manual for future reference as it contains important information.
-
Page 2: Specifications
Specifications Model No.: SV-0129 Battery & Motor 12V7AH*1 Battery & 4x motor Available ages 3~7 Years Weight capacity 30KGS Size 182*65*69 cm Speed 3-7KM/H Charge time 8-12 hours Remote control batteries 2 x AAA batteries(not included) Input:110-240V 50-60Hz Charger Output:DC12V... -
Page 3: Parts List
Parts List Part Name Q’ty (pcs) Remark Car body Front Wheel 3 Pairs Wheel Covers Small Covers Saddle Steering wheel Screws & Nuts 1 bag Charger Remote Chimney&Base Axle Wheel motor Front fender 1 pair Rear febder 1 pair Manual Trailer Tow Trailer Trailer Base... -
Page 4: Installation Procedure
Installation Procedure Install the rear fender Tighten screws with tools Install the shaft rod Plug in Two lines on the left, Put on two rear wheels the left and right motors one on the right Install both front wheels Tighten screws with tools Installing the chimney 1 Tighten screws with tools Install the chimney 2... -
Page 5: Installing The Body
Put on screws Link line plug and tighten screws Link line plug Installing the seat Tighten screws with tools Installing the body Connect the bottom of the body to the metal frame Body finished and tighten the screws Tighten screws with tools Put on the gasket and then install the wheel Installing the trailer 2. - Page 6 Use your new ride on Indicator Light P-Stop Forward M-pairing Turn Right S-Speed Backward Turn Left...
- Page 7 ttach the batteries of controller Lift the battery compartment door on the back of the controller and insert two AAA(LR03) batteries. HINT : Batteries not included. Refer to the Battery Information on the Page 1. Remote Control Pairing 1. Build connection Press the connection button for 2 seconds, the status indicator flashes, then turn on the power switch located on the vehicle dash, when the status indicator turns off about 2 seconds and turns into long bright, means the connection successful.
- Page 8 MAINTAINING ◆ It is parents’ responsibility to check main parts of the toy before using, must regularly examine for potential hazard, such as the battery, charge, cable or cord, plug, screws are fastening enclosure of other parts and that in the event of such damage, the toy must not be used until that damage had been properly removed.
-
Page 9: Troubleshooting Guide
TROUBLE SHOOTING GUIDE Problem Possible Cause Solution Vehicle does not run Battery low on power Recharge battery Thermal fuse has tripped Reset fuse, see<Fuse> Check that the battery connectors are Battery connector or wires firmly plugged into each other, if wires are loose are loose around the motor Contact your distributor please... - Page 10 INSTRUCTIONS arning-when replacing a replaceable battery, first open the lid and take out the old battery. Put in the new battery, pay attention to the positive and negative poles, cover the lid. WARNING ! For safety reasons, ◆ Please use this vehicle under adult guidance and supervision. ◆...
- Page 11 SAFETY PRECAUTIONS 01. While driving, adult supervision is required all the time. 02. Always wear a helmet when driving. 03. Please don’t drive near road or on the footpath. 04. It is not recommended to drive the vehicle on the surface or on slope greater that 15-degree.
Need help?
Do you have a question about the SV-0129 and is the answer not in the manual?
Questions and answers