Table of Contents
Advertisement
Quick Links
Advertisement
Table of Contents
Troubleshooting

Summary of Contents for TIBURN Entreprise Flying
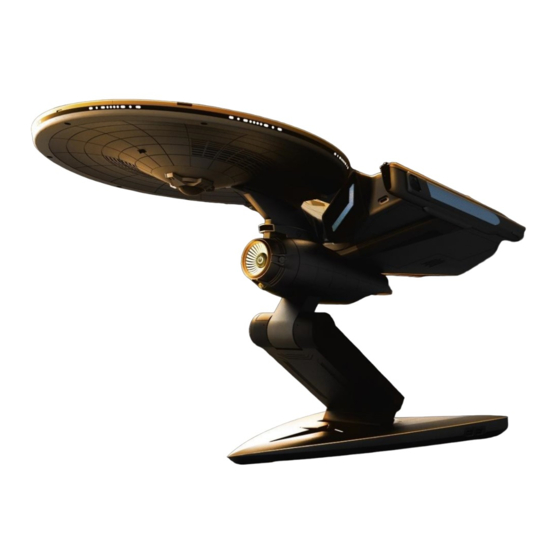
- Page 1 Enterprise 进取号 Crafted by Tiburn Technology. 1 / 25...
-
Page 2: Important Safety Information
Important Safety Information Before using this manual, it is important that you read and understand all of Safety and the related safety information for this product. Refer to the Warranty Guide that you received with this product for the latest safety information. -
Page 3: Table Of Contents
Content Important Safety Information Chapter 1 Using the Computer Hardware -------------------------------4 1.1 Front view -------------------------------------------------------------------5 1.2 Top view ---------------------------------------------------------------------6 1.3 Rear view --------------------------------------------------------------------7 1.4 Installing the disk ----------------------------------------------------------8 1.5 Connecting your computer ----------------------------------------------9 1.6 Computer stand instruction ---------------------------------------------10 1.7 Connecting your computer-----------------------------------------------11 Chapter 2 Using the disk -----------------------------------------------------13 2.1 Using the Bluetooth speaker -------------------------------------------14 2.2 Using the projector --------------------------------------------------------15... -
Page 4: Chapter 1 Using The Computer Hardware
Chapter 1 Using the Computer Hardware This chapter contains the following topics: Computer hardware introduction Information on computer connections Note: The descriptions in this chapter might vary from your computer, depending on computer models and configurations. 4 / 25... -
Page 5: Front View
Front view System indicator ring Power button USB 3.1 Gen1 connector USB 2.0 connector USB 3.1 Gen2 Type C connector 5 / 25... -
Page 6: Top View
Top view Volume up¹ Previous¹ Phone answering key¹ Next¹ Volume down¹ HDMI-in connector Disk power connector Disk lock Projector power button Note: ¹ Functions available only when using the disk Bluetooth speaker. 6 / 25... -
Page 7: Rear View
Rear view Headphone connector Microphone connector SPDIF connector USB 3.1 Gen1*2 connector USB 2.0*2 connector Ethernet connector DP connector HDMI-out connector Power connector 7 / 25... -
Page 8: Installing The Disk
Installing the disk Align the guiding track at the bottom of the disk with the mounting track on the computer, then slowly push the disk into the lock position till you hear a snap sound. Notice: 1. When installing the disk to the computer, make sure you align the guiding track properly aligned with the mounting track on the computer, using two hands to install the disk till the disk is properly mounted to the computer. - Page 9 Connecting the computer The computer power connector is located at the rear part of your computer (Fig. 1), press the down the computer to help to connecting. 9 / 25...
- Page 10 Computer stand Use the stand to position the computer to your preference. The maximum adjust angle between the base and the hinge:45° The maximum adjust angle between the hinge and the body: 45° Notice: 1. Adjust the computer to a suitable angle can help avoiding tip-over damage to the computer.
-
Page 11: Connecting Your Computer
Connecting your computer 1. Connect the keyboard and mouse to your computer 2. Connect the monitor and your computer with a HDMI or DP cable. 3. Connect your monitor and computer to a power source with the power cables. 4. Press the monitor power button to turn on the monitor. 5. - Page 12 Notice for moving your computer: When moving your computer, it is advised to use one hand hold the base and the other hand to hold the computer hinge. 12 / 25...
-
Page 13: Chapter 2 Using The Disk
Chapter 2 Using the disk This chapter contains the following topics: Using the Bluetooth speaker Using the projector Removing the disk Notice: Do not remove the disk when system is powered on. 13 / 25... - Page 14 1. When the disk in installed to the computer and your computer is turned Follow your smart device instruction and find the Bluetooth option, then choose “TIBURN Speaker “from the device list, following the on screen instruction to pair your smart device with the Bluetooth speaker.
- Page 15 2.2 Using the projector (Optional) When using the projector, follow the below instructions: 1. Open the projector cover on top of the disk. 2. Press the projector power button to turn on the projector. 3. Adjust the computer to the desired projecting angle. 15 / 25...
- Page 16 2.3 Removing the disk Notice: Do not remove the disk when the system is powered on. Push up the disk lock upward to unlock the disk, then gently detach the disk from the computer. 16 / 25...
-
Page 17: Tips For Using Disk
2.4 Tips for using disk 1. When using the disk separately, make sure the disk is connected to a power source. 2. When using the disk separately, do not place the disk at the edge of the furniture. Push the disk as far from the furniture edge as possible. Tip- over may cause danger to children. -
Page 18: Chapter 3 Troubleshooting
Chapter 3 Troubleshooting This chapter contains the following topics: Troubleshooting and Problem Resolution Notice:The illustration and drawings in this chapter may varies from the actual interface, follow actual interface instruction if there is difference. 18 / 25... -
Page 19: Troubleshooting Display Problems
Solving problems Follow these tips when troubleshooting your computer: If you added or removed a part before the problem started, review the installation procedures to ensure that the part is correctly installed. If a peripheral device does not work, ensure that the device is properly connected. -
Page 20: Troubleshooting Audio Problems
Problem: You need to change the display property settings. Setting display background and icon properties: 1. Right-click the desktop anywhere except over an icon, then select Personalize from the pop-up menu. 2. From here, select the appropriate options to: Change the desktop background ... -
Page 21: Troubleshooting Software Problems
Adjust the Windows volume control: select the speaker icon from the taskbar. Ensure that the volume is turned up and the sound is not muted. Adjust the volume, bass, or treble controls to eliminate distortion. Reinstall the audio driver. ... -
Page 22: Troubleshooting Problems With Hard Disks
through other drastic means. This can cause system program problems or even failure during system initialization. During the uninstall process, never directly delete the files or folders. This is harmful to the operating system, and might cause a system-wide malfunction. Use the following procedure to properly uninstall programs: 1. -
Page 23: Special Considerations For Troubleshooting Windows
capacity is expressed in the binary system as 1024 bytes (For example, the nominal capacity 1G is 1000M, while the actual capacity 1G is 1024M). The capacity of the hard disk shown in Windows can be calculated according to the calculations in the following example: The nominal capacity of the hard disk is 40G, while its actual capacity should be: 40G x 1000 x 1000 x 1000/(1024 x 1024 x 1024) = 37G. -
Page 24: Performing Daily Maintenance Tasks
To perform system recovery after a serious error in Windows 10, click or tap the Start button and select Settings → Update & security → Recovery. Then, follow the instructions on the screen for system recovery. Attention: The Windows operating system is provided by Microsoft Corporation. - Page 25 The following are general methods for cleaning the components: You can use a soft cloth to remove dust on the surface of the computer, the monitor, the printer, the speakers and the mouse. You can use a vacuum cleaner to clean in otherwise inaccessible corners.
- Page 26 This device complies with Part 15 of the FCC Rules. Operation is subject to the following two conditions: (1) this device may not cause harmful interference, and (2) this device must accept any interference received, including interference that may cause undesired operation. Caution: The user is cautioned that changes or modifications not expressly approved by the party responsible for compliance could void the user's authority to operate the equipment.
Need help?
Do you have a question about the Entreprise Flying and is the answer not in the manual?
Questions and answers