Advertisement
Quick Links
Advertisement

Related Manuals for Zenitel ICX-500

Summary of Contents for Zenitel ICX-500
- Page 1 ICX-500 Mounting & Installation Manual A100K11931...
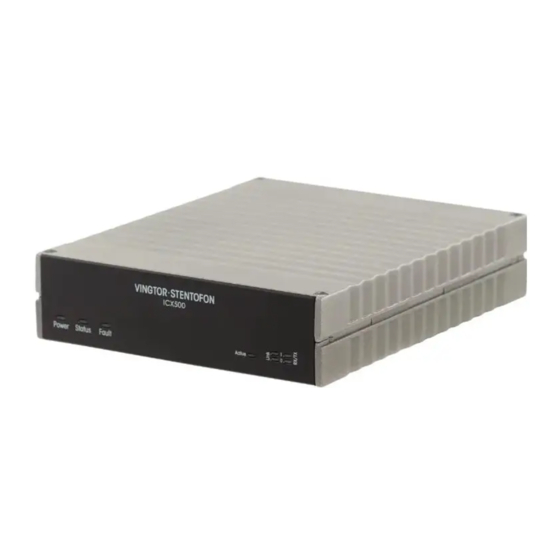
- Page 2 About This document serves as a basic mounting and installation guide for the ICX-500 Intelligent Communication Gateway. For instructions on configuration visit wiki.zenitel.com/wiki/ICX_Web. The ICX-500 product package comprises the following components: Item Number Item Name Description 1002000100 ICX-500 Intelligent Communication Gateway...
-
Page 3: Table Of Contents
Contents Safety Information Description Wall/Shelf Mounting Rack Mounting Installation Start up... -
Page 4: Safety Information
Fault LED or system reset, or if there is a temperature alarm. Steady blue when the ICX-500 is operational. In a system with redundant servers, the Active LED Active LED will be lit on the operational gateway, and not lit on the standby gateway Steady green when the Ethernet link 0 or 1 is up. - Page 5 Two 100Mbps Ethernet interfaces. Each Ethernet port is equipped with LED indicators for link and Ethernet port Eth0 / Eth1 activity. ICX-500 is powered by a DC power supply with nominal voltage 24VDC or 48VDC (Min/Max: Power in 24-48VDC 20VDC-63VDC) RS232 port is the RJ45 part of the dual connector RS232/USB.
-
Page 6: Wall/Shelf Mounting
Wall / shelf mounting The ICX-500 can be mounted on any flat surface such as a wall or shelf using the IA- MB1 Mounting Bracket. The following example is the procedure for wall mounting. Drill Bit 5 mm Skip this step... - Page 7 3x Nylon Plugs 5 mm (not included) 3x Flat Head Washer Screws, ø4.2 x 25 mm 4x Mounting clips...
-
Page 8: Rack Mounting
Rack mounting Use the IA-RS1 Rack Shelf when mounting the ICX-500 into a 19” 1HU rack. Two ICX-500 units can be placed side by side on the rack shelf. (2x) 4x Mounting clips A blanking front can be inserted into the... - Page 9 2x M4x8mm countersunk screws The securing holes can also be used to mount the unit to a shelf other than the IA-RS1. Note that the maximum insertion depth is 6 mm.
-
Page 10: Installation
Installation Network Connect the ICX-500 to the IP network. Use an Ethernet cable. Connect the cable to Ehernet Port 1. network Power out Power supply Mount the IPS-AC1 power supply on a DIN rail and terminate the power cables. Power in... - Page 11 Connect the ICX-500 Connect the power cable to the ICX-500. Then connect the power supply to a 100-240VAC power source.
-
Page 12: Start Up
When up and running, the green status LED will start flashing. Connect a laptop to Ethernet port 0. Use an Ethernet cable. Connect to web server - ICX Web. The ICX-500 comes with an embedded web server which provides functions for system configuration, monitoring and upgrade. - Page 13 The WEEE Directive does not legislate that Zenitel, as a ‘producer’, shall collect ‘end of life’ WEEE. This ‘end of life’ WEEE should be recycled appropriately by the owner who should use proper treatment and recycling measures. It should not be disposed to landfill.
- Page 14 A100K11931 Zenitel and its subsidiaries assume no responsibility for any errors that may appear in this publication, or for damages arising from the information therein. Zenitel, Vingtor-Stentofon and Phontech products are developed and marketed by Zenitel. The company’ s Quality Assurance System is certified to meet the requirements in NS-EN ISO 9001.
Need help?
Do you have a question about the ICX-500 and is the answer not in the manual?
Questions and answers