
Related Manuals for Niles SVL-1


Summary of Contents for Niles SVL-1
- Page 1 M O D E L SVL-1 SVL-1 SVL-1 SPEAKER-LEVEL VOLUME CONTROL SYSTEM NILES ® I N S T A L L A T I O N & O P E R A T I O N G U I D E...
-
Page 2: Table Of Contents
E V E L O L U M E Introduction The SVL-1 is a table top volume control for speakers. It con- nects between the speaker-level output of an amplifier, speaker selector, etc. and a pair of speakers. A perfect application for the SVL-1 is adjusting the volume of remotely located speakers. -
Page 3: Features And Benefits
Features and Benefits The SVL-1 offers a number of improvements over other volume controls: The SVL-1 uses a 12 position control, which is superior to 10 position designs. You get a broader range of adjustment—there are 10 steps of attenuation instead of 8. - Page 4 P E A K E R E V E L O L U M E O N T R O L Printed circuit board design assures high reliability. Isolated left and right channel grounds make it safe for use with any amplifier. May be used with 4, 6, or 8-ohm speaker systems.
-
Page 5: Installation Considerations
P E A K E R Installation Considerations SVL-1 Power Handling The SVL-1 is designed for use with a receiver or amplifier hav- ing a maximum power output of 100 watts per channel at 8 ohms. Damage caused by the use of a higher-power receiver or amplifier will void the warranty. - Page 6 Locating speaker wires too close to a light dimmer or switch may cause a "buzzing" or "popping" sound to be heard Wire size is through the speakers. If you must locate the SVL-1 wiring expressed by it's near electrical devices, route the speaker wires several feet AWG (American away from the electrical wiring.
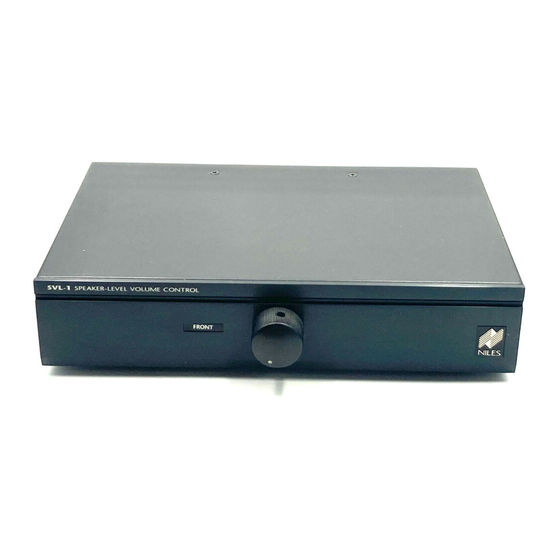
- Page 7 P E A K E R E V E L O L U M E O N T R O L Recessed area for custom SVL-1 SPEAKER-LEVEL VOLUME CONTROL room labels. Attractive low-profile NILES design. 12 position volume control provides greater attenuation than conventional 10 position designs.
-
Page 8: Installation
P E A K E R Installation 1. Select a convenient location for the SVL-1. 2. Run all the necessary wiring to the SVL-1. Label the wires for future reference. See (Figure 1). TUNER NILES Niles Audio Corporation, Inc. Miami, Florida USA... - Page 9 O L U M E O N T R O L 3. Make the connections to the SVL-1. Strip 3/8" of insulation from the end of each wire. Tightly twist the end of each wire until there are no frayed ends. Insert each wire into the appropriate hole on the spring-loaded connector terminals.
-
Page 10: Operation
SVL-1 will not function properly. 4. Locate the pre-printed Room Labels. Affix the appropriate label to the recessed area next to the knob on the SVL-1. Operation 1. Make sure the amplifier or receiver power is OFF and set the volume to minimum. -
Page 11: Specifications
P E A K E R 6. Using the knob on the front of the SVL-1, adjust the vol- ume of the speakers to the desired listening level. 7. You can turn off the speakers by turning the knob on the SVL-1 fully counter-clockwise, or by pressing the ON/OFF button on your speaker selector. - Page 12 Niles Audio Corporation www.nilesaudio.com © 1999 Niles Audio Corporation. All rights reserved. Because Niles constantly strives to improve the quality of its products, Niles reserves the right to change product specifications without notice. Niles 12331 S.W. 130 Street and the Niles logo are registered trademarks of Niles Audio Corporation. Printed in USA 4/96...
Need help?
Do you have a question about the SVL-1 and is the answer not in the manual?
Questions and answers