Table of Contents
Advertisement
Quick Links
Advertisement
Table of Contents

Summary of Contents for audiopraise VANITY93
- Page 1 VANITY Installation Guide...
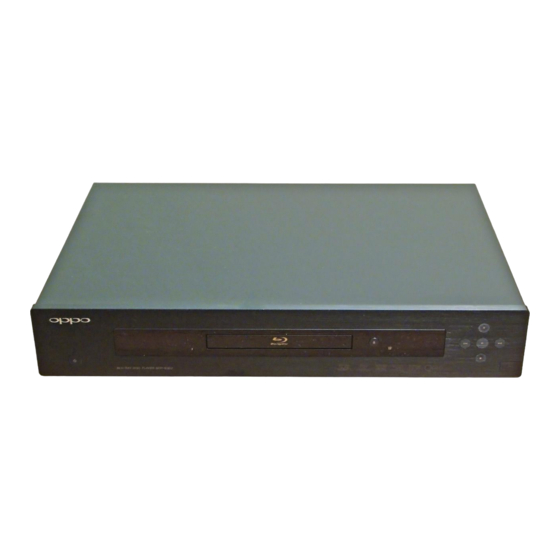
- Page 2 Vanity - Installation Guide Introduction The Vanity module has been designed as a direct replacement of the original board with analog outputs. Therefore the installation procedure is very easy and doesn’t require any special skills or tools. The installation is fully reversible and should only take several minutes.
- Page 3 Vanity - Installation Guide Remove the 2 screws on both sides of the player. Then proceed with the 5 screws on the back panel. Now you can remove the top cover. rev.2, February 2012...
- Page 4 Vanity - Installation Guide Cut the zip-tie holding the red power wires, disconnect the power supply connector and unscrew the grounding wire (not applicable for the US model). Carefully disconnect the silver data flat foil cable from the analog board. Apply adequate force straight upwards, no twisting or wobbling. Then disconnect also the power cable from the analog board.
- Page 5 Vanity - Installation Guide Remove the 3 screws on the analog board. Now carefully remove the analog board. Shift the board slightly towards the front side of the player in order to release the RCA connector block from the back panel (1). Then tilt the board with the RCA block upwards (2) and lift the complete board out of the player (3).
- Page 6 Vanity - Installation Guide Install the Vanity module just in reverse order of the analog board removal. Put back the 3 screws holding the board, but don’t tighten them all the way. Leave them a bit loose, so that the board can be precisely positioned along the back panel.
- Page 7 Disclaimer Audiopraise accepts no responsibility for damage to the player, voiding your warranty or personal injury. Always unplug the power cable before removing the top cover. Follow the electrostatic discharge precautions when manipulating with electronic boards and components.
Need help?
Do you have a question about the VANITY93 and is the answer not in the manual?
Questions and answers