Table of Contents
Advertisement
Quick Links
Advertisement
Table of Contents

Related Manuals for Reconyx SC10

Summary of Contents for Reconyx SC10
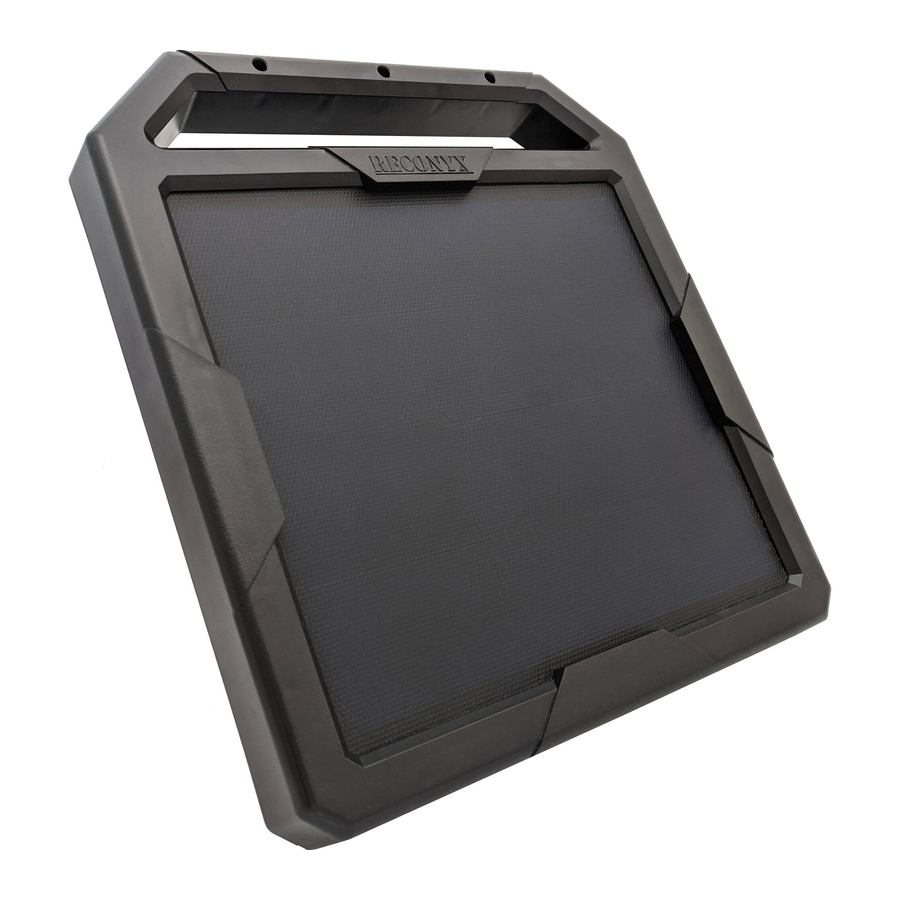
- Page 1 SC10 Solar Charger Copyright: November 2022...
-
Page 2: Getting Started
Connect the SC10 to the camera by plugging the shielded power cable into the external power jack on the bottom of your cellular camera. Test that the SC10 is providing power to your camera by turning the camera on without the internal AA batteries installed. -
Page 3: Warranty
We highly recommend that you place the SC10 in an open area that gets at least a few hours of direct sunlight per day. If placed in this manner, the SC10 should provide sufficient power to run your cellular camera indefinitely. - Page 4 Mounting the SC10 Integrated T-Post (Star Post) Mount The SC10 is designed to sit atop almost any “T-post” style metal fencepost (also works with "Y" and "Star" posts) and can be rotated 360 degrees. Rotate the unit so that it is facing the direction where it will get the most hours of sunlight during the day.
- Page 5 Note: We do not recommend setting the SC10 on the ground. There are two primary reasons for this: 1) snow, 2) foliage. You don’t want the unit covered by snow or hidden by vegetation. You want the face of the SC10 to get as much sunlight as possible.
-
Page 6: Mounting With Screws
Mounting with Screws The SC10 can also be mounted on a post, wall, or tree using a couple of screws or lag bolts; one to hang the unit on, and one to keep it from rotating. ©RECONYX, Inc. - Page 7 Mounting Bracket (Sold Separately) The SC10 Mounting Bracket allows you to mount the bracket to a post, pole, wall or tree, then simply slip the SC10 onto the bracket and secure it to the bracket with the bolts supplied with the bracket.
-
Page 8: Connecting The System
This provides you with enough cable to hopefully mount the SC10 where it can get the most sunlight (up to 12 feet from the camera). There is a hold down under these cleats to clip the cable into to hold excess wire on the cleats if your camera is closer than 12 feet. - Page 9 If you are using internal backup batteries, your desiccant option is to use our desiccant sheets. They lay over top of the batteries and absorb moisture that may enter the camera over time. These are available at www.reconyx.com. www.reconyx.com...
- Page 10 If you choose to deploy without internal backup batteries, we recommend using the 14-gram indicating desiccant pouches available at www.reconyx.com. You can put one or two of these in the cameras in place of a bank of batteries. These pouches are indicating.
-
Page 11: Camera Setup
You can change Battery Type either in the settings on the Camera or through the RECONYX Connect Mobile App. Choose SC10 Solar for your Battery Type. This will provide you with correct battery readings that are appropriate for the SC10 Solar unit. - Page 12 RoHS Compliance The European Union Directive 2011/65/EU Restriction of Hazardous Substances (RoHS) legislation restricts the use of certain substances in electrical and electronic RECONYX®, Inc. equipment. Reconyx Inc. expends considerable effort in verifying material compliance to RoHS and certifies that the processes and materials used to manufacture assemblies are compliant.
Need help?
Do you have a question about the SC10 and is the answer not in the manual?
Questions and answers