
Related Manuals for Niles CM5AT


Summary of Contents for Niles CM5AT
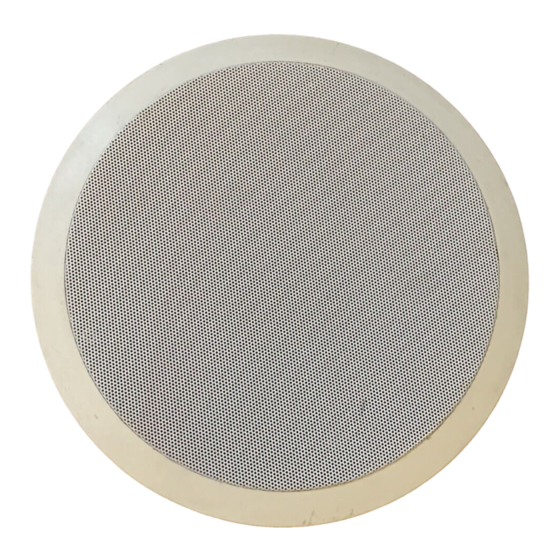
- Page 1 I N S T A L L A T I O N L E N D I N G A N D & O P E R A T I O N M O D E L S CM 5 ADVANCED TECHNOLOGY CM 6 ADVANCED TECHNOLOGY...
-
Page 2: Table Of Contents
Congratulations! Thank you for choosing an Advanced technology Ceiling Mount Loudspeaker from Niles. With proper installation and operation, you'll enjoy years of trouble-free use. Niles manufactures the industry's most complete line of custom installation com- ponents and accessories for audio/video systems. For a free full line catalog write: Niles, Catalog Request, P.O. -
Page 3: Introduction
Features and Benefits Carbon/Glass Fiber with Butyl Rubber Surround The CM5AT, CM6AT and CM8AT loud- speakers employ an advanced cone material that combines carbon and fiber glass in a special weave that maximizes stiffness and minimizes cone break up. - Page 4 4 or 8 ohm Selectable Impedance The dual voice coil feature of the CM5AT, CM6AT and CM8AT gives the installer flexibility to select the speaker’s imped- ance — 4 ohms for systems where maxi- mum current transfer and output level is desired;...
-
Page 5: Installation Considerations
Recommended Amplifier Power For satisfactory performance, we recom- mend an amplifier with a power rating of 10 to 100 watts for the CM5AT; 10 to 125 watts for the CM6AT and 10 to 150 watts for the CM8AT. Curiously, most speakers are not damaged by large amplifiers but by small amplifiers. - Page 6 (think of a volume con- trol as a dimmer switch for sound). Niles makes a wide range of high perfor- mance indoor and outdoor volume con- trols. They are available in Standard or Decora ®...
-
Page 7: Speaker Placement
Speaker Placement Critical Listening Position Introduction Although the CM5AT, CM6AT and CM8AT have extensive ability to compensate for unusual placements with their unique piv- oting tweeters and acoustic fine-tuning switches, placement is still the primary tool for satisfying your particular listening needs. - Page 8 Amplifiers which enable one room to be ® wired in stereo while other rooms are wired in mono! Consult your local Niles dealer for more information. In smaller rooms or rooms that are infre- quently used, you typically can’t justify the expense of more than two speakers.
- Page 9 “in the middle of your head” just like headphones! A single pair of CM5AT, CM6AT or CM8AT Loudspeakers, properly placed, can create a very convincing simulation of an array of speakers.
-
Page 10: Installation Fundamentals
Niles makes a num- ber of Systems Integration Amplifiers with proprietary features that make them uniquely suited to enhance a good sur- round sound system. Consult your local Niles dealer for more information. The Boundary Effect Corners can affect the bass response of the speaker powerfully! This is called the boundary effect. - Page 11 Pulling the Cable Pull the cable in sections (from the stereo to the volume control, from the volume control to the speaker). Start with the longest sections and use left over wire to complete the short sections. If you plan to...
- Page 12 Start by examining all the possible routes you might take to run the speaker wire from the speaker to the volume control and back to the stereo. Use a stud sensor or other device to locate the internal struc- ture of the wall.
- Page 13 As a last resort, heating and air condition- ing vents can be used as wire raceways for Figure 11 Diagram of ceiling speaker cut-out with ceiling joists notched for wire run. Figure 10 The door jamb has been removed and the speaker wire concealed between the wall and the jamb.
-
Page 14: Installation In New Construction
(See Figure 11). Installation in New Figure 12 The optional hole saving brackets are installed and the speaker wire is attached to the bracket. Construction Insulating the Wall Cavity If feasible, fill the wall cavity with insula- tion at this point. -
Page 15: Installation In Existing Construction
3. Cut a foot-long piece of coat hanger. Bend the wire (creating a right angle) leaving 4-1/8" at one end for the CM5AT, 4-3/4" for the CM6AT and 5-3/8" for the CM8AT (this allows for the extra width of the mounting dogs). -
Page 16: Final Installation In New Or Existing Construction
4 ohm load and you have only one pair of speakers connected. Otherwise, use the 8 ohm position (See Figure 15). 3. Separate the speaker wire so that at least two inches of each conductor are free. 4. Open the no-strip terminal by applying pressure to the red and black levers until an audible “click”... - Page 17 Remove the outside portion of the template by gently pulling along the perforation. Affix the mask to the front of the speaker using a piece of tape. Fold the tape onto itself to form a double-sided loop. Affix the tape to the tweeter and place the mask onto the speaker.
-
Page 18: Operation
Cleaning You can clean the speaker with a damp- ened soft cloth or paper towel. If the speaker is mounted high up on a wall or ceiling, use a broom to gently brush it off. -
Page 19: Specifications
Specifications CM5AT Driver Compliment 5-1/4" carbon/glass fiber with butyl rubber surround 1" fluid-cooled ultra-wide dispersion tri-laminate Teteron tweeter in a custom pivoting coaxial enclosure Recommended Amplifier Power 10 to 100 watts per channel Nominal Impedance 4 or 8 ohm selectable... - Page 20 Specifications CM8AT Driver Compliment 8" carbon/glass fiber with butyl rubber surround 1" fluid-cooled ultra-wide dispersion tri-laminate Teteron tweeter in a custom pivoting coaxial enclosure Recommended Amplifier Power 10 to 150 watts per channel Nominal Impedance 4 or 8 ohm selectable Frequency Response 40Hz to 21kHz, +/- 3dB (on axis) Tweeter Adjustment...
-
Page 21: Warranty Registration Card
Who will install the product? o Custom Installer o Electrician o Friend o Myself Which factor(s) influ- enced the purchase of your Niles product? (Please check all that apply) o Ease of Use o Price/Value o Product Features o Quality/Durability o Reputation... -
Page 22: Warranty Registration Card
PLEASE FILL OUT THE WARRANTY REGISTRATION CARD ON THE REVERSE SIDE, DETACH, AND MAIL TO: Niles Audio Corporation Warranty Registration Dept. P.O. Box 160818 Miami, Florida 33116-0818... -
Page 23: Limited Warranty
NILES or an authorized NILES dealer. - Page 24 Corporation 12331 S.W. 130 Street Miami, Florida 33186 © 2001 Niles Audio Corporation. All Rights Reserved. Niles, the Niles logo, and Blending High Fidelity and Architecture are registered trademarks of Niles Audio Corporation. Tel: (305) 238-4373 MicroPerf is a trademark of Niles Audio Corporation. All other trademarks are the property of their respective owners.