Table of Contents
Advertisement
Quick Links
Advertisement
Table of Contents

Summary of Contents for Archer Components TRAIL D1X
- Page 1 MFR REMOTE INSTALLATION...
- Page 2 3. Press and hold the MAB for 3 seconds to turn the remote off. Shift Button Port Use only Archer Components 3.5mm headphone plugs with the Shift Button Port. Standard TRRS plugs may cause erratic behavior and/or damage to your remote.
- Page 3 Charging Port Use a micro-USB cable to charge from a 5v USB power supply. Status LED • Green LED on startup means battery is 30-100% charged. • Red LED on startup means battery is less than 30% charged. • LED flashes green or red with each shift to indicate battery level.
- Page 4 Step 1: Charge Battery 1. Peel back the dust cover from the USB port. 2. Insert a micro-USB cable into the port and connect to a 5v USB power supply. 3. The Charge LED will illuminate red while charging and turn off when the unit is fully charged.
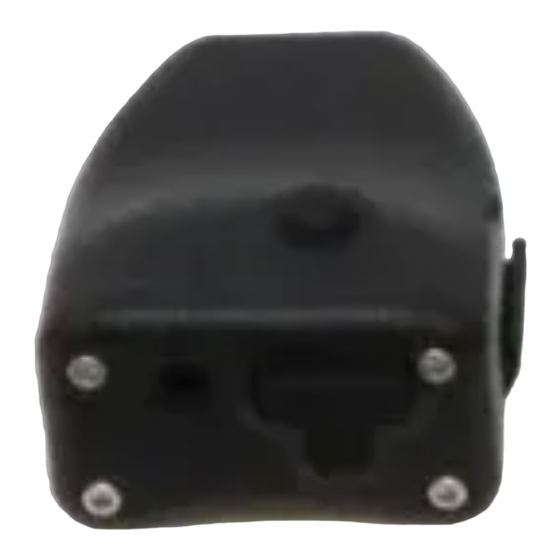
- Page 5 Step 2: Install MFR Pod 1. Determine the appropriate location for the pod. a. Make sure you have access to the MAB and can access the Shift Button Port in the mounting location. b. Verify there is sufficient length of shift button cable for the mounting location. c.
- Page 6 Step 3: Install the MFR Satellite Buttons 1. Depending on your bike, consider removing the old handlebar tape. 2. Determine the optimal placement of each shift button on your handlebars. Note: Do not worry which string of buttons is Up Shift and which is Down Shift –...
- Page 7 5. If using the Double Strand buttons, remember that both buttons on a single wire will have the same function (either shift up or shift down). You cannot program one button on the wire to shift up and the other to shift down. Note: Do not cover the rubber portion of the shift button with bar tape, this will impede button performance.
- Page 8 Follow us on Instagram @archercomponents Support: (831) 313-7400 | support@archer.bike © Archer Components 2022...
Need help?
Do you have a question about the TRAIL D1X and is the answer not in the manual?
Questions and answers