Advertisement
Table of Contents
Care Instructions
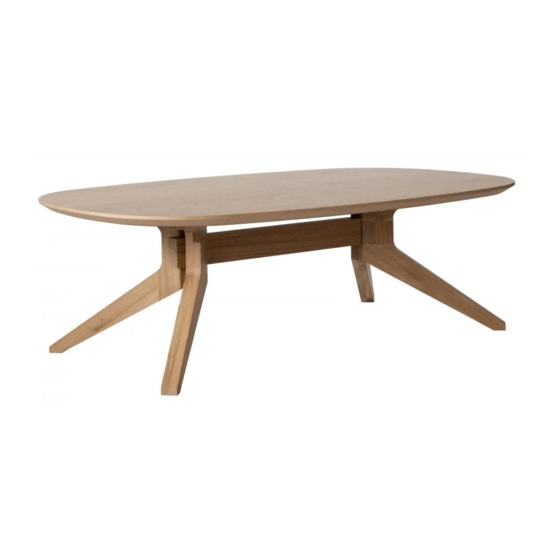
Cross Oval Coffee Table – designed by Matthew Hilton
To prolong the life of the product and retain its appearance and functionality,
we would like to give you some relevant information and care advice:-
This unit is manufactured with either oak or walnut.
Craftsmen manufacture this product and there is variety between each unit. This is
because wood is a natural product, with natural colour and grain variations.
Natural timber is affected by sunlight; this can can the wood colour to darken.
For this reason (especially if placed in direct sunlight) it is recommended that placing
objects in the same position for long periods of time is avoided. This potential colour
adjustment becomes less relevent as the product ages.
It is recommended that no abrasive cleaners or solvents are used to clean the unit.
Please only use proprietary furniture polishes or alternatively, warm water with
a diluted mild detergent.
We thank you for purchasing this product and wish you many years of enjoyable and
functional use.
For more related products please visit: casefurniture.com
Case Furniture Ltd
London, SW18 2HZ
United Kingdom
info@casefurniture.com
casefurniture.com
Cross
Oval Coffee Table
Advertisement
Table of Contents

Related Manuals for Case Furniture Cross


Summary of Contents for Case Furniture Cross
- Page 1 Cross Care Instructions Oval Coffee Table Cross Oval Coffee Table – designed by Matthew Hilton To prolong the life of the product and retain its appearance and functionality, we would like to give you some relevant information and care advice:- This unit is manufactured with either oak or walnut.
- Page 2 Assembly Instructions Step 1. Attach brackets tting F Required to the legs ensuring that the bracket wing faces towards the bottom of the leg as shown below. attach with tting E and fully tighten. Step 3. Insert the crossbar with the holes facing towards the plates on the legs.
Need help?
Do you have a question about the Cross and is the answer not in the manual?
Questions and answers