Advertisement
Product description
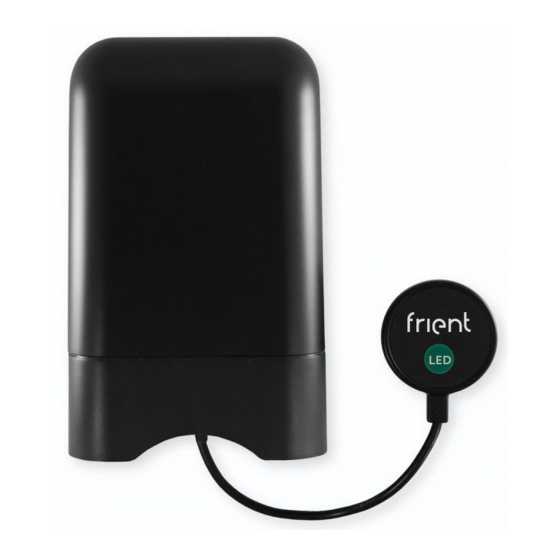
The Electricity Meter Interface collects readings from your existing electricity meter and, via a compatible hub, the data is sent to a connected device, e.g. your smartphone.
This way, the Electricity Meter Interface enables you to follow your electricity consumption remotely.
Precautions
- Do not remove the product label as it contains important information.
- It is a good idea to take a picture of the electricity meter before installation so you can save the number of imp/kWh. Occasionally, the number is close to the LED and by attaching the probe you might cover the number.
Getting started
- Open the casing of the device by pressing the button on the back of the monitor casing and pulling the casing upwards.

- Place enclosed AA-batteries into the device respecting the polarities.

- The Electricity Meter Interface will now start searching (up to 15 minutes) for a Zigbee network to join.
- Make sure that the Zigbee network on your hub is open for joining devices and will accept the Electricity Meter Interface.
- While the Electricity Meter Interface is searching for a Zigbee network to join, the LED flashes green.

- When the LED stops flashing, the Electricity Meter Interface has successfully joined the Zigbee network


Installation steps
The Electricity Meter Interface is equipped with an optical probe, which is easily attached to your meter.
- Insert the end of the probe into the indicated socket on the Electricity Meter Interface.
NOTE: Press the end of the probe firmly into the socket to ensure it is fully inserted.

- Depending on the type of probe included for your Electricity Meter Interface, you can mount it on your meter either via the magnet in the probe or with the hook and loop tape attached to the probe.

MAGNET
- If you are using the magnet connection, place the probe on the flashing LED labeled "imp/kWh."


HOOK AND LOOP TAPE
- If you are using the hook and loop tape, peel off the loops from the probe and remove the cover from the sticky back of the loops.

- Place the hole in the tape directly over the flashing LED labeled "imp/kWh." Be as precise as possible when placing the hole over the flashing LED to ensure the best reading.


Placement
Place the interface indoors at a temperature between -20 and +60°C, close to the electricity meter.
Resetting
Resetting is needed if you want to reconnect your Electricity Meter Interface or if you need to perform a factory reset to remove abnormal behaviour.
STEPS FOR RESETTING
- Open the casing of the device.
- Press and hold the menu button until the LED flashes numerous times in a row, and then release the button again.
- After a successful reset the green LED will start flashing which indicates network search.
Battery replacement

RISK OF EXPLOSION IF BATTERIES ARE REPLACED BY AN INCORRECT TYPE. DISPOSE OF THE BATTERIES IN ACCORDANCE WITH INSTRUCTIONS.
When removing cover for battery change - Electrostatic Discharge (ESD) can harm electronic components inside
- To remove the batteries, open the casing of the interface.

- After removing the used batteries, insert new AA-batteries respecting the polarities.

- Close the casing and re-attach the interface to the meter.


Fault finding
- If the Electricity Meter Interface does not send correct meter data, validate that the probe is mounted correctly to the meter.
- In case of a weak or a bad signal, change the location of the connected gateway or strengthen the signal with a smart plug.
Disposal
Dispose the product and battery properly at the end of life. This is electronic waste which should be recycled.
CE certification
The CE mark affixed to this product confirms its compliance with the European Directives which apply to the product and, in particular, its compliance with the harmonized standards and specifications.

IN ACCORDANCE WITH THE DIRECTIVES
- Radio Equipment Directive (RED) 2014/53/EU
- RoHS Directive 2015/863/EU amending 2011/65/EU
Other certifications
- Zigbee Home Automation 1.2
![]()

All rights reserved.
frient A/S assumes no responsibility for any errors, which may appear in this manual. Furthermore, frient A/S reserves the right to alter the hardware, software, and/or specifications detailed herein at any time without notice, and frient A/S does not make any commitment to update. All the information contained herein. All the trademarks listed herein are owned by their respective owners.
Distributed by frient A/S Tangen 6 8200 Aarhus N Denmark
Copyright © frient A/S

Documents / ResourcesDownload manual
Here you can download full pdf version of manual, it may contain additional safety instructions, warranty information, FCC rules, etc.
Download Frient Electricity Meter Interface - Electricity Meter Manual
Advertisement
Need help?
Do you have a question about the Electricity Meter Interface and is the answer not in the manual?
Questions and answers