
Related Manuals for AMASE AUDIO BMW E46 7inch Android

Summary of Contents for AMASE AUDIO BMW E46 7inch Android
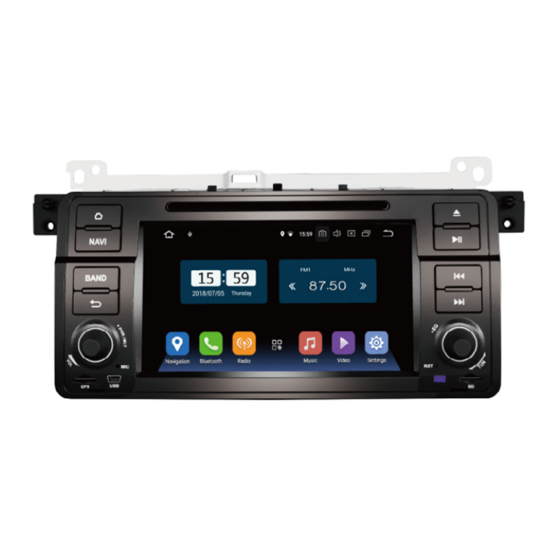
- Page 1 Installation manual BMW E46 7inch Android Are you ready to install our unit? Let's go >>>...
-
Page 2: Steps To Install
5 steps to install STEP Double check if has any missing before installation. STEP Double check if has any In this case, the installation missing before installation. can't be plug & play if your car dash radio plug is same as shown on the right picture. - Page 3 Installation guide 3. Connect the female radio plug of your car with the male plug of extended harness. If you are in above three situations, your car should be built-in an amplifier - BM54/24 tuner in the trunk area. You need to use the extended harness to connect both of them.
- Page 4 Accessories 4. Connect the female plug of extension harness with the amplifier - BM54/24 tuner. From extended harness If the factory plug like below(only 17pin and lack of 4pin). It's not compatible with our Power cable *1 Radio antenna connector *1 Amaseaudio head unit.
- Page 5 Test your unit before installing 5. Take out the factory CD player, the AC controller and STEP the storage box. into your car (Connect the power cable to your car) 1. Double check the size and shape of the center console panel.
-
Page 6: Wiring Diagram
Wiring diagram 7. Remove the 4 fixed screws of the factory mounting bracket with a Philips screwdriver and take out the bracket 8. Connect those wires provided in the package like Power cable with canbus, USB cable, Radio antenna adapter cable, GPS antenna, Wi-fi antenna and External microphone as shown. - Page 7 9. Plug the head unit into the center console, then place Wire connection for the amplifier, the subwoofer the GPS antenna and microphone as shown. The wires are and the headset monitors hidden in the side of pillar trim and led to the head unit. STEP Test the head unit functions.
-
Page 9: System Initial Setup
Optional : Install a rear camera System Initial setup Below is our rear camera. This will be a reference to teach Set radio location you how to connect a rear camera to our head unit. The default radio country in the unit is Europe, if you are from other country, you need to access the "factory mode (PW: 126) >... -
Page 10: About After Sales Service
Set the unit language Please go to setting > Languages & input, then you can add the desirable language you need. About after sales service Q: Do my head unit has one year maintanence? A: Definitely yes, you will have our commitment after you purchase.
Need help?
Do you have a question about the BMW E46 7inch Android and is the answer not in the manual?
Questions and answers