Advertisement
Quick Links
Advertisement

Subscribe to Our Youtube Channel
Related Manuals for Firehawk FHAWKKAM16G


Summary of Contents for Firehawk FHAWKKAM16G
- Page 1 40CM KAMADO GRILL FHAWKKAM16G OWNER’S MANUAL...
- Page 2 Kamado Grill User Instructions-Please keep for future reference IMPORTANT-Carefully remove any packaging before use,but retain the safety instructions. These instructions form part of the product. Please take note of all of the safety warnings listed in these instructions. Please read these instructions in their entirety and retain them for future reference.
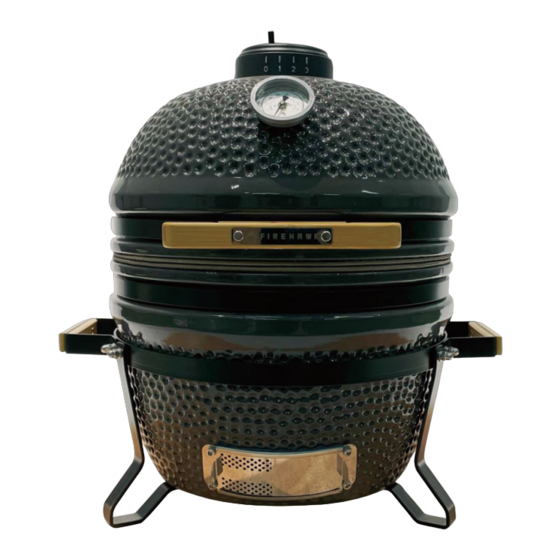
- Page 3 Firehawk Kamado grill is ceramic clay, which delivers extreme- ly high thermal insulation performance. The Firehawk Kamado is a versatile BBQ grill & smoker that you can use not only for grilling but also for baking, or long slow smoking (smoker). Kamado grill is great at holding heat and smoke inside the vessel enhancing the flavor of your food further.
-
Page 4: Warning / Caution
WARNING - CAUTION! • This product is STRICTLY FOR OUTDOOR USE ONLY. Do not use indoors. • Always keep children and pets at a safe distance from the Kamado when in use. • Never leave a burning fire unattended. • Danger of carbon monoxide poisoning. - Page 5 CURING THE KAMADO • To start a fire place rolled up newspaper with some lighter cubes or solid firelighters on the charcoal plate or in basket in the base of the Kamado. Then place 2 or 3 handfuls of lump charcoal over the top of the newspaper. •...
-
Page 6: Maintenance
EXTINGUISHING To extinguish unit stop adding fuel and close all the vents and the dome to alow the fire to die natuarally. Do not use water to extinguish the charcoals as this could damage the ceramic Kamado. STORAGE When not in use,and if stored outside cover the Kamado once completely cooled with a suitable rain cover. - Page 7 1(1x) 8(1x) 9(1x) 2(1x) 10(1x) 3(2x) 4(1x) 5(1x) 11(1x) 6(1x) 12(1x) a(6x) 7(1x) b(6x) c(6x) Prior to assembly, read the instructions carefully. Check all parts against the parts list. Carry out assembly on a soft surface to avoid scratching the paint. Please retain this information for future reference.
- Page 8 Step 1: Put the Kamado’s ceramic body(10) into the assembled tripod-frame(1) and carefull y adjust to the most appropriate position.
- Page 9 Step 2: Install the front handle(2) to the dome of the Kamado. Start by attaching handle brackets...
- Page 10 Step 3: Install the handles(3) on both sides to the ring of tripod-frame(1), by using the operation similar to step 2.
- Page 11 Step4: Install the top vent(4) to the Kamado’s ceramic body(10) and place it on the top. Ensure that the gear mark of the top vent(4) should be directly in fr ont of the thermometer and handle alignment. Step 5: Open the dome and add the firebox(9), charcoal plate(8), tripod rack(6), full-moon pizza stone(7) and cooking gird(5) inside of the Kamado as displayed in the assembly diagram.
- Page 12 Your Firehawk Kamado is now ready for use...
- Page 13 Cooking Tips LOW TEMPERATURE COOKING GUIDE • Light the lump charcoal according to the instructions above. • DO NOT move or stoke the coals once lit. • Open the bottom vent fully and leave the lid open for about 10 minutes to build a small bed of hot embers.
- Page 14 FOOD COOKING INFORMATION • DO NOT cook until the lit fuel has a coating of ash. • Please read and follow this advice when cooking on your Kamado. • Always wash your hands before and after handling uncooked meat and before eating. •...
- Page 15 Level 1 Level 2-3 Level 4...
Need help?
Do you have a question about the FHAWKKAM16G and is the answer not in the manual?
Questions and answers