Advertisement
Table of Contents
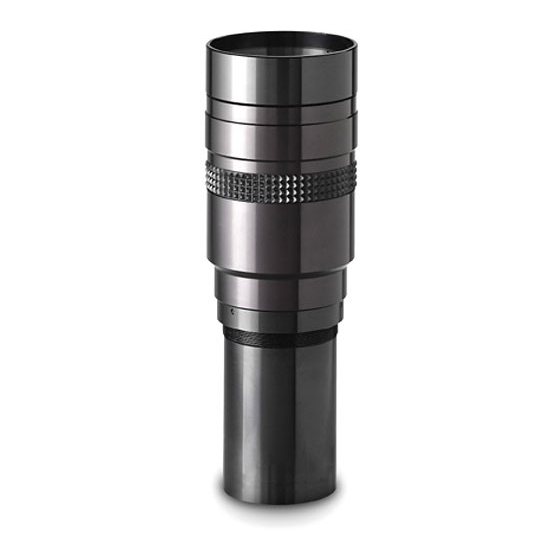
Installation of Navitar Series 486 lens on Mitsubishi LVP-XL550
projectors.
TOOLS REQUIRED: Phillips Screwdriver, Allen wrench
Disassembly:
1. Disconnect unit from power source.
2. Use a Phillips screwdriver to remove the 3 screws that hold the front cover at the
bottom front of the projector.
3. Squeeze the front cover and pull forward to separate it from the body of the projector.
4. Remove the prime lens, if applicable, per the manufacturers' instructions.
Assembly:
1. Rotate the adapter flange assembly and separate it from the lens.
2. Place the adapter flange assembly inside the projector with the notches down and
the set screw up by using the 4 screws that came with the projector to hold the prime
lens in place to the back flange of the projector.
3. The flange should fit flat against the projector mounting plate and mate with the pins
at 1:00 and 7:00.
4. Insert the lens into the adapter by rotating it while engaging the set screw at the top
of the tube.
5. If you are using the 485MCL1625 or the MCL900, focus by rotating gently CW or
CCW. Move the projector location to change the zoom.
6. If you are using the 485MCZ500, to focus, gently twist the front of the lens. To zoom,
loosen thumbscrew and twist the knurled zoom ring and re-tighten the thumbscrew.
CAUTION: When focusing, the 485MCZ500 and 485MCL1625 be sure not to twist lens
completely out of the adapter!
REV 033105 REP
Advertisement
Table of Contents


Need help?
Do you have a question about the 486MCZ500 and is the answer not in the manual?
Questions and answers