Table of Contents
Advertisement
Quick Links
Advertisement
Table of Contents

Subscribe to Our Youtube Channel
Summary of Contents for Axent PRIMUS HI A027
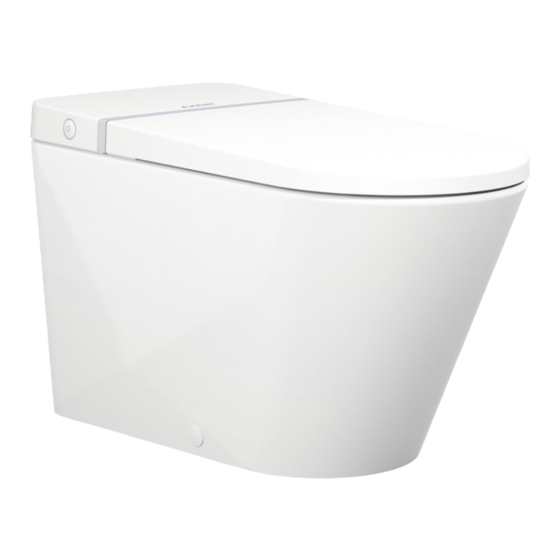
- Page 1 PRIMUS HI Flush Kit Sensor A027 INSTALLATION INSTRUCTION...
-
Page 3: Before You Begin
THANK YOU Thank you for selecting an AXENT Switzerland product. To ensure proper installation, please review these instructions carefully before use. Carefully unpack and examine the toilet before installation. For any questions, contact us at 1-800-769-4857. Thank you again for choosing AXENT. -
Page 4: Safety Symbols
NOTE! Damage to Property NORMAL USAGE This product is meant for indoors usage only. AXENT undertakes no liability for abnormal usage. IMPORTANT SAFEGUARDS READ ALL INSTRUCTIONS BEFORE INSTALLATION AND USING SAVE THESE INSTRUCTIONS A copy of the instructions can also be downloaded from https://axentbath.us. - Page 5 PRIMUS Avoid malfunctions and damage to the product as a result of im- Do not expose the batteries to hot surfaces or direct sunlight to reduce the proper use risk of battery leakage. If battery acid has leaked, avoid contact with skin, eyes and mucous mem- If toilet is moved from a cold location to a warm location, condensation branes.
-
Page 6: Installation
INSTALLATION Standard Delivery Contents atio n set Mo dific T FL US US SM AR PR IM CTI ON INS TRU LAT ION INS TAL 6 mm 6 mm... - Page 7 INSTALLATION INSTALLATION...
- Page 8 INSTALLATION INSTALLATION...
- Page 9 INSTALLATION INSTALLATION NOTE Please ensure that the interior assembly of the base is completed before connecting to this terminal.
- Page 10 INSTALLATION INSTALLATION...
- Page 11 INSTALLATION ø 6 mm 32 mm...
- Page 12 INSTALLATION INSTALLATION...
-
Page 13: Operation
OPERATION REGULAR USE FLUSH ADDITIONAL FEATURES What position the Switch is decides which Operation Mode is. • Position 1 Wave mode Put your hand very nearly front of remote control, and wave it slowly. (You can also touch the front of remote control to activate flush in this mode. -
Page 14: Troubleshooting
Any commitment by AXENT results from the respective warranty. These include the complete and authoritative warranty obligation AXENT. The statements in this manual do not constitute an extension or a restriction of the claims under the warranty provisions. This... - Page 15 AXENT is not responsible for any installation labor charges, removal charges, installation, or other incidental or consequential cost. 2. AXENT’ s sole and maximum liability for breach of its warranties herein is limited to the obligation, at AXENT’ s sole discretion to repair, replace, or make appropriate adjustments to bring the product back to normal operating function.
- Page 16 Place serial number sticker herefor reference: AXENT Corporation Ltd. www.axentbath.us support@axentproducts.com 1-800-769-4857...
- Page 17 RC UNIT PAIRING 6 mm 6 mm N E W AXENT Corporation Ltd. support@axentproducts.com w w w . a x e n t b a t h . u s...
- Page 18 RC UNIT PAIRING AXENT Corporation Ltd. support@axentproducts.com w w w . a x e n t b a t h . u s...
Need help?
Do you have a question about the PRIMUS HI A027 and is the answer not in the manual?
Questions and answers