Advertisement
Quick Links
Advertisement

Related Manuals for Housewatch 55-308


Summary of Contents for Housewatch 55-308
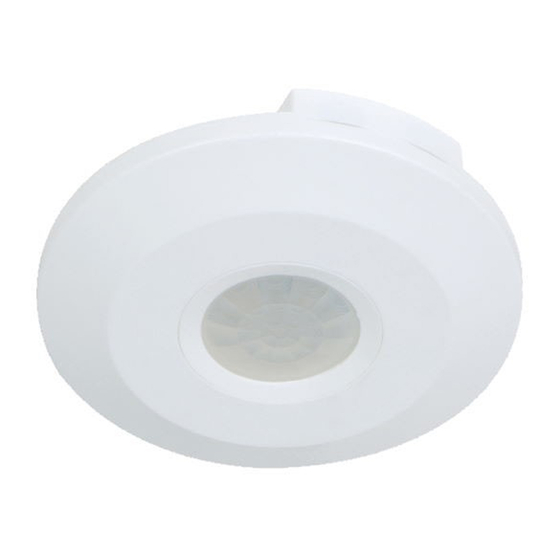
- Page 1 INFRARED SENSOR I N S T R U C T I O N S Model No: 55-308...
-
Page 2: Table Of Contents
CONTENTS INTRODUCTION ..................3 IMPORTANT SAFETY INSTRUCTIONS ............3 INSTALLING THE INFRARED SENSOR ..........4-5 SET UP AND OPERATION ...............6-9 TROUBLESHOOTING................10 TECHNICAL SPECIFICATIONS..............11 WARRANTY INFORMATION ..............12... -
Page 3: Introduction
INTRODUCTION The Housewatch indoor sensor is suitable for installation on ceilings in a range of indoor locations including offices, conference rooms, hotels, hallways, kitchens, pantries etc. IMPORTANT SAFETY INSTRUCTIONS Please follow these instructions carefully before attempting to install and operate this sensor. -
Page 4: Installing The Infrared Sensor
INSTALLING THE INFRARED SENSOR 1) Isolate power FIGURE 1 2) Remove top cover by turning anti-clockwise as per FIGURE 1. 3) Refer FIGURE 1. Use holes A on the sensor housing to mark the position of the fixing screws once the mounting position has been established. 4) If wall plugs are to be used drill a suitable hole to accommodate the wall plugs supplied. - Page 5 INSTALLING THE INFRARED SENSOR FIGURE 2 7) Connect the cable to the terminal block mounted on the back of the sensor housing as per FIGURE 2. 8) Fit the sensor housing to the ceiling using the screws provided. 9) Ensure that associated lighting loads are correctly installed according to the Australian wiring rules.
-
Page 6: Set Up And Operation
SET UP AND OPERATION The indoor sensor is equipped with a highly sensitive PIR (Passive Infrared) motion detector. It utilises the infrared energy from the human body as the control signal source to switch the load on once it enters the detection field. The sensor automatically scans for movement between zones. - Page 7 SET UP AND OPERATION FIGURE 4 Time Duration: The length of time the sensor will activate a load after detection can be adjusted from 10 seconds to 7 minutes ±2 minutes. Rotating the time knob (marked with the clock) anti-clockwise will reduce the duration time. Lux Level: The sensor has a built in photoelectric cell that automatically detects daylight and darkness levels.
- Page 8 SET UP AND OPERATION Walk Test 1) Rotate the Lux knob fully clockwise for daylight operation, set the time control to minimum (anti-clockwise). 2) Turn on the power at the isolating switch. The load should turn on for a short period of time (warm up 30 seconds). 3) Wait another 10 seconds for the circuit to stabilise.
- Page 9 SET UP AND OPERATION Resetting the Sensor into “Manual Mode” 9) To bypass the “AUTO mode” and set the sensor into “MANUAL mode”, turn the wall switch “OFF” and “ON” twice within 2 seconds. Wall switch action: OFF > ON > OFF > ON. 10) Wait for 3 seconds and the light will turn “ON”...
-
Page 10: Troubleshooting
TROUBLESHOOTING Problem Possible Cause Suggested Solution Load does not 1) Auto off time is set 1) Set auto off time to a turn off too long shorter time and check if the load switches off 2) Keep away from detection 2) Sensor is nuisance coverage to avoid triggered... -
Page 11: Technical Specifications
TECHNICAL SPECIFICATIONS Rated Voltage 220-240V ~ 50Hz Rated Load For Lighting LED Lamp: Max. 1000W Tungsten lamp: Max. 2000W Incandescent lamp: Max. 2000W Detection Angle 360° Detection Range Up to 6m at 2.2 to 4m height Auto Time Off From 10 seconds to 7 minutes ±2mins Adjustment Lux Adjustment Adjustable from <3 Lux to 2000 Lux... -
Page 12: Warranty Information
MANUFACTURER’S WARRANTY This Housewatch product is guaranteed for a period of 2 (Two) years from date of purchase, provided the product has been installed in accordance with this instruction manual and local electrical wiring regulations and codes of practice. This guarantee shall become invalid if this product has been incorrectly installed, misused, tampered with or accidentally damaged.
Need help?
Do you have a question about the 55-308 and is the answer not in the manual?
Questions and answers