
Related Manuals for Speedytel PBX220

Summary of Contents for Speedytel PBX220
- Page 1 VoIP communication Deploying the PBX220 IP Telephone System Technical Manual PBX220...
-
Page 2: Table Of Contents
Menu Getting Started ................................4 Introduction ................................. 5 Packing list ................................6 Specification ................................. 6 Hardware Setup ..............................7 First Login to Wizard ............................8 One touch to deploy* ............................15 Dashboard ................................15 Wifi Router ................................. 16 Networks ................................16 WAN/LAN/TimeZone .......................... - Page 3 Glossary ..................................71...
-
Page 4: Getting Started
Thank you for purchasing Speedytel PBX220 ( WiFi Router+ IP PBX).It is one cost-efficient yet easy-to-configure IP PBX in the market today. Administrating a VoIP system can be a daunting task for administrators unfamiliar with VoIP. This guide is designed to help you plan and configure Speedytel PBX220 Voice over IP (VoIP) deployments. -
Page 5: Introduction
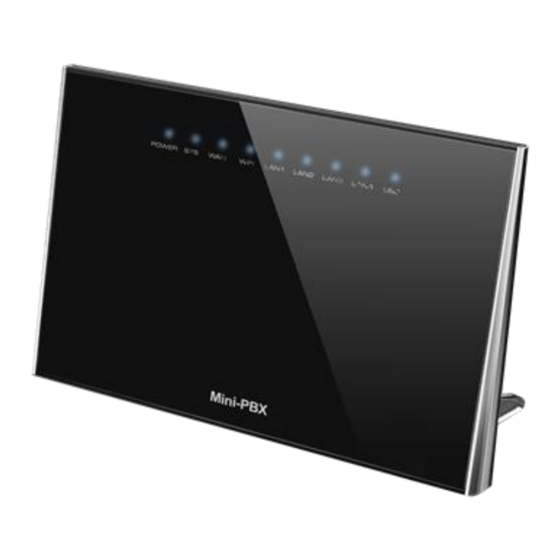
Introduction The Speedytel PBX220 ( 300M WiFi Router+ IP PBX) is the ideal system for small businesses and home offices requiring a pint-sized yet powerful on-premise wifi router IP PBX. The compact solid-state device supports 16 extensions and offers a wide range of IP PBX telephony features. -
Page 6: Packing List
Packing list 1 unit PBX220 1 Piece Power Supply (12V,1A) 1 piece of 2-meter Network cables 1 Piece 8G MLC USB Specification MIPS Processor 64MB RAM/16MB FLASH 1xRJ45 10/100MB Ethernet port WAN 1xRJ45 Debug port Button: Reset Button, One Touch to auto deploy Power adapter: AC 100~240V input and DC 12V/1A output Power consumption: 1.2-2.0W... -
Page 7: Hardware Setup
Hardware Setup You may check the above picture to configurate. Step 1: Connect the LAN port of PBX220 with your corporate IP network. Before you connect the PBX220 to the network, please check if your network can work normally. Step 2: Plug in and open your browser to visit the web address: Http://192.168.1.1... -
Page 8: First Login To Wizard
You can also choose the web language. First Login to Wizard This is your first time to log in, it will show Wizard Processing. It is simple and brief to deploy. In most cases, the default settings can be used for the rest of the configuration. - Page 9 If you want to quit the Wizard, just Abort it.And if you want to access Wizard, just click the Wizad. You can click Prev to return and Next to do the following steps. On the Wizard page, you can set the WAN IP and Time Zone, Wireless, Extension, line provider and PBX.
- Page 10 Next is the WAN and Time Zone as below: You can choose the Protocol Static IP, DHCP, PPPOE Static IP Using a static IP address is the most reliable way to ensure your server IP address does not change. To find an IP address that is not in use on your network and will not be used for another client by the DHCP server or used by some other devices.
- Page 11 Time Zone You can set the local time here and it is important for generating accurate call reports for the system. And Time Frame will also analysis the system time to switch to the proper IVR. If you select the incorrect time zone, or you move to a different time zone later, you can change it in the Wizard or in the Network-WAN/LAN/Time Zone.
- Page 12 Here you can set the wireless option. Enable Wfii and set the SSID( Service Set Identifier) According to the tip in the black, choose your encryption, crypto and key. Now we come to the Extension page. The system has already auto generated 16 SIP extension by default. (PBX200 supports max 16 SIP extensions.) You can set the extension number, password and the caller name.
- Page 13 Next we come to Trunk Setting.
- Page 14 Set a SIP Trunk here. Fill out the Provider Host, account and password from your Internet Telephony Service Provider then one SIP Trunk will be built. PBX220 supports maximum 8 SIP trunks. If you want to build more, just do it in the Line Provider.
-
Page 15: One Touch To Deploy
Next well done! Just confirm to process. Then the PBX220 begin to configure. Now enjoy the HTML5 interface. It will auto-restart the PBX and if you can’t see the page you can refresh it. If you amended the static IP address, re-visit the changed IP. Re-log in, you will see the dashboard of PBX220. -
Page 16: Wifi Router
Usually you will find the information you need here. Wifi Router Networks Here as the same as the setting in the Wizard. You can change the WAN Port here and also Time Zone. -
Page 17: Wan/Lan/Timezone
WAN/LAN/TimeZone Here you can set the WAN port. Here you can set the LAN port. -
Page 18: Wireless
Here you can set the time Zone. Wireless Here is the wireless setting. Just as it in the Wizard. The general setting is the same as it in the Wizard. - Page 19 You will have this option as in Expert below: Channel, HT Bandwidth, Wireless Mode, Tx Power, WMM (Wi-Fi Multimedia) WMM( Wi-Fi Multimedia): is a Wi-Fi Alliance interoperability certification, based on the IEEE 802.11e standard. It provides basic Quality of service (QoS) features to IEEE 802.11 networks.
-
Page 20: Dynamic Dns
Dynamic DNS Here you can set the Dynamic DNS. Dynamic DNS or DDNS is a method of updating, in real time, a Domain Name System (DNS) to point to a changing IP address on the Internet. This is used to provide a persistent domain name for a resource that may change location on the network.
Need help?
Do you have a question about the PBX220 and is the answer not in the manual?
Questions and answers