Advertisement
Quick Links
Advertisement

Subscribe to Our Youtube Channel
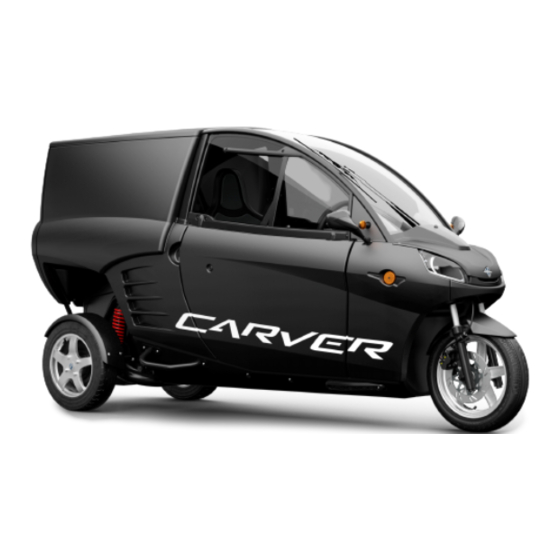
Summary of Contents for Carver Base
- Page 1 QUICK START GUIDE...
- Page 2 We’re delighted to help you start racking up your first miles. In this quick start guide, you’ll find all the information you need to get the most out of Carver. First, we’ll explain where you’re allowed to drive and park with Carver. Then we’ll launch into starting...
-
Page 3: Table Of Contents
TABLE OF CONTENTS Place on the road Driving instructions Dashboard Luggage compartment Convertible roof Charging Bluetooth Ready to get started... -
Page 4: Place On The Road
Carver S+ = Three-wheeled motor vehicle Place on the road for quadricycles With the Carver Base and R+, you fall under the category of quadricycle, which means you have to drive on the carriageway in built-up areas. Outside of built-up areas, you have to ride on cycle paths or 40mph (60km/h) roads. -
Page 5: Driving Instructions
7. Choose the right mode. Press the “D” (Drive) button to go forwards or the “R” (Reverse) button to go backwards. 8. The Carver has two foot pedals: on the left, you’ll find the brake pedal and on the right is the accelerator pedal,... -
Page 6: Dashboard
DASHBOARD The left, right and upper warning lights are located on the dashboard. The dashboard displays all necessary information and beneath the display are two grey buttons. - Page 7 C. Dynamic driving modes create more or less pro- gressive tilting behaviour from the DVC controller. Normal: Standard mode Comfort: Drive more smoothly Sport: The Carver tilts faster and more smoothly D. Speedometer shows the current speed in km/h or mph.
- Page 8 1. Driving mode buttons The N button sets the driving mode to Neutral, the D to Drive and the R to Reverse. 2. Hazard lights To turn on the hazard lights, press the warning triangle button beneath the dashboard. Press the button again to switch off the hazard lights.
- Page 9 7. Windscreen wiper Windows You can control the wiper speed using the switch on the The side windows can be removed by unscrewing the right side of the steering wheel. Flick the switch down two rotary knobs on the door. Once you’ve loosened the to turn on the windscreen wiper.
-
Page 10: Luggage Compartment
Carver You can open the luggage compartment using the key. The Carver has space for 75 litres of luggage. Carver Cargo You can open the luggage compartment on the Cargo using the appropriate key. The Cargo has space for 500... -
Page 11: Convertible Roof
CONVERTIBLE ROOF The Carver has a retractable convertible roof. To open the roof, follow these steps: Open the luggage compartment to release the tension on the convertible roof. Undo the straps on the top of the convertible roof. Roll the roof towards the back and secure it using the two Velcro straps. -
Page 12: Charging
Use the charging cable to charge the Carver. The charging cable can be connected to a normal 230-volt power socket. It is located at the rear of the Carver, under the luggage compartment. You can also charge the battery at a charging station using an adaptor cable. -
Page 13: Bluetooth
BLUETOOTH You can listen to music in your Carver wirelessly via Bluetooth. To connect to the Bluetooth audio system for the first time, follow the steps below: Turn the audio system on by holding down the button in the middle for three seconds. -
Page 14: Ready To Get Started
Click the “N” three times in a row Safety messages Then you use “D” and “R” to calibrate the Carver You drive the Carver like a car, but it protrudes like a straight motorbike when you turn. This is due to the way the Click on the “N”... - Page 15 You’re now ready to start your Carver adventure! If you’d like more information, then use the QR code to view the full manual. Enjoy a unique driving experience with Carver. SCAN ME Contents non-binding. We reserve the right to make changes to specifications and equipment. The information in this quick start guide corresponds to the state of affairs at the time of publication.
- Page 16 www.carver.earth...
Need help?
Do you have a question about the Base and is the answer not in the manual?
Questions and answers