Advertisement
Quick Links
Advertisement

Related Manuals for Wasserstein Solar Charger Compatible with Blink Video Doorbell


Summary of Contents for Wasserstein Solar Charger Compatible with Blink Video Doorbell
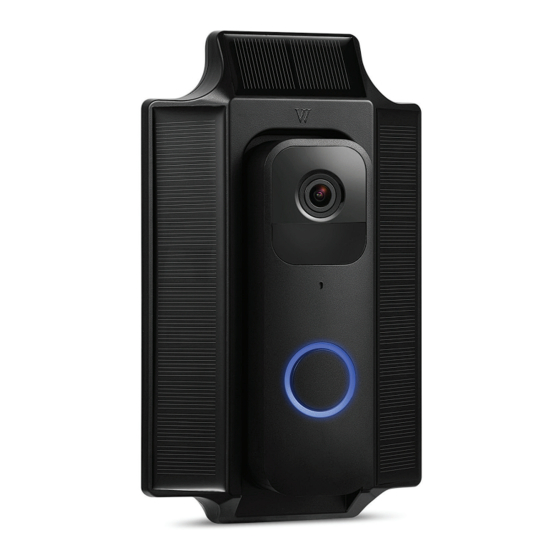
- Page 1 Solar Charger Compatible with Blink Video Doorbell User Manual...
-
Page 2: Important Tips
In the Box 1 x set of screws and wall anchors 1 x solar charger 1 x set of small screws 2 x backplates (BC1 & BC2) Important Tips This solar charger continuously powers the Blink Video Doorbell. It contains a 2000 mAh battery. To maximize the energy output of the solar charger, remember to do the following: •... - Page 3 • Install your solar charger in an area that receives maximum sunlight. • Clean the surface of the solar charger regularly to remove any dust or dirt that could affect its energy conversion. Blink Video Doorbells There are two versions of Blink Video Doorbell: Two mounting holes Three mounting holes Installation with Blink Video Doorbell...
- Page 4 Installing the Blink Video Doorbell with BC1 backplate. This is used to mount the Blink Video Doorbell with two mounting holes. 1. Use the two screws and two wall anchors provided to install the solar charger onto the wall. 2. Install the in-box backplate of the BC1 solar charger on top of the middle cutout with the two small screws provided.
- Page 5 3. Use the key that comes with your Blink Video Doorbell (two mounting holes) to remove the backplate. 4. Remove any existing batteries from the Blink Video Doorbell. 5. Place the top of the Blink Video Doorbell (two mounting holes) on top of the solar charger cutout, so that the hooks line up.
- Page 6 Note: A red LED will begin flashing for a few seconds to indicate that it is seeking a connection. If there is no LED flashing, detach and reinstall (solar charger must be charged for at least 8 hours before use). Installing the Blink Video Doorbell with BC2 backplate.
- Page 7 2. Install the in-box backplate of the BC2 solar charger on top of the middle cutout with the two small screws provided. Note: Please be aware the correct orientation of the BC2 backplate is as pictured above. 3. Use the key that comes with your Blink Video Doorbell (three mounting holes) to remove the backplate.
- Page 8 4. Remove the battery door and any existing batteries from Blink Video Doorbell (three mountng holes). 5. Place the top of the Blink Video Doorbell (three mounting holes) on top of the solar charger cutout, so that the upper hook lines up.
- Page 9 Detaching Doorbell from Solar Charger Blink Video Doorbell (three mounting holes): 1. Use the key that comes with Blink Video Doorbell. 2. Put the key into the opening at the base of the Blink Video Doorbell. The spring will push inward and the doorbell will unlock.
- Page 10 Blink Video Doorbell (two mounting holes): 1. Use the key that comes with Blink Video Doorbell. 2. Put the key into the opening at the base of the Blink Video Doorbell. Page 9...
- Page 11 3. Pull the key towards you and lift up the doorbell to undo the hook and separate from the backplate. Specif ications Dimensions: 7.36 x 4.33 x 1.18 in Battery capacity: 2000 mAh Output voltage: 3V DC Power: 0.6 W Materials: ABS + PC Page 10...
- Page 12 Get More Support Scan the QR code below or email us at contact@wasserstein-home.com. Blink Video Doorbell is not included. Wasserstein is a trademark of Dropcases Ltd. @2022 Amazon.com, Inc. or its affiliates. Amazon, www.wasserstein-home.com Alexa, Blink, and all its related marks are trademarks of Amazon.com, Inc.
Need help?
Do you have a question about the Solar Charger Compatible with Blink Video Doorbell and is the answer not in the manual?
Questions and answers