
Related Manuals for Aspira SUPERKALI DRY

Summary of Contents for Aspira SUPERKALI DRY
- Page 1 ASCIUGAMANI ELETTRICO M A N U A L E D ’ U S O E D I I N S T A L L A Z I O N E P A G . 3 ELECTRIC HAND DRYER U S E R A N D I N S T A L L A T I O N M A N U A L P A G .
-
Page 3: Caratteristiche Tecniche
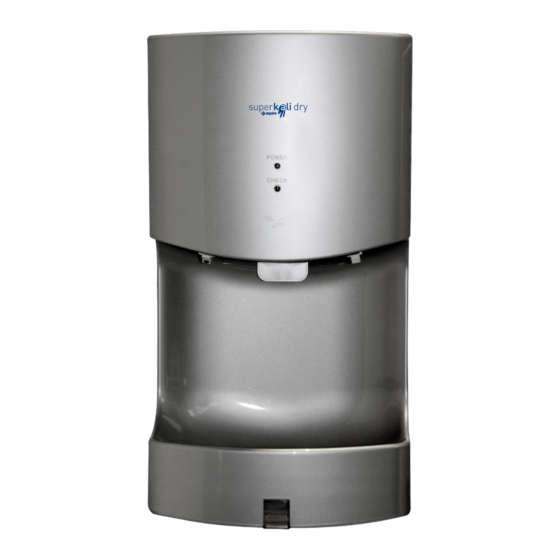
I T A L I A N O CARATTERISTICHE TECNICHE CONTENUTO DELLA CONFEZIONE Asciugamani elettrico a lama d’aria 1 Asciugamani elettrico Tensione: 220-240V 5 Viti 5x30mm autofilettanti Motore: brush-less 5 Tasselli 5mm Fasi: Monofase 1 Istruzioni per l'uso Distanza sensore: 11-13 cm Potenza: 1400-1650W Classe di protezione: IPX4 Velocità... -
Page 4: Nome Dei Componenti
I T A L I A N O Precauzioni durante l’installazione: • Fare installare il prodotto da personale professionalmente qualificato • Non installare il prodotto con tensione inserita • Occorre prestare particolare attenzione quando l’apparecchio è situato in zone occupate da bambini o invalidi. •... -
Page 5: Schema Elettrico
I T A L I A N O 4. SCHEMA ELETTRICO Fusibile Indicatore Alimentazione Sonda temperatura Sonda sensore Controllo Relé Deviatore temperatura Resistenza Interruttore termico Fusibile termico 5. PRECAUZIONI PRIMA DELL’INSTALLAZIONE E LUOGO DI INSTALLAZIONE Non installare nei seguenti ambienti (potrebbe causare malfunzionamenti): •... -
Page 6: Istruzioni Di Montaggio
I T A L I A N O 6. ISTRUZIONI DI MONTAGGIO Cavo di alimentazione Collegamento elettrico (messa a terra) • Quando si vuole utilizzare l’apparecchio senza scatola di derivazione, è necessario installare, dal lato di uscita del cavo dell’asciugamani, una presa Schuko. La distanza deve essere compresa tra 20-50 centimetri. -
Page 7: Prova Di Funzionamento
I T A L I A N O 7. PROVA DI FUNZIONAMENTO Test Corretta installazione Problemi Controllare il fissaggio sulla L’apparecchio è installato saldamente se non L’apparecchi potrebbe vibrare o staccarsi dalle staffe se non staffa vi sono oscillazioni. fissato saldamente. Controllare la potenza e la Si prega di utilizzare la tensione nominale. - Page 8 I T A L I A N O 9. SMALTIMENTO A T T E N Z I O N E : Informazione importante per lo smaltimento ecosostenibile dell’apparecchio Il simbolo del cassonetto barrato riportato sull’apparecchiatura indica che il prodotto alla fine della propria vita utile deve essere raccolto separatamente dagli altri rifiuti.
-
Page 9: Technical Characteristics
E N G L I S H TECHNICAL CHARACTERISTICS PACKING LIST 1 Hand Dryer Hand Dryer 5 self tapping screw 5x30mm Voltage: AC220-240V 5 expansion pipe (5mm) Motor: Brush motor 1 User manual Phase: Single-phase Sensing distance: 11 - 13cm Input: 1400-1650W Protection class: IPX4 Air speed: 105m/s = 380 Km/h... -
Page 10: Name Of Each Part
E N G L I S H Attention when installation: • Do not install when the machine are power connected . • This appliance is not intended for use by persons(includingchildren) with reduced physical, sensory or mental capabilities ,or lack of experience and knowledge, unless they have been given supervision or instruction concerning use of the appliance by a person responsible for their safety. -
Page 11: Electrical Diagram
E N G L I S H 4. ELECTRICAL DIAGRAM 5. PRECAUZIONI PRIMA DELL’INSTALLAZIONE E LUOGO DI INSTALLAZIONE Do not install in the following places (otherwise may cause malfunction). • Place with temperature below 10°C or above 40°C • Place directly sprinkled by water •... - Page 12 E N G L I S H 6. INSTALL METHOD Connect the line • When installing dryer without junction box , you should install above the right side of dryer two-hole standard outlet corresponds to hand dryer .The distance should be 20-50cm. •...
-
Page 13: Daily Use And Maintenance
E N G L I S H 7. TEST RUN Steps Confirm information Check & Notice Shake the machine gently. The machine is installed firmly without It will occur shaking and noisy when the machine shaking. doesn't install firmly. Confirm the power and Please use the rated voltage. - Page 14 E N G L I S H 9. DISPOSAL W A R N I N G : Important information concerning the environment friendly disposal of the appliance This product conforms to EU Directive 2002/96/EC. The symbol of the barred waste bin indicates that, at the end of its useful life, the product has to be collected separately from the domestic waste.
- Page 16 FANTINI COSMI S.P.A. Via Dell’Osio, 6 - 20049 Caleppio di Settala, Milano, Italia Tel. +39 02 956821 | Fax +39 02 95307006 www.fantinicosmi.it | supportotecnico@aspira.it...
Need help?
Do you have a question about the SUPERKALI DRY and is the answer not in the manual?
Questions and answers