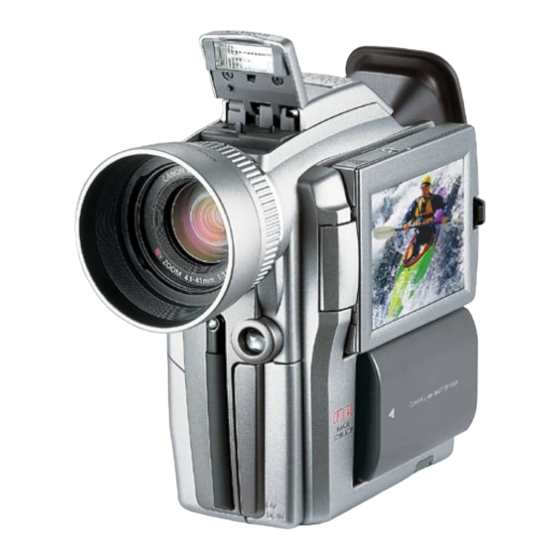
Canon optura 200 MC Instruction Manual
Hide thumbs
Also See for optura 200 MC:
- Instruction manual (106 pages) ,
- Brochure (6 pages) ,
- Software manual (60 pages)

Related Manuals for Canon optura 200 MC


Summary of Contents for Canon optura 200 MC
- Page 1 PUB.DIM-483 DIGITAL VIDEO CAMCORDER ENGLISH Instruction Manual CAMESCOPE ET LECTEUR VIDEO NUMERIQUES FRANÇAIS Mode d’emploi VIDEOCAMARA Y GRABADORA DIGITAL ESPAÑOL Manual de Instrucciones Digital Mini Video Cassette NTSC...
- Page 2 If such changes or modifications should be made, you could be required to stop operation of the equipment. Canon U.S.A. Inc. One Canon Plaza, Lake Success, NY 11042, U.S.A. Tel No. (516)328-5600 CAUTION: TO PREVENT ELECTRIC SHOCK, MATCH WIDE BLADE OF PLUG TO WIDE SLOT, FULLY INSERT.
- Page 3 IMPORTANT SAFETY INSTRUCTIONS In these safety instructions the word 10. Power Sources — The CA-560 Compact “product” refers to the Canon Digital Video Power Adapter should be operated only Camcorder OPTURA200 MC A and all its from the type of power source indicated accessories.
- Page 4 When replacement of power supply is required, please return it to the responsible nearest Canon Service Center and please replace it with the same type number CA-560 or equivalent. The Adapter can be used with a power supply between 100 and 240 V AC.
- Page 5 For details, please refer to this instruction manual. Trademark Acknowledgements • Canon is a registered trademark of Canon Inc. • ArcSoft is a trademark or registered trademarks of ArcSoft, Inc. • Macintosh is a trademark of Apple Computer Inc., registered in the United States and other countries.
- Page 6 Using Digital Effects ......65 INSTRUCTIONS ........3 Using the Multi-Image Screen ....71 Reference Guide........5 Audio Recording ........73 Thank you for Choosing a Canon ..8 Setting the Self-Timer......75 Introducing the OPTURA200 MC ..9 Manual Adjustments Mastering the Basics Adjusting Exposure Manually ....77 Finding Your Way Around Setting the Shutter Speed ....79...
- Page 7 Combining Images (Card Mix) ..142 Using a Memory Card Copying Still Images from Tape to Memory Card Introduction ....107 Memory Card ......147 Recording Still Images onto a Copying Still Images from Memory Memory Card ......112 Card to Tape ........148 Recording Still Images from a tape ..115 Formatting a Memory Card ....149 Recording Still Images from Other Connecting to a PC Using a...
- Page 8 Thank You for Choosing a Canon First, we’d like to thank you for Your camcorder is supplied with the purchasing this Canon camcorder. Its following accessories: advanced technology makes it very WL-D78 Wireless Two AA batteries WL-D74 Wireless Two AA batteries easy to use —...
- Page 9 PC with a built-in USB port. You can organize and edit still images/movies on your PC using the supplied software. Optical Image Stabilizer Canon’s optical IEEE 1394 DV Terminal technology stabilizes your recordings even in The DV terminal allows high-quality long telephoto shots.
- Page 10 Finding Your Way Around the OPTURA200 MC Flash button (p. 58)/ (play/pause) button (stop) button (p. 32)/ (p. 32) INDEX SCREEN button (p. 124) INDEX SCREEN Self-timer button (p. 75)/ – REC PAUSE (Line-in) button REC (record) SEARCH button(p. 39)/ (p.
- Page 11 PHOTO button Stereo microphone (p. 73, 101) (p. 56, 112) Built-in speaker (p. 35) Zoom lever (p. 25) Backup battery cover Viewfinder (p. 156) (p. 160) AV (audio/video) MENU button (p. 41) IN/OUT terminal (p. 36, 94)/ AV IN/OUT (phones) terminal (p.
- Page 12 Built-in Flash (p. 58) Focus ring (p. 81) DV IN/OUT terminal Lens hood (p. 156) (p. 92) USB terminal Tally lamp (p. 23) (p. 150) CHARGE indicator (p. 14) (LANC) terminal (p. 91) Remote sensor (p. 50) Super Night LED (white LED) DC IN terminal (p.
- Page 13 Powering Your Camcorder Before operating your camcorder, you will need to use the power adapter to: Provide power from a household power socket Charge a battery pack Notes: • The power adapter converts current from a household power socket (100–240 V AC, 50/60 Hz) to the DC current used by your camcorder. •...
- Page 14 Attaching and Charging the Battery Packs CHARGE indicator Your battery pack has been partially charged before it left the factory. It should have enough power for you to check that your camcorder is working properly. Charge the battery pack fully if you want it to power the camcorder for more than a few minutes.
- Page 15 6. Remove the battery pack after use. Press the BATT. RELEASE button and remove the battery. Note: • You can find details for using the batteries in the “Notes on Using the Batteries” ( 158). These notes include charging and recording times and how to install the backup battery.
- Page 16 Using the Charge Adapter CR-560 Kit (optional) The Compact Power Adapter CA-560 supplied with the camcorder can be used along with the CR-560 Kit for 3 different ways to power the camcorder or charge battery packs: 1. Charge the BP-500 Series battery packs with power from your car battery. 2.
- Page 17 2. Operate the camcorder with power from your car battery. Camcorder + DC Cable + Charge Adapter + Car Battery Cable → car’s cigarette lighter To car’s cigarette lighter 3. Charge the BP-500 Series battery packs from a household power socket. 1 or 2 battery pack(s) + Charge Adapter + Compact Power Adapter CHARGE •...
- Page 18 Loading a Cassette OPEN/EJECT Only use videocassettes marked with the D logo.* Loading and Unloading 1. Make sure that you have attached a power source. 2. Slide the OPEN/EJECT 5 switch (on the bottom of the camcorder) to release the cassette compartment cover. •...
- Page 19 Protecting Tapes from Accidental Erasure SAVE SAVE To protect your recording from accidental erasure, slide the tab on the cassette so that it exposes the hole. (This switch position is usually labelled SAVE or ERASE OFF.) If you load this cassette and put the camcorder in record pause mode 20), “THE TAPE IS SET FOR ERASURE PREVENTION”...
- Page 20 Basic Recording CARD TAPE 5, 6 Before You Start Recording Have you completed the following steps? • Attaching a power source ( 13). • Removing the lens cap ( 157). • Fastening the grip belt ( 157). • Attaching the lens hood ( 156).
Need help?
Do you have a question about the optura 200 MC and is the answer not in the manual?
Questions and answers