Sign In
Upload
Download
Table of Contents
Contents
Add to my manuals
Delete from my manuals
Share
URL of this page:
HTML Link:
Bookmark this page
Add
Manual will be automatically added to "My Manuals"
Print this page
×
Bookmark added
×
Added to my manuals
Manuals
Brands
Flight Sounds Manuals
GPS
SOLO-GA
User manual
Flight Sounds SOLO-GA User Manual
Hide thumbs
1
Table Of Contents
2
3
4
5
6
7
8
9
10
11
12
13
14
page
of
14
Go
/
14
Contents
Table of Contents
Bookmarks
Table of Contents
Table of Contents
Contents
Important Information
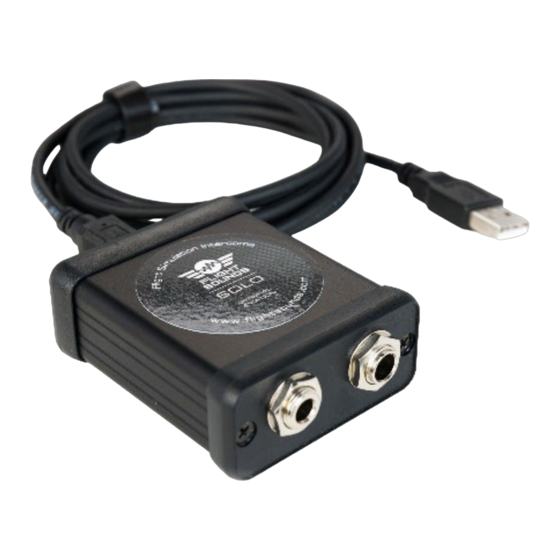
Product Overview
Description
Requirements
Product Items Supplied
Key Features and Specifications
Set-Up Guide
Operating Set-Up - Windows 11
Basic Setup
Volume and Mute Settings
Operating Set-Up - Macos 13.0
Basic Setup
Volume and Mute Settings
Technical Support and Contact Info
Limited Warranty
Terms and Conditions of Service
Advertisement
Quick Links
Download this manual
User Manual for Flight Sounds Products:
SOLO-GA / 3
•
SOLO-H / 3
•
SOLO-M / 3
•
2022-11-04
© 2022 FLIGHT SOUNDS LTD, all rights reserved
www.flightsounds.com
Page 1 of 14
Table of
Contents
Previous
Page
Next
Page
1
2
3
4
5
Advertisement
Table of Contents
Need help?
Do you have a question about the SOLO-GA and is the answer not in the manual?
Ask a question
Questions and answers
Related Manuals for Flight Sounds SOLO-GA
GPS Flight Sounds SOLO-M User Manual
(14 pages)
GPS Flight Sounds DUALPRO-GA User Manual
(23 pages)
This manual is also suitable for:
Solo-h
Solo-m
Table of Contents
Print
Rename the bookmark
Delete bookmark?
Delete from my manuals?
Login
Sign In
OR
Sign in with Facebook
Sign in with Google
Upload manual
Upload from disk
Upload from URL


Need help?
Do you have a question about the SOLO-GA and is the answer not in the manual?
Questions and answers