Xerox Phaser 5335 Installation Manual
Network expansion card
Hide thumbs
Also See for Phaser 5335:
- User manual (230 pages) ,
- Printing manual (110 pages) ,
- Specifications (2 pages)
Table of Contents
Advertisement
Available languages
Available languages
Quick Links
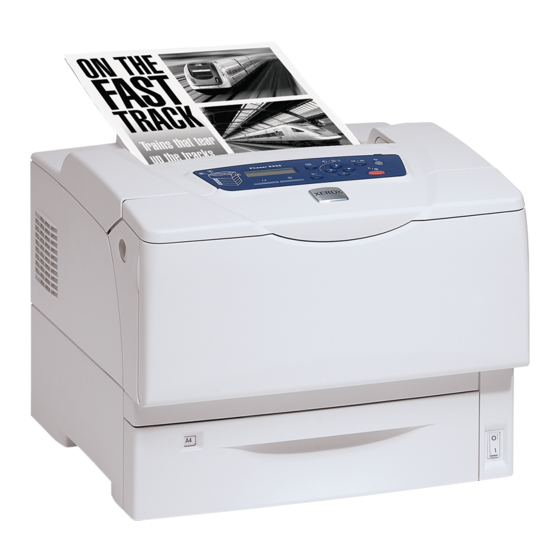
Phaser 5335
Network Expansion Card
Installation Guide
Thank you for purchasing the network expansion card.
This guide is intended for first-time users and gives instructions on installing the product.
To ensure safe operation of the printer, be sure to read "Safety Notes" in the 'User Guide'
before starting the installation.
WARNING
• This equipment has been designed to restrict operator access to safe areas only.
Operator access to hazardous areas is restricted with covers or guards, which would
require a tool to remove. Never remove these covers or guards.
Important
• Before plugging or unplugging the interface cable connector, be sure to switch off the printer or unplug
the power cord from the power outlet. Plugging or unplugging the connector when the printer is on can
cause printer failure.
• If installing the network expansion card when the printer is used in a network environment, the entire
network-related settings will be initialized to the defaults. Before installing the network expansion card,
we suggest yourecord the current settings by printing out the [Printer Settings] list. Refer to the 'User
Guide' on how to print the [Printer Settings] list.
Checking the Package Contents
The packaging box contains the following items. If you find any items missing, please
contact our Customer Support Center or your dealer.
• Network expansion card
Part Number: 701P47286
Ver 1.0 December 2007
• 2 screws
• This guide
1
Advertisement
Table of Contents

Related Manuals for Xerox Phaser 5335


Summary of Contents for Xerox Phaser 5335
- Page 1 Phaser 5335 Network Expansion Card Installation Guide Thank you for purchasing the network expansion card. This guide is intended for first-time users and gives instructions on installing the product. To ensure safe operation of the printer, be sure to read "Safety Notes" in the ‘User Guide’...
-
Page 2: Installation Procedure
Installation Procedure The network expansion card goes on the controller board right above additional memory (optional). If you purchased additional memory, install it before installing the network expansion card. For information on how to install additional memory, refer to the ‘User Guide.’... - Page 3 Pull the rear cover forward and remove it from the printer. Loosen the three screws that secure the metal plate cover inside the printer. Pull the metal plate cover forward and remove it from the printer. Align the connector of the network Card connector expansion card with the card connector (located at the left of the controller board)
- Page 4 Secure the card by hand-tightening the two screws (supplied) on the outside of the printer. 10. Re-attach the metal plate cover on the printer by tightening the three screws loosened in Step 4. 11. Re-attach the rear cover on the printer by tightening the two screws removed in Step 2.
-
Page 5: Vérification Du Contenu De L'emballage
Phaser 5335 Guide d'installation de la carte d'extension réseau Nous vous remercions d'avoir choisi la carte d'extension réseau. Ce guide est conçu à l'intention des utilisateurs inexpérimentés et fournit des instructions d'installation du produit. Pour assurer l'utilisation en toute sécurité de l'imprimante, veillez à lire les mentions de sécurité... -
Page 6: Procédure D'installation
Procédure d'installation L'emplacement de la carte d'extension réseau se situe sur la carte contrôleur juste au- dessus de la mémoire supplémentaire (en option). Si vous avez également fait l'acquisition d'une carte mémoire supplémentaire, installez cette dernière avant d'installer la carte d'extension réseau. - Page 7 Tirez le capot arrière vers l'avant et retirez- le de l'imprimante. Desserrez les trois vis qui fixent la plaque métallique à l'intérieur de l'imprimante. Tirez la plaque métallique vers l'avant et retirez-la de l'imprimante. Alignez le connecteur de la carte Connecteur de la d'extension réseau sur le connecteur de la carte...
- Page 8 Fixez la carte en resserrant manuellement les deux vis (fournies) sur l'extérieur de l'imprimante. 10. Ré-installez la plaque métallique sur l'imprimante en resserrant les trois vis dévissées à l'étape 4. 11. Ré-installez le capot arrière sur l'imprimante en resserrant les deux vis enlevées à...
-
Page 9: Verificación Del Contenido Del Paquete
Phaser 5335 Guía de instalación de la tarjeta de expansión de red Gracias por comprar la tarjeta de expansión de red. Esta guía se ha creado para nuevos usuarios e incluye instrucciones para instalar el producto. Para asegurarse de utilizar la impresora de forma segura, no olvide leer las "Notas de seguridad"... -
Page 10: Procedimiento De Instalación
Procedimiento de instalación La tarjeta de expansión de red se instala en la tarjeta del controlador, directamente arriba de la memoria adicional (opcional). Si ha comprado memoria adicional, instálela antes de instalar la tarjeta de expansión de red. Para averiguar cómo instalar la memoria adicional, consulte la ‘Guía del usuario.’... - Page 11 Levante la puerta posterior hacia adelante y retírela de la impresora. Afloje los tres tornillos que sujetan la tapa metálica que está en el interior de la impresora. Levante la tapa metálica hacia el frente y retírela de la impresora. Alinee el conector de la tarjeta de Conector de tarjeta expansión de red con el conector de la...
- Page 12 Fije la tarjeta, apretando a mano los dos tornillos (incluidos) en la parte externa de la impresora. 10. Vuelva a instalar la tapa metálica en la impresora, apretando los tres tornillos que aflojó en el paso 4. 11. Vuelva a instalar la puerta posterior en la impresora, apretando los dos tornillos que retiró...
-
Page 13: Проверка Комплекта Поставки
Phaser 5335 Руководство по установке сетевой платы расширения Спасибо за покупку сетевой платы расширения. Данное руководство предназначено для начинающих пользователей и содержит указания по установке устройства. Для обеспечения безопасной эксплуатации принтера перед началом установки прочтите раздел «Правила техники безопасности» в руководстве пользователя. -
Page 14: Процедура Установки
Процедура установки Сетевая плата расширения вставляется в плату контролера, непосредственно над дополнительным модулем памяти (дополнительная комплектация). Если куплен дополнительный модуль памяти, сначала установите его, а затем сетевую плату расширения. Описание установки дополнительного модуля памяти см. руководство пользователя. Сетевая плата расширения Дополнительный... - Page 15 Вытяните заднюю крышку вперед и снимите её с принтера. Отверните три винта крепления металлической пластины внутри принтера. Вытяните металлическую пластину вперед и снимите её с принтера. Совместите разъем на сетевой плате Разъем платы расширения с разъемом платы (расположенным с левой стороны платы контроллера) и...
- Page 16 Закрепите плату, вкрутив рукой два винта (из комплекта поставки) снаружи принтера. 10. Вставьте в принтер металлическую пластину и закрепите тремя винтами, вывернутыми при выполнении пункта 4. 11. Вставьте в принтер заднюю крышку и закрепите двумя винтами, вывернутыми при выполнении пункта 2. 12.
Need help?
Do you have a question about the Phaser 5335 and is the answer not in the manual?
Questions and answers