
Related Manuals for GMC RT200


Summary of Contents for GMC RT200
- Page 1 INSTRUCTION MANUAL Router Table RT200 • Melbourne • Perth • Auckland • Hong Kong • Shanghai • Taipei • New York • Verona • London • Paris 031209 ED8 DR...
-
Page 2: Table Of Contents
Mounting a router other than the R1250 Attaching a table insert It also does not cover any bonus accessories unless the tool is a GMC Platinum Professional model. Operation Adjusting the depth of cut Please ensure that you store your receipt in a safe place. -
Page 3: Introduction
New Zealand. Wear eye protection. Wear breathing protection. Introduction Conforms to relevant Your new GMC power tool will more than satisfy your safety standards. expectations. It has been manufactured under stringent GMC Quality Standards to meet superior performance Specifications criteria. -
Page 4: General Safety Instructions
General safety instructions jewellery. They can be caught in moving parts. Rubber gloves and non-slip footwear are recommended when To use this tool properly, you must observe the safety working outdoors. If you have long hair, wear a regulations, the assembly instructions and the operating protective hair covering. -
Page 5: Additional Safety Rules For Router Tables
17. Use outdoor rated extension cords. or changing accessories. The router could start When a tool accidentally. is used outdoors, use only extension cords that are intended for outdoor use and are so marked. • Make sure the router is fully and securely attached to 18. -
Page 6: Assembly
will cause the work piece to “climb” up on the bit pulling the work piece and possibly your hands into the rotating bit. • Guide the work piece by the fence to maintain control. Do not place material between the router bit and fence while routing the edge. -
Page 7: Unpacking
11. Mitre gauge lock knob Due to modern mass production techniques, it is unlikely that your GMC Power Tool is faulty or that a part is 12. Mitre gauge bar missing. If you find anything wrong, do not operate the 13. -
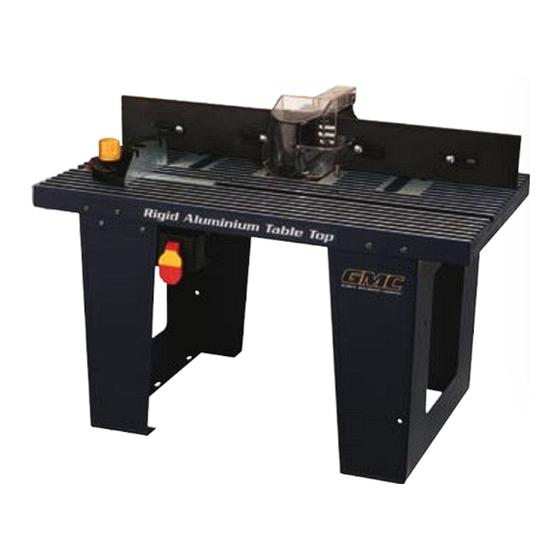
Page 8: Know Your Product
Know your product 13 4 Before using the router table, familiarise yourself with all the operating features and safety requirements. 1. Table 2. Left table leg 3. Right table leg 4. Table inserts (x3) 5. On/off switch 6. Switch disabling insert 7. -
Page 9: Attaching The Legs
Attaching the legs the 2 holes at the top of the left leg. 6. Secure the switch box to the leg with the 2 Philips 1. Place the table (1) upside down on a flat surface. The head screws. hole and slots in the table should be furthest away from you. -
Page 10: Attaching The Fence To The Table
Attaching the fence to the table opening on the left side of the table and through the opening on the left side of the fence. Secure the bolt The rear fence (7) is slideable and attaches to the table with a flat washer and a large lock knob. through the two channel openings on the table. -
Page 11: Assembling The Mitre Gauge
Mounting an R1250 router opening on the bar. The router plate supplied has been designed to suit the GMC R1200, R1250 and R2050 routers. 1. Remove the plate from the bottom of the table by loosening the 4 screws. 1. Remove the lock knob from the mitre gauge bar. -
Page 12: Mounting A Router Other Than The R1250
5. Once the router is secured 6. Double check you have the tracing paper the correct to the router plate place it way up so that the router when mounted from under the table underneath lines up with the centre of the hole in the router plate and the marked holes you are about to drill 6. -
Page 13: Operation
Operation Adjusting the fence Once the router is properly installed and connected to the The fence can be adjusted in various ways to router table you can use the safety switch on the router accommodate the size and shape of a particular work table to turn the router on. -
Page 14: Maintenance
material and adjust the outfeed fence so that it supports the cut material, compensating for the removed stock. Maintenance Cleaning 1. Keep the tool’s air vents unclogged and clean at all times. 2. Remove dust and dirt regularly. Cleaning is best done with a rag. - Page 15 • GMC Product Type • GMC Product Code A GMC Service Engineer will take your call and, in most cases, will be able to solve your problem over The GMC 777 Helpline operates from 7am to the phone. 7pm, 7 days a week (EST). This allows you...
Need help?
Do you have a question about the RT200 and is the answer not in the manual?
Questions and answers