Advertisement
Quick Links
mods4cars product manual
We explicitly point out that all functions of this control unit should be
used only while exercising caution and responsibility. We can NOT be
held liable for any damage or injury caused by installing or using this
PLEASE READ THE COMPLETE MANUAL CAREFULLY BEFORE USING
1 di 9
INSTALLATION
Comfort Roof Control Module for
!"Peugeot 307cc (CAN Bus)
Further information and manuals for all products can be found on our web site
w w w . m o d s 4 c a r s . c o m
THIS PRODUCT.
http://www.mods4cars.com/sms/db/smarttop/ext/support/manuals/peugeo...
STLFPT2
v1.0
product.
26/06/22, 19:44
Advertisement

Subscribe to Our Youtube Channel
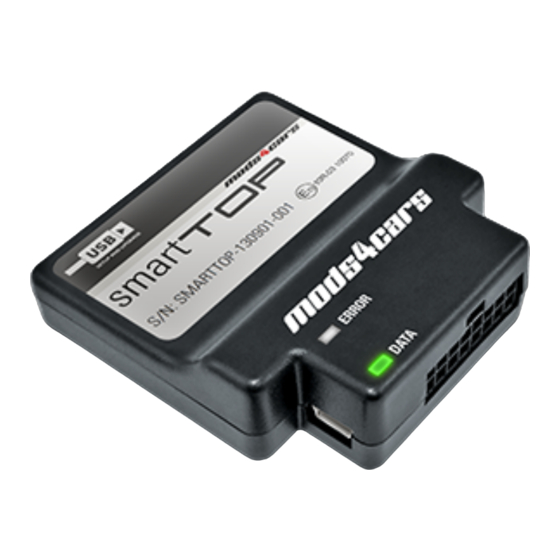
Summary of Contents for mods4cars smartTOP
- Page 1 INSTALLATION STLFPT2 Comfort Roof Control Module for !"Peugeot 307cc (CAN Bus) v1.0 Further information and manuals for all products can be found on our web site w w w . m o d s 4 c a r s . c o m ...
- Page 2 Important Information. READ BEFORE INSTALLING! PRINTING THIS MANUAL This manual is designed to produce completely filled pages. In order to get best print results, simply set the borders to minimum settings in the browser's page setup menu and disable headers and footers.
- Page 3 This module comes with our USB Field Upgrade and Configuration Port! We recommend connecting it to a computer BEFORE YOU INSTALL and using our support app "m4cconnect" to do a quick firmware update check. M4cconnect as well as all other information regarding USB update and configuration can be found at...
- Page 4 FUNCTION OF THE DATA The DATA LED shows the module status and helps troubleshooting issues during installation: • When the ignition is ON: The LED should BLINK (flash) in a regular pattern (about 1x per second). This indicates that the module is receiving data and should work OK.
-
Page 5: Installation Steps
Installation - Steps 1-3 1. IMPORTANT: Turn off ignition and pull key out before continuing! Open trunk and remove bottom cover. Remove the styrofoam carrier or (or spare wheel). Remove the two screws (1) and (2) on each side of the back panel. - Page 6 3. Remove screw (1). 6 di 9 26/06/22, 19:44...
- Page 7 Installation - Steps 4-6 4. Lift the plastic cover up and over the bolts on the botton, then pull it out in the direction of the arrow. 5. Underneath is the top control unit (1), which simply sits in a gap in the styrofoam carrier.
- Page 8 6. Using combination pliers, attach the supplied red wire tap to the light beige wire no. 10 on the black/red plug as shown. 8 di 9 26/06/22, 19:44...
- Page 9 Installation - Steps 7-8 7. Connect the plug from the smartTOP wiring harness to the tap, then remove the yellow plug from the control unit and plug the wiring harness in between as shown. Attach the smartTOP module to the harness.


Need help?
Do you have a question about the smartTOP and is the answer not in the manual?
Questions and answers