Table of Contents
Advertisement
Quick Links
EAN-USB3 Vision Cameras
2022-12-19
Exports:
Export Summary Sheet
EULA:
End User License Agreement
Web:
sightlineapplications.com
1
Overview ................................................................ 1
1.1
Additional Support Documentation ....................... 1
1.2
SightLine Software Requirements .......................... 1
1.3
Third Party Software .............................................. 1
2
Safe Device Handling .............................................. 1
3
4000-OEM USB Overview....................................... 2
3.1
Connector J7: Debug only ...................................... 2
4
4000-OEM USB Camera Bench Setup .................... 2
5
Configuration Settings Overview ........................... 3
5.1
Acquisition Settings ................................................ 4
6
Camera Discovery .................................................. 4
6.1
Alternative Camera Discover Method .................... 5
7
Advanced Configuration Options ........................... 6
7.1
Optional Supported Formats ................................. 6
7.2
Camera Passthrough Options ................................ 7
CAUTION: Alerts to a potential hazard that may result in personal injury, or an unsafe practice that causes damage to the equipment
if not avoided.
IMPORTANT: Identifies crucial information that is important to setup and configuration procedures.
Used to emphasize points or remind the user of something. Supplementary information that aids in the use or understanding of the
equipment or subject that is not critical to system use.
© SightLine Applications, Inc.
Sales:
sales@sightlineapplications.com
Support:
support@sightlineapplications.com
7.3
Common USB3 Vision Features ............................. 7
7.3.1 DeviceLinkThroughputLimit Feature ...................... 8
7.4
Retrieving USB3 Vision Feature List ....................... 8
7.5
Querying USB3 Vision Features ............................. 9
7.6
Setting USB3 Vision Features ............................... 10
8
FLIR FireFly USB Configuration Example .............. 10
8.1
Setting Frame Rate and Pixel Format .................. 10
8.2
Acquisition Settings.............................................. 12
9
Troubleshooting ................................................... 12
9.1
Questions and Additional Support ....................... 14
Cameras .......................................................................... 14
Troubleshooting ............................................................. 16
Phone: +1 (541) 716-5137
Advertisement
Table of Contents

Subscribe to Our Youtube Channel
Related Manuals for SightLine EAN-USB3


Summary of Contents for SightLine EAN-USB3
-
Page 1: Table Of Contents
Overview ..............1 Common USB3 Vision Features ......7 Additional Support Documentation ....... 1 7.3.1 DeviceLinkThroughputLimit Feature ...... 8 SightLine Software Requirements ......1 Retrieving USB3 Vision Feature List ....... 8 Third Party Software ..........1 Querying USB3 Vision Features ......9 Safe Device Handling .......... -
Page 2: Overview
Help menu of the Panel Plus application. The Interface Command and Control (IDD) describes the native communications protocol used by the SightLine Applications product line. The IDD is also available as a PDF download on the Software Downloads page. -
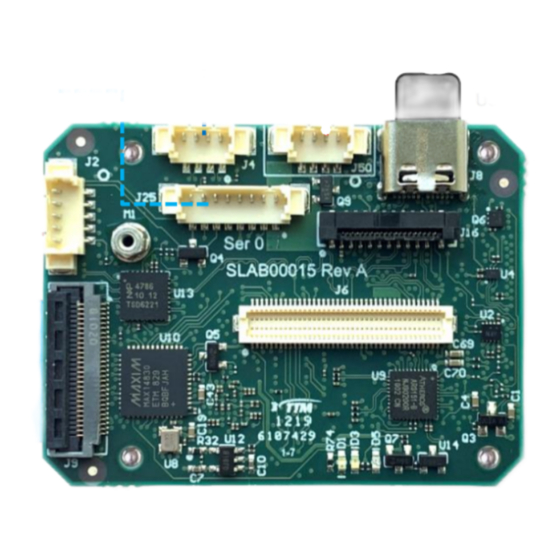
Page 3: 4000-Oem Usb Overview
SLA-CAB-1504 / SLA-PWR-B12V-36W (110-250VAC input / 12VDC output): Connects to J50 on the • 4000-OEM board. Power and network connectivity LEDs: A green light (D1) on the 4000-OEM board indicates that all boards are powered on. An amber light (D5) verifies network connection. © SightLine Applications, Inc. -
Page 4: Configuration Settings Overview
IMPORTANT: This procedure assumes that the customer has read the OEM startup guide and has a basic understanding of the following fundamentals: Completed a functional connection between the SightLine video processing board and Panel • Plus application. Familiar with Panel Plus controls. -
Page 5: Acquisition Settings
For software versions 3.4.x and below use arv-tool-0.6. For software versions 3.5.x and above use version arv-tool-0.8. 1. Establish an SSH session to the OEM hardware with Tera Term. 2. Discover the camera. From the SD> prompt type: 3.4.x and below: arv-tool-0.6 3.5.x and below: arv-tool-0.8 © SightLine Applications, Inc. -
Page 6: Alternative Camera Discover Method
3. Add the following line to this file: /etc/udev/rules.d/aravis.rules (see Appendix SUBSYSTEM==”usb”, ATTRS {idVendor}==”<<idVendor from lsusb>>”, MODE:=”0666”, TAG+=”uaccess”, TAG+=”udev-acl” 4. From the main menu in Panel Plus » Parameters » Save to Board. 5. Main menu » Reset » Board. © SightLine Applications, Inc. -
Page 7: Advanced Configuration Options
In the Acquisition Settings Options field, enter the format options in lower case. Use comma separated values, e.g., fmt=yuyv,fps=30. Make sure the selected values are in the formats shown after completing the steps shown in the Camera Discovery section. Figure 6: Optional Formats © SightLine Applications, Inc. -
Page 8: Camera Passthrough Options
For a complete list of all available camera features, contact the camera manufacturer or Retrieving USB3 Vision Feature List section. Features in the above list or the GenICam SFNC are not guaranteed to be available on all cameras. © SightLine Applications, Inc. -
Page 9: Devicelinkthroughputlimit Feature
5. Save the output feature list for reference. 6. In the Acquisition Settings dialog, set the Camera Type for Cam 2 (or Cam 3) to USB3 Vision using the prior settings. 7. Save parameters and reboot the system. © SightLine Applications, Inc. -
Page 10: Querying Usb3 Vision Features
6. The current exposure time value will appear in the Feature Value field. An alternate way to see this information is to click and hold on the received:USB3VisionFeature 51.AC… command in the verbose window shown in Figure Figure 10: Verbose Trace Information © SightLine Applications, Inc. -
Page 11: Setting Usb3 Vision Features
5. Set the Exposure Time. In this example the Exposure time was set to ~32000 uSec to get a frame time of ~30 fps. This may be different depending on the camera. © SightLine Applications, Inc. - Page 12 7. From the Image Format tab set the Pixel Format to BGR8. 8. Click the Save Camera Setting Profile button to persist the settings to the camera. 9. Click the Start Steaming Device button to ensure the video is streaming correctly. © SightLine Applications, Inc.
-
Page 13: Acquisition Settings
In the Video Output section of the Connect tab be sure to select CAM 2 as the Command Camera when using. SightLine video processing tools. 9 Troubleshooting Video issues: Default capture is raw gray scale. In the Acquisition Settings dialog, change the image format using the Options field: fmt=NV12. - Page 14 Check the connection quality of the USB cable to the camera. camera configuration. The ELP camera has a default framerate of <30fps. In the Acquisition Settings dialog window make to use fmt=YUYV,fps=60 in the Options field. © SightLine Applications, Inc.
-
Page 15: Questions And Additional Support
2. Use nano to edit the Aravis rules file: SD> nano /etc/udev/rules.d/aravis.rules 3. Remove the # symbol to uncomment the SUBSYSTEM line. 4. Replace <<insert vendor ID here>> with the vendor ID that was discovered using the Alternative Camera Discover Method. © SightLine Applications, Inc. - Page 16 Alternately vi can also be used to edit the file. From the PC: 1. Navigate to SLA-4000 Upgrade Utility folder at at C:\Program Files (x86)\SightLine Applications\SLA- 4000 Upgrade Utility 3.xx.xx. 2. From this folder navigate to firmware\release\root\etc\udev\rules.d. 3. Use Notepad++ or similar application to open and edit the aravis.rules file. Notepad++ ensures that Carriage Return/Line Feed (CRLF) rules are preserved.
-
Page 17: Appendix B: 4000-Oem Dual Usb Camera Limitations And Troubleshooting
10. In an SSH connection verify that /dev/video14 and /dev/video15 devices have been created by executing ls -l /dev/video*. 11. If they have not been created, try disconnecting and reconnecting the video devices, and/or rebooting the 4000-OEM again. © SightLine Applications, Inc.
Need help?
Do you have a question about the EAN-USB3 and is the answer not in the manual?
Questions and answers