Table of Contents
Advertisement
Quick Links
Thank you for purchasing
SERVICE CARD
We strive to make sure each item you got is perfect and ensure all parts and hardware are included in our package.However if you are
experiencing a shortage of any parts or hardware, PLEASE do not return the product to any local store directly. Try to contact us, we will
do our best to solve your problem and expedite the missing item to you as soon as possible from our local custom er service center.
NOTICE
Read this assembly manual carefully and make sure you have all the parts list below before you begin to instau. Keep this
assembly manual for future reference.
Move this stand gently with 2 persons.
Protect finishes by placing furniture pieces on a soft carpeted surface during assembly.
Do not place very hot/cold objects on top of any surface. Always use a coaster or mat. Never leave liquids on the surface:
Clean immediately with a mild soap and a damp cloth. Never use scouring powder based cleanser. Don't touch the glass
surface with a hard/acute object it may cause the glass to shatter.
DO NOT ASSUME CHILD SAFETY WITH ANY PIECE OF FURNITURE!
Do not allow children to climb on furniture. Improper use can cause death or serious injury. If you are placing a TV on top use
safety straps on your TV to prevent the risk of a toppling television. Furniture straps fastened to a wall can also be used to help
ensure safety.
Damaged parts or furniture put together incorrectly can lead to serious injuries. Make sure to follow instructions correctly.
PARTS LIST
1
2
3
x1
x2
x2
9
7
8
x2
x1
x1
13
14
15
x2
x2
x2
M6x485
19
x1
B
A
A
x2
x1
x1
1
1
2
(Rubber washer)
E
D
x2
D
x2
x2
1
1
2
G
G
x1
x1
G
x1
1
2
3
(13#)
(17#)
4
5
6
x2
x2
x1
10
11
12
x1
x2
x1
16
17
18
x1
x2
x9
M8x470
M10x675
C
C
x2
x2
2
1
Tools Requried
(Not included)
F
F
E
x2
x2
x2
1
2
2
Parts In The Mount Box.
S
...
S
S
Screws for TV
1
6
North America
Customer Service Supports
Europe
UK DE
Asia
Please provide following information when you contact us. Your detail information will help us to bring you a more
faster and effective service for you . Appriciate your kindly understanding and patience !
1. Your Order No. (Comes from your marketplace dashboard) . Model No. (On the left side below) Series No. (On the right side below )
2. Marketplace you place the order : Amazon, Walmart, Ebay or Others
3. What's the problem you had and the help you need
Model
No.
1 626 400 2997
US
CA
MX
(CST 8AM - 5PM Mon.-Fri. )
FR
IT
ES
0086 574 87385830
JP
CN IN
(UTC 9AM -5PM Mon-Fri)
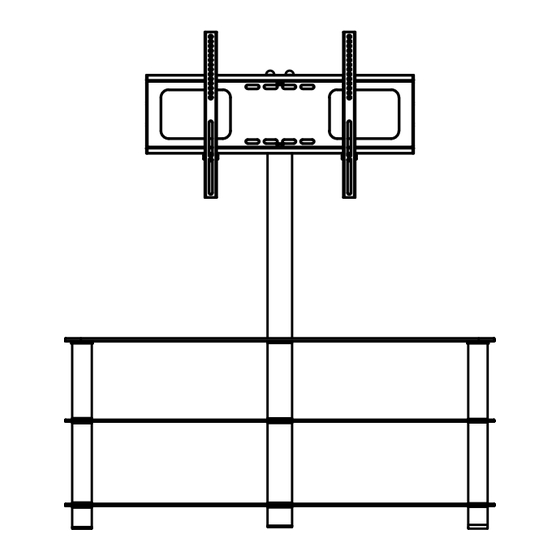
VESA:100-600mm
1
1
x
15
2
x
16
1
x
Make Sure the small hole on
Part 6 face backward.
3
2
x
10
1
x
18
2
x
Make Sure part 2 the matt surface
No Spacer.
face upward during assembling.
cs@rfiver.com
eucs@rfiver.com
jpcs@rfiver.com
Series
No.
2
1
X
4
2
X
6
1
X
18
2
X
2019.06
Advertisement
Table of Contents

Subscribe to Our Youtube Channel
Related Manuals for Rfiver TW2002

Summary of Contents for Rfiver TW2002
- Page 1 North America 1 626 400 2997 cs@rfiver.com (CST 8AM - 5PM Mon.-Fri. ) Thank you for purchasing Customer Service Supports Europe UK DE eucs@rfiver.com Asia 0086 574 87385830 jpcs@rfiver.com CN IN (UTC 9AM -5PM Mon-Fri) Please provide following information when you contact us. Your detail information will help us to bring you a more SERVICE CARD faster and effective service for you .
- Page 2 Make Sure the small hole on Part 8 face backward. Make Sure part 2 the matt Please don't fully surfaceface upward during tighten until Step 8 assembling. to fix all the screws in the right holes. Turn Over Stick B1 on top and bottom center of steel bracket.
Need help?
Do you have a question about the TW2002 and is the answer not in the manual?
Questions and answers