Advertisement
Quick Links
Installation Guide
1
Review the contents of the box and nd the
emergency keys. Make sure you always have the
emergency keys available during installation.
5
Door side
Adjust the
cu able screws
so that they
correspond to the thickness of the door and add
an extra threaded portion. Use powerful pliers to
cut to the desired length. The length should be
equal on all screws. Cut further if necessary.
9
Battery holder
screw holes
Bottom
screw hole
Fit the inside of the lock by fastening both the
screws in the ba ery holder and the one at the
bo om. Install all ba eries and the ba ery cover.
Touch
2
Striker plate
Adjustment
tab
Door
frame
Mount the
striker plate
in your door frame, using
the existing screws. If needed, you may readjust
the adjustment tabs after the installation.
6
Screw pattern for
Screw pattern for
left hinged doors
right hinged doors
Locate the screw holes from the inside. Place
the supplied insulation in both door holes. Mount
the
inside bracket
with the cu able screws.
Tighten carefully.
Two screws at the top
and
at the bo
om.
10
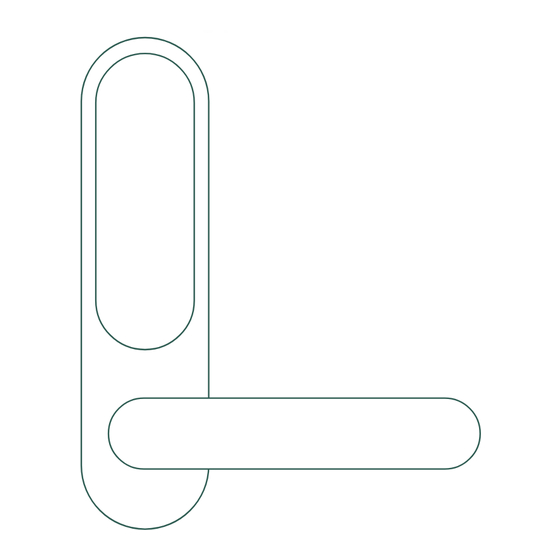
Mount both handles. The
exterior door
handle
has a hole for the key cylinder. Place the
handles in the desired direction and use the
supplied tool to fasten the screws.
3
Front plate
Hook bolt
Latch bolts
(rotatable)
Verify that the
latch bolts
are set in the correct
direction with the inclined side towards the
doorframe. If necessary, remove the front plate
and rotate the latch bolts. Mount the mortise in
your door, using the existing screws.
7
Inside unit
Insulation
Place the rubber seal on the inner bracket and
connect the
cable
to the inside unit.
Make sure that the seal covers the entire
two
bracket. Optional: Did you purchase nimly
Connect? Install the module before proceeding.
11
Make sure the lock works with your
emergency keys
before closing the door.
Remove the key and store one or more of these
safely outside your home. Test the lock
electronically with factory code 123 #.
4
Wire
Outside unit
Square spindle
with red mark
rubber seal
Place the
and the outside unit on
the door. Make sure that the recessed area of
the gasket is mounted towards the back of the
lock. The red mark on the square spindle
must
point
up. Pass the
wire
through the top.
8
Insert the excess cord into the door to
prevent it from ge ing caught. Slide the inside
unit into place.
12
Close the door and verify that the
hook bolt
extends upon closure. If the gap between the
door frame and door becomes too large, you
can use the included
spacer
behind the
strike plate.
Advertisement

Subscribe to Our Youtube Channel
Related Manuals for nimly Touch


Summary of Contents for nimly Touch
- Page 1 Slide the inside cut to the desired length. The length should be Tighten carefully. Two screws at the top bracket. Optional: Did you purchase nimly unit into place. at the bo Connect? Install the module before proceeding.
- Page 2 Enter: * 003 master code * new user code panel. * new user code* Example: #8 000 345678 # place key tag on the panel. Example: * 003 345678 * 2323 * 2323 * Do you need assistance? Scan to get in touch with customer support...
Need help?
Do you have a question about the Touch and is the answer not in the manual?
Questions and answers