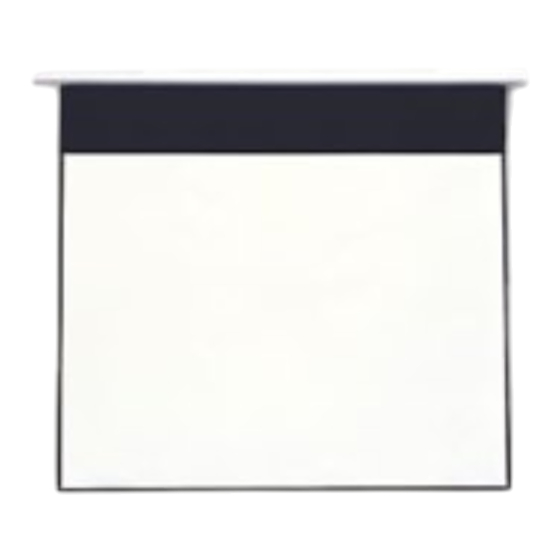
Summary of Contents for MW-CINESCREEN Cinelux Electric Advanced
- Page 2 Montageanleitung / Mounting Instruction Teileliste / Parts list (10) (11) (12) (13) (14) 1 / 10...
- Page 3 Nur von Erwachsenen zu bedienen ! Kinder nicht an der Bildwand spielen lassen ! Operation by adults only! Do not let children play with the screen! Während des Aus- oder Einfahrens der Bildwandfläche ist der Aufenthalt von Personen unterhalb der Bildwand nicht zulässig Do not stand below the screen when extending or retracing ! Wegen erhöhter Unfallgefahr ist es grundsätzlich untersagt Gegenstände an der Bildwand anzubringen !
- Page 4 Montage / Mounting Deckenmontage / Ceiling mounting Wandbefestigung / Wall mounting Empfohlener Verstellbereich: 150 – 300 mm vom Gehäuseende Recommended range of adjustment: 150 - 300 mm from end of housing 3 / 10...
- Page 5 Achtung: Nachdem Sie das Gehäuse befestigt haben, fixieren Sie dieses mit den entsprechenden Madenschrauben (3). Attention: After you have put the housing on the angles, lock it in position with grub screws (3). 4 / 10...
- Page 6 Montage / Mounting Wandbefestigung Abstandsträger/ mounting wall distance brackets Demontieren Sie die Aufnahme ( X ) des Universal Wand-/Deckenwinkels. Danach schrauben Sie bitte die Schraubbolzen ( 4 ) in die verbleibenden Nutensteine im Gehäuseprofil. Dismount the small fixing angle ( X ) of the wall / ceiling bracket. Then screw the screw bolts ( 4 ) into the remaining nuts in the housing profile.
- Page 7 Positionieren Sie die Befestigungsplatten (8) an dem vorgesehenen Platz an der Wand Position the mounting plates (8) in the required place on the wall. Hängen Sie die Eisenträger (9) hinter die Bolzen. Suspend the double-channel irons (9) on the pins. 6 / 10...
- Page 8 Anschlusskabel / supply cable Schieben Sie die Profile (5+6) über die Eisenträger (9) und ziehen Sie das Anschlusskabel durch den Hohlraum im Profil. Push the profiles (5+6) on the double-channel irons (9). Pull the supply cable through the profile cavity. (10) (11) Stecken Sie die Abdeckkappen (7) auf die Profile.
- Page 9 (13) (12) Justieren Sie die aufgehängte Leinwand in der Höhe mit Hilfe der Stellschraube (12). Danach schrauben Sie die Sicherungsschraube (13) fest. Die Abdeckkappe schieben Sie bis zu der Wand. Adjust the suspended screen with the grub screw (12). Then tighten the safety screw (13) above the profile on the mounting plates.
- Page 10 Anschlussvorschriften / Wiring instructions: Hinweis: Elektrische Anschlüsse sind nur von Fachpersonal durchzuführen ! Caution: Wiring has to be carried out by a trained person only. Anschlussplan / Wiring Diagram Transmitter / Fernsteuerung AUF / UP (CLOSE) STOP LERN TASTE / LEARNING KEY AB / DOWN (OPEN) 9 / 10...
-
Page 11: Fehlerbehebung
Wenn UP gedrückt wird: Einfahren der Leinwand in die Endposition. Zum Anhalten des Motors drücken Sie irgendeine Taste. Wenn STOP gedrückt wird, stoppt der Motor. Wenn DOWN gedrückt wird: Ausfahren der Leinwand in die Endposition. Zum Anhalten des Motors drücken Sie irgendeine Taste.

Need help?
Do you have a question about the Cinelux Electric Advanced and is the answer not in the manual?
Questions and answers