Advertisement
Advertisement
Table of Contents

Related Manuals for Aura RVC-62AHD

Summary of Contents for Aura RVC-62AHD
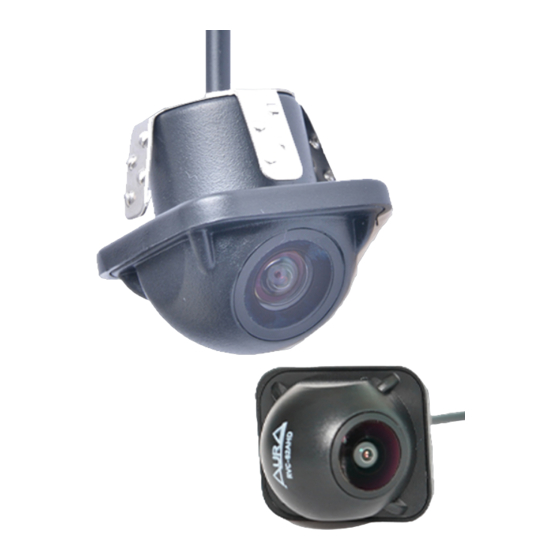
- Page 1 RVC-62AHD Universal Rear View Camera...
- Page 2 Installation Procedure Before finally installing the unit, connect the wiring temporarily, making ATTENTION sure it is all connected up properly, and the unit and the system work. • When mounting this unit, make sure none of the leads are trapped To prevent injury or fire, take the following precautions: between this unit and the surrounding metalwork or fittings.
- Page 3 Installation Recommended Installation Position 1. Drilling Installation – Above license plate light Using Hole Saw Driller Pierce a hole. Mount the camera onto the hole.
- Page 4 Basic Connections – Type 1 Headunit fill Camera Basic Connections – Type 2 Depending upon Head unit compatibility, chose the connection as below 1. AHD -PAL CONNECTION METHOD Connect white line (cut off the white PVC sleeve, connect copper wire on both sides ) 2.
- Page 6 Specifications Item Description Image Sensor CMOS 1/3 Output formats PAL/NTSC Effective Pixel Array 1280(H) x 720(V) AHD – 733(H) x 493 (V) CVBS Resolution 1.0MP Day and Night Mode Colour Video Amplitude AHD/CVBS Day/Night Mode Auto Video Signal AHD/CVBS Exposure Auto Gain Control Auto...
Need help?
Do you have a question about the RVC-62AHD and is the answer not in the manual?
Questions and answers