Table of Contents
Advertisement
Quick Links
SIMPLIFIED INSTRUCTIONS FROM YOUR FRIENDLY A.S.S. TEAM MEMBERS
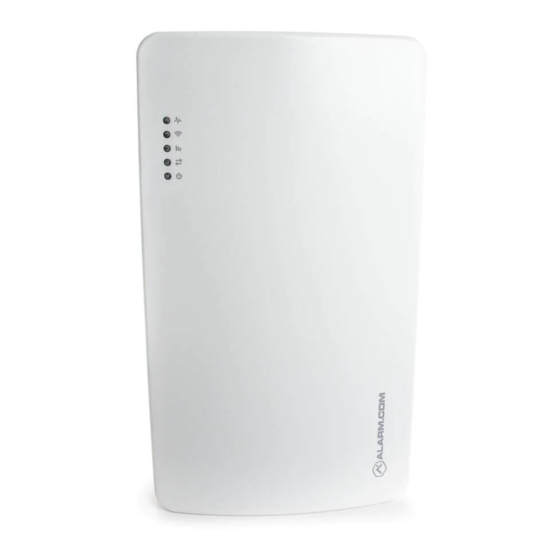
We have compiled a much simpler installation manual for our customers in the hopes that we
can alleviate all complications while installing your SEM300. Following this instruction guide will
give you the best chance at setting up your Alarm.com communicator without ever having to
reach out for any assistance. If you do have any problems or questions though, please feel free
to email us at
alarms@alarmsystemstore.com
IMPORTANT: THIS GUIDE ASSUMES YOUR VISTA PANEL HAS KEYPAD ADDRESS 23 AVAILABLE.
IF YOU NEED TO CHANGE THE SEM TO A DIFFERENT KEYPAD ADDRESS, CHECK OUR
SECONDARY/TROUBLESHOOTING GUIDE FOR ADDRESSING THE SEM.
1. PURCHASE ALARM.COM SERVICE AND FILL OUT REQUIRED FORMS
2. PREPARE THE PANEL FOR INSTALLATION AND POWER DOWN
3. WIRE THE SEM TO THE PANEL
4. POWER THE SYSTEM UP AND ALLOW THE SEM TO SYNC TO THE PANEL
5. CONFIRM COMMUNICATION WITH ALARM.COM THROUGH ALARM SYSTEM STORE
6. ENJOY YOUR NEW ALARM.COM INTERACTIVE SERVICE
TO SEE A VIDEO TUTORIAL OF THIS INSTALLATION
PROCESS, SCAN THE QR CODE HERE:
SEM300 QUICK INSTALL GUIDE
STEP GUIDE:
and we will do our best to assist you.
Advertisement
Table of Contents

Summary of Contents for Alarm System SEM300
- Page 1 We have compiled a much simpler installation manual for our customers in the hopes that we can alleviate all complications while installing your SEM300. Following this instruction guide will give you the best chance at setting up your Alarm.com communicator without ever having to reach out for any assistance.
- Page 2 STEP 1: BEFORE YOU START 1. PURCHASE AN ALARM.COM INTERACTIVE SERVICE FROM ALARM SYSTEM STORE AND COMPLETE THE INSTRUCTIONS IN THE ACTIVATION EMAIL. 2. ENSURE YOU HAVE ALL OF THE COMPONENTS NEEDED FOR YOUR SEM300 INSTALLATION: SEM300 MODULE RED BATTERY...
- Page 3 ENABLE THE KEYPAD ADDRESS The default keypad address the SEM uses is Keypad 8 Device Address 23. If this keypad address is disabled, the SEM and panel will not communicate properly. However, at first power-up, the SEM will attempt to enable this address automatically. If unsuccessful, the address must be enabled manually via programming *196.
- Page 4 STEP 3: CONNECTING THE SEM WIRING Important: If you do not know what this means, disregard this sentence. Alternate wiring is required when using this device for ETL installations. (+12v wire from the SEM will go to the +12V terminal on the panel) TO WIRE THE PANEL: Connect panel terminal 4 (GND) to SEM GND, panel terminal 6 (GREEN: DATA IN FROM KEYPAD) to GREEN (OUT), and panel terminal 7 (YELLOW: KEYPAD DATA OUT) to YELLOW...
- Page 5 3. When the zone scan is complete, the keypad will display the home screen. Your SEM300 is now finished uploading information to the Alarm.com account and is ready to use!
- Page 6 Alarm.com by contacting alarms@alarmsystemstore.com informing them that your SEM300 is ready to be verified and awaiting full activation. You will receive an email back as soon as we can get to you to verify the signal and finish the activation.

Need help?
Do you have a question about the SEM300 and is the answer not in the manual?
Questions and answers