Advertisement
Quick Links
Advertisement

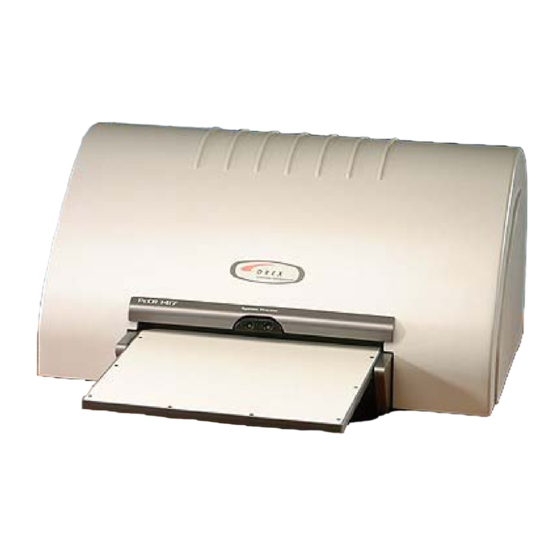
Related Manuals for OREX PcCR 1417


Summary of Contents for OREX PcCR 1417
- Page 1 PcCR 1417 Scanner Interface Guide Version 2.5.1.09 January 2003...
-
Page 2: Table Of Contents
Automatic Tests…..………………………………………..18 • • Advance………………………………………………...19-20 • About……………………………………………….………21 Contact Information Orex Computed Radiography Inc.(USA) 2000 Commonwealth Ave. Suite 200 Auburndale, MA 02466 Main Line 1-617-244-9000 Toll Free 1-888-844-7775 Fax 1-617-244-9020 Technical Services: Dial “3” from main menu Note: Before returning any materials, you will need to call for an RA# before shipping. -
Page 3: User
User Interface 2. 3. 1. Anatomical Selector: Selects the region of the body to be imaged 2. Scan: Starts the scanning cycle. 3. Stop: Aborts the current operation in progress. 4. Erase: Allows user to manually perform an erase cycle on a plate/cassette. 5. - Page 4 User Interface 11. Scanner status indicator: Provides feedback to the user on the state of the scanner. 12. Timer: Shows the time left for current operation. - 3 -...
-
Page 5: Anatomical
Anatomical Screen 1. Tab Select Region: Clicking on the various tabs along the top row will bring up the corresponding set up screen. 2. Unit Set: Allows software to have four (4) different Anatomical Setups. This is defined as Organ, Sub organ, PM Gain, Offset and selected Filters. NOTE: The filters can be selected and saved, but not turned on/off using unit sets. -
Page 6: Image
Offset: Offset is a factor, which is used to eliminate noise from the image. (Factory Set) 7. Orex Filters Setup: Check the “ON” box to use these filters. Three of these settings make up an “Unsharp Masking” filter, the remaining one is noise reduction. - Page 7 Show Histogram: This feature will show a graphical Histogram after an image is scanned. • Use Orex Window Leveling: This feature will allow the scanner Interface to determine the optimal Width and Center values for any scanned image. 10. Scanner Cleaning: This function is used during the roller cleaning procedure.
- Page 8 ο Dent-A-View Image(16bit): This is a format which can only be used by specific software sets. Use this setting only when instructed by an Orex Technician. ο BMP(8bit): Use this format to store the image as a BitMap(8bit). 3. Demo Scan: This option will produce a quick demo scan.
- Page 9 Image Screen 4. Rotate Canvas: This option is used to change the orientation of the image as delivered to the viewer. 5. Auto Shutter: This option will apply an automatic shutter to the image to remove any unwanted white boarders from the image. 6.
-
Page 10: Configuration
Configuration Screen 1. Local Scanner Settings: This section is where several key scanner specific parameters are set. Following is a brief description of each. • Configuration File: This button will display the configuration file where this information is stored. • OriginX: Defines the start of the “X”... -
Page 11: Diagnostics
Configuration Screen 1. Local Scanner Settings: CONT. • Auto Erase After Scan: Check this box to enable Auto Erase. • Auto Load\Unload: This option is used in conjunction with the “automatic test” section of setup in order to automate the load/unload function of the scanner. •... - Page 12 Configuration Screen 3. Diagnostics: CONT • Diagnostic Scan: CONT. ο Pixel Counter: Displays the number of samplings per track. Each pixel is sampled twice; therefore a value of 4500 would indicate 9000 samples. • Diagnostic Image: This will enable the “Diagnostic image mode”. For complete details, see the following section, dedicated to this mode.
- Page 13 Configuration Screen Diagnostic Image Mode This feature of the scanner interface was designed to assist the techncian and user determine which settings would be best to use, without the need for multiple exposures. Following is a brief description of each function. 1.
- Page 14 Configuration Screen Diagnostic Image Mode 3. Image Settings: These settings correspond to settings found on the “Image Screen”. • Data Correction Method: Allows selection of various methods of data correction. Linearization is the recommended method. • Data Minimum: Allows value to be manually entered. NOTE: If “No Correction” is selected, this value will have NO EFFECT.
- Page 15 Operation Update Screen 1. Update Main Firmware: This section is used to activate the Operation Update function. • Software Update This button activates the software update sequence. • APL/ACL/ACL2/ACL4: Choose the appropriate radio button for the system being updated. NOTE: ACL4 is always selected as a default and DOES NOT indicate currently loaded software version.
- Page 16 Operation Update Screen 3. Software Backup & Restore: This section allows the user to back up the software prior to an update in order to restore the previous version if needed. • Software Backup This button allows the current operation version to be backed up simply by clicking this button.
- Page 17 Diagnostics Screen 1. Optical: This section allows for control of the optical components within the system. • Erase Lamp: Checking the “ON” box will light both lamps. Lamp1 and Lamp2 sensor indicators will show the status of the lamps. Sensor indicator will turn red to indicate a lit lamp.
- Page 18 Diagnostics Screen 4. Plate Control Sensors: This section holds the controls and sensor indicators for the plate loading mechanics. • Sensor Indicators: Red indicates the sensor is activated. The diagram shows the approximate location of the sensor inside of the system. Following is a brief description of each.
-
Page 19: Automatic Tests
Automatic Tests Screen 1. Scanner Test: This section holds the results of testing. • Test Counter: Displays the number of cycles completed. • Display Test Result: Opens the file where results are stored. 2. Test Settings: This section is where you set up the testing to be done. •... -
Page 20: Advance
DV Number: Enter DV Number here. Note: Only older systems will have a DV#. • Scan Counter: Press the Reset button to set counter to “0”. • RAIS 2: Configuration settings for a dual setup. Consult with Orex service for settings. • Interface settings: ο... - Page 21 Advance Screen 2. Unit/Configuration Backup: CONT. • PC Backup: This backup/restore feature interacts with the PC. ο Save: Saves the current “Main Memory” to the PC. ο Set: Loads the current PC Backup to the “Main Memory”. • Main Memory: This is the “Main Memory”. It is located inside the scanner and controls how the scanner operates.
-
Page 22: About
About Screen 1. Software Version: This section displays the current version numbers of various system components. This is an important tool, remember to check this screen often. 2. Scanner ID: This section displays the Serial Number and DV Number, which is programmed into the scanner under the Advance Tab.
Need help?
Do you have a question about the PcCR 1417 and is the answer not in the manual?
Questions and answers