Advertisement
Quick Links
Advertisement

Summary of Contents for SHOP INDOOR GOLF DIY Golf Simulator Enclosure
- Page 2 Thank You! Thank you for your purchase of a golf simulator impact screen and enclosure kit! In this guide, you will find everything you need to complete the assembly of your kit and a few helpful tips to ensure you have the best indoor golf experience.
-
Page 3: Table Of Contents
Table of Contents SPECIFICATIONS & SAFETY ................1 WHAT’S INCLUDED................... 2 OVERVIEW OF SIG ENCLOSURE ............... 2 WHAT’S NOT INCLUDED .................. 3 FRAME ASSEMBLY .................... 5 ENCLOSURE ASSEMBLY ................... 8 GOLF IMPACT SCREEN CARE & USE .............. 11... -
Page 4: Specifications & Safety
Specifications Safety Instructions Pease make sure to take proper safety precautions and keep children, pets, and spectators out of swing range. Additionally, take every precaution to protect ceilings, walls, windows, cars, and neighboring homes. Be alert of where you stand or walk and stay out of someone’s swing path Make sure the setup is far from gas, electric heater, fireplace, candles, or any other similar source of heat. -
Page 5: What's Included
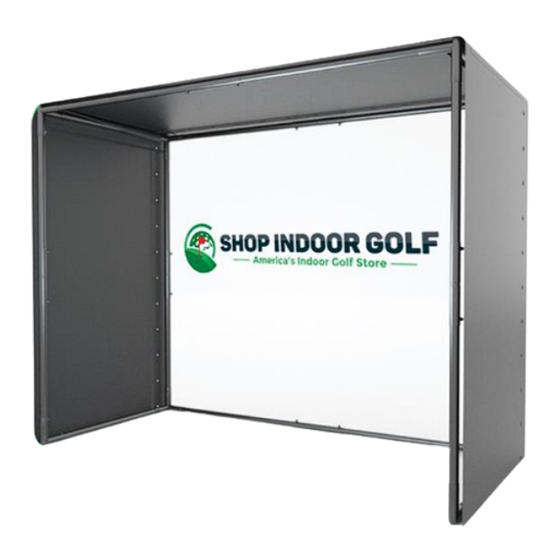
What’s Included (1) Nylon Enclosure Surround (2) Side Barriers (1) SIGPRO Premium Impact Screen (2) Sand Bags (2) Bundles of Bungees (6” ball bungees) (14) Canopy Fittings (1) Weighted Bag Attachment Enclosure Overview... -
Page 6: What's Not Included
What’s Not Included Pipe Frame (14) 10 Foot EMT Pipe *Cut Sizes for Pipe* -(6) 1” EMT Pipe at 71” -(4) 1” EMT Pipe at 56 3/8” -(4) 1” EMT Pipe at 110” Tools Needed - Ladder - Wrench/ Socket Set - Pipe Cutter (Chop Saw) - Tape Measure... - Page 7 Enclosure Diagram Page...
-
Page 8: Frame Assembly
Frame Assembly Note: Insert Pipes fully into canopy fitting connectors and then tighten the hex bolts with a wrench or socket wrench. This step will be repeated throughout the Frame Assembly Portion of this manual. Step 1 Attach (2) 71” pipe in the center with a straight connector and attach (2) 3-way connectors on each end. - Page 9 Frame Assembly Step 4 Connect the 110” pipe vertically to the all four sides of the frame as shown in the image below 110 ” Pipe 110 ” Pipe Step 5 Connect the 3-way pieces at the top of all vertical pipes of the frame as shown in the image below 3 Way 3 Way...
- Page 10 Frame Assembly Step 6 Connect the two 71” Pipe together with a straight connector and insert them in the front and back of the frame using the 3-way canopy fitting opening. Straight Connector 71” Pipe Straight Connector Step 7 Then connect the 56 3/8” pipe to the top left and right sides of the frame. 56 3/8”...
-
Page 11: Enclosure Assembly
Enclosure Assembly Step 1 Unfold the Nylon Enclosure cover. Place it over the top of the completed frame. The Nylon cover should be placed to where the grommeted edges are in the back of the frame and the Velcro strips are in the front. - Page 12 Enclosure Assembly Step 3 Use bungees to attach the Nylon Surround to the back and top side of the frame. Insert the loop side of the bungee into the grommet, sending it through until the ball side stops it, wrap the loop around the pipe and attach it to the ball side of the bungee.
- Page 13 Enclosure Assembly Step 5 The Impact Screen comes equipped with flaps that will cover the remaining exposed pipe around the screen. Attach the flaps to the Velcro strip located on the nylon surround. Step 6 Secure the weighted bag attachment to the bottom of the screen.
-
Page 14: Golf Impact Screen Care & Use
Impact Screen Care & Use If you feel that your screen is being stretched too tight, try removing bungees first. If it is still too tight adjust the pipe in the canopy fittings. Keep enough space between the screen and any walls behind it to avoid contacting them. - Page 15 WE WELCOME YOUR FEEDBACK! Please feel free to contact us if you have any questions or comments about using your new products. We can be reached on our website, via email, or by giving us a call at 972-848-7491. Please don’t hesitate to let us know if there is anything we can do to help! Visit:...


Need help?
Do you have a question about the DIY Golf Simulator Enclosure and is the answer not in the manual?
Questions and answers