kbice FDFM1JA01 Service Instructions Manual
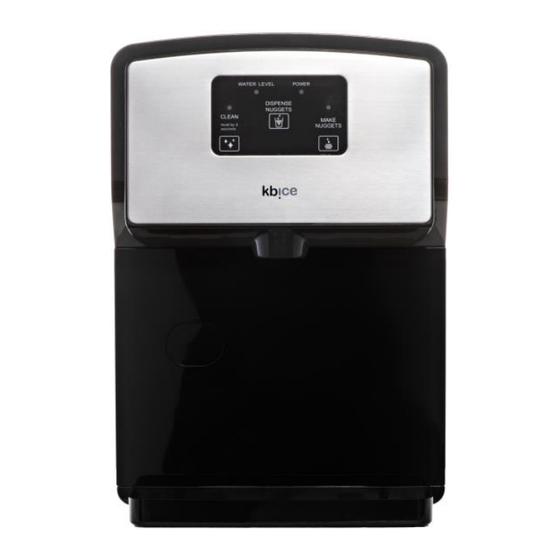
Portable nugget ice dispenser
Hide thumbs
Also See for FDFM1JA01:
- User instructions (16 pages) ,
- Quick start manual (2 pages) ,
- Quick start manual (2 pages)

Related Manuals for kbice FDFM1JA01


Summary of Contents for kbice FDFM1JA01
- Page 1 S E R V I C E I N S T R U C T I O N S P o r t a b l e N u g g e t I c e D i s p e n s e r F D F M 1 J A 0 1 Contact customer service at 800-433-9938 or info@fluridaappliances.com.
-
Page 2: Troubleshooting Chart
TROUBLESHOOTING CHART Complaint Possible Causes Response Power LED is not lit a. There is no power at outlet. a. Check for outlet and breaker/fuse. b. Power cord is unplugged. b. Plug in the power cord. c. Power cord is broken. c. -
Page 3: Unit Care
UNIT CARE How to drain water Unplug the unit. Unhook the plugs/holders with drain tubes out of the unit back and lower them to a bucket or sink. Press and hold the release buttons on the connectors to disconnect the plugs/holders and release water. - Page 4 Fill the water reservoir with 12 teaspoons of food grade citric acid powder. Wait for a few hours and plug the unit into power again. 3-If the Clean LED flashes quickly and the unit stops making ice (If this section can’t solve your problem, please go to section 8 or check your installation clearances and ambient temperature) ...
- Page 5 7-How to flush the unit with clean potable water once a week to prevent high water TDS and hardness Empty the ice bin and water reservoir following instructions in Section 2. Fill the water reservoir with clean potable water to MAX WATER FILL. ...
- Page 6 Empty the ice bin and water reservoir following instructions in Section 2. Fill the water reservoir with 1 teaspoon of 5% food grade chlorine bleach. Fill the water reservoir with clean potable water to MAX WATER FILL. ...
-
Page 7: Parts & Descriptions
PARTS & DESCRIPTIONS 8201000186 Vertical Bracket, Right 8201000187 Vertical Bracket, Left 8205000158 Ice Engine Motor 8204000065 Condenser 8105000009 Condenser Fan 8201000189 Motor Plate 8204000064 Compressor Assy 8201000191 Bin Bracket, Left Rear 8201000190 Bin Bracket, Left Front 8201000188 Motor Plate Bracket 8201000193 Bin Bracket, Right Rear 2 4 4 1 2 M a i n S t . - Page 8 8201000192 Bin Bracket, Right Front 8205000164 Water Pump Lower Reservoir Assy 8202000204 Drip Tray Assy 8202000203 Reservoir Door 8202000211 Display Panel 8202000206 Ice Dispense 8202000202 Housing 8202000201 Right Panel 8205000163 Ice Bin Motor Ice Bin Assy 8202000191 Ice Bin Auger 8202000190 Ice Bin Lid Assy 8202000185...
- Page 9 DIAGNOSIS INSTRUCTIONS 1-Appearance Inspect damages or defects on the display panel, housing, door, back, left, right, top and drip tray. 2-Mechanical Inspect damages or deformations on the left and right brackets, horizontal and vertical brackets, and feet. 3-Electrical Inspect damages or defects on the power cord, pump wires and control box. 4-Waterway Inspect cracks,connections or zip ties on the water tubes, upper reservoir, lower reservoir, pump protector, drain tubes and drain plugs.
- Page 10 Inspect damages on the ice chute, cover and foams. 7-Testing Fill water into the water reservoir to MAX FILL. Plug the unit into power. Water Level LED illuminates in green and goes off. Press Make Nugget once to start making ice. ...
-
Page 11: Repair Instructions
REPAIR INSTRUCTIONS Remove 10 self-tapping screws on the back panel. Remove the back panel. 2 4 4 1 2 M a i n S t . S u i t e 1 0 5 , C a r s o n , C A 9 0 7 4 5... - Page 12 Pop the top panel off. i n f o @ f l u r i d a a p p l i a n c e s . c o m...
- Page 13 Remove 4 machine screws on the top left & right sides. Pull the left & right panels backwards to remove them. 2 4 4 1 2 M a i n S t . S u i t e 1 0 5 , C a r s o n , C A 9 0 7 4 5...
- Page 14 i n f o @ f l u r i d a a p p l i a n c e s . c o m...
- Page 15 Remove 5 self-tapping screws on the cover. Remove the cover. 2 4 4 1 2 M a i n S t . S u i t e 1 0 5 , C a r s o n , C A 9 0 7 4 5...
- Page 16 The cover has been removed. i n f o @ f l u r i d a a p p l i a n c e s . c o m...
- Page 17 Remove 3 self-tapping screws on the reservoir. 2 4 4 1 2 M a i n S t . S u i t e 1 0 5 , C a r s o n , C A 9 0 7 4 5...
- Page 18 Remove 4 machine screws and 2 self-tapping screws on the chute. Remove the chute. i n f o @ f l u r i d a a p p l i a n c e s . c o m...
- Page 19 Remove the foam. 2 4 4 1 2 M a i n S t . S u i t e 1 0 5 , C a r s o n , C A 9 0 7 4 5...
- Page 20 Remove 4 bolts on the extruder. Remove the extruder. i n f o @ f l u r i d a a p p l i a n c e s . c o m...
- Page 21 Remove the auger. 2 4 4 1 2 M a i n S t . S u i t e 1 0 5 , C a r s o n , C A 9 0 7 4 5...
- Page 22 The auger has been removed. i n f o @ f l u r i d a a p p l i a n c e s . c o m...
- Page 23 Check if any items are left inside the bin. 2 4 4 1 2 M a i n S t . S u i t e 1 0 5 , C a r s o n , C A 9 0 7 4 5...
- Page 24 Check if both gaskets are good. i n f o @ f l u r i d a a p p l i a n c e s . c o m...
- Page 25 Disconnect the water pump power connector. 2 4 4 1 2 M a i n S t . S u i t e 1 0 5 , C a r s o n , C A 9 0 7 4 5...
- Page 26 Cut the zip tie. Disconnect the 90 degree elbow tube. i n f o @ f l u r i d a a p p l i a n c e s . c o m...
- Page 27 Remove the 2 self-tapping screws. 2 4 4 1 2 M a i n S t . S u i t e 1 0 5 , C a r s o n , C A 9 0 7 4 5...
- Page 28 Pull the pump from the silicone grommet. i n f o @ f l u r i d a a p p l i a n c e s . c o m...
- Page 29 Remove 3 screws on each side. 2 4 4 1 2 M a i n S t . S u i t e 1 0 5 , C a r s o n , C A 9 0 7 4 5...
- Page 30 Disconnect the display PCBA cable. i n f o @ f l u r i d a a p p l i a n c e s . c o m...
Need help?
Do you have a question about the FDFM1JA01 and is the answer not in the manual?
Questions and answers
How come they have all the part numbers and drawings but no where to get factory replacement parts? The customer service number only does warranties and they don't know where to get the parts.
Factory replacement parts for the kbice FDFM1JA01 can be found by contacting the manufacturer at 800-433-9938 or info@kbgoodice.com. The address is 24412 Main St. Suite 105, Carson, CA 90745.
This answer is automatically generated
@Mr. Anderson ,Quit giving out bad information
I need a website where I can purchase parts for my ice maker. I would like to have factory parts. My model is FDFM1JA01. Mr Anderson gave me a number but it is for warranty only. they do not sell parts. as for the email. I received no response
Factory parts for the KBice ice maker model FDFM1JA01 can be obtained by contacting customer service at 800-433-9938 or emailing info@fluridaappliances.com.
This answer is automatically generated
I need a website where I can purchase parts for my ice maker. I would like to have factory parts. My model is FDFM1JA01.
Factory parts for the kbice ice maker model FDFM1JA01 can be purchased by contacting the seller at 800-433-9938 or info@kbgoodice.com.
This answer is automatically generated