Table of Contents
Advertisement
Advertisement
Table of Contents

Related Manuals for Ninja AF101


Summary of Contents for Ninja AF101
- Page 1 AF101 OWNER’S GUIDE AIR FRYER ninjakitchen.com...
-
Page 2: Technical Specifications
THANK YOU for purchasing the Ninja® Air Fryer REGISTER YOUR PURCHASE registeryourninja.com Scan QR code using mobile device RECORD THIS INFORMATION TIP: You can find the model and serial numbers on the QR code label located on Model Number: �����������������... -
Page 3: Important Safeguards
IMPORTANT SAFEGUARDS HOUSEHOLD USE ONLY • READ ALL INSTRUCTIONS BEFORE USE Read all instructions before using your Ninja® Air Fryer . When using electrical appliances, basic safety precautions should always be followed, including the following: WARNING Extreme caution must be used DO NOT use an extension cord. -
Page 4: Parts And Accessories
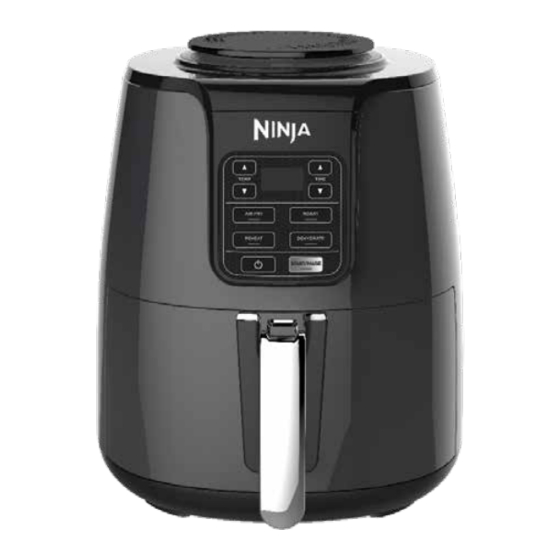
PARTS & ACCESSORIES Air Intake Vent Stainless-Steel Multi-Layer Rack (not included with all models) Control Panel Ceramic-Coated Crisper Plate Air Outlet Unit Main Unit (located on back) Ceramic-Coated Basket ninjakitchen.com... -
Page 5: Using Your Air Fryer
USING YOUR AIR FRYER USING THE COOKING FUNCTIONS Press the TIME up and down arrow buttons to set your desired cook time. To turn on the unit, first plug the power cord into a wall outlet. Press the power button. Air Fry Ensure the crisper plate is in the basket. - Page 6 USING YOUR AIR FRYER – CONT . Roast Add ingredients to the basket. Insert the basket in the unit. Ensure the crisper plate is in place if needed. If you are using a baking dish, the crisper plate is not needed. Press START/PAUSE to begin cooking.
- Page 7 USING YOUR AIR FRYER – CONT . Press the START/PAUSE button to start Dehydrate dehydrating. Place your first layer of ingredients in the bottom of the basket. Then install the crisper plate inside the basket and set a second layer of ingredients on the crisper plate.
-
Page 8: Troubleshooting Guide
TROUBLESHOOTING GUIDE • Why won’t my temperature go any higher? The max temperature is 400 ˚F. • How long does it take to preheat, and how will I know when it’s done? We recommend 3 minutes of preheating. You can use the built-in timer to set a 3-minute countdown. - Page 9 Illustrations may differ from actual product. We are constantly striving to improve our products, therefore the specifications contained herein are subject to change without notice. NINJA is a registered trademark of SharkNinja Operating LLC. For SharkNinja U.S. Patent information, visit sharkninja.com/uspatents.
Need help?
Do you have a question about the AF101 and is the answer not in the manual?
Questions and answers