Table of Contents
Advertisement
Quick Links
Advertisement
Table of Contents

Related Manuals for Air Live CW-720

Summary of Contents for Air Live CW-720
- Page 1 CW-720 720P Wireless 150Mbps IPCAM User’s Manual i...
- Page 2 All information is subject to change without notice All Trademarks are properties of their respective holders. i AirLive CW-720 User’s Manual...
- Page 3 IMPORTANT NOTE FCC Radiation Exposure Statement: This equipment complies with FCC radiation exposure limits set forth for an uncontrolled environment. This equipment should be installed and operated with minimum distance 20cm between the radiator & your body. AirLive CW-720 User’s Manual...
-
Page 4: Table Of Contents
IP Notification....................37 4.2.12 Camera – Adjust Camera Parameters ..............39 4.3.1 Picture ........................ 39 iii AirLive CW-720 User’s Manual... - Page 5 5. Troubleshooting & FAQ ..................... 69 Monitor the Image Section ..................69 PING ..........................74 Bandwidth Estimation ....................75 Specification Table....................76 Configure Port Forwarding Manually ..............79 DDNS ..........................82 Power Line Frequency....................88 3GPP Table ........................89 UPnP..........................90 AirLive CW-720 User’s Manual...
-
Page 6: Introduction
H.264, MPEG4 and JPEG triple compression simultaneously 1.3 Mega-pixel resolution Up to 8-profile encoder simultaneously 1 AirLive CW-720 User’s Manual... -
Page 7: System Requirements
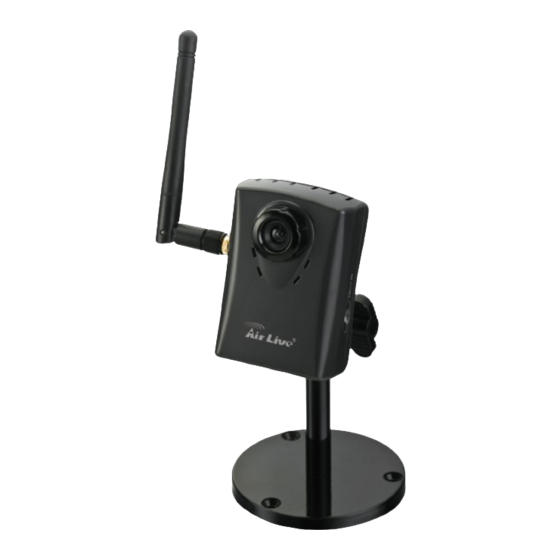
This camera is the main element of the product. Camera Stand with screws Detachable WLAN antenna Power adapter dedicates 12V DC electric power output to Network Camera. User’s manual CD provides important information and instructions for operating the Network Camera. AirLive CW-720 User’s Manual... -
Page 8: Physical Description
A user can insert a micro SD card into this slot for event or continuous recording. 3 AirLive CW-720 User’s Manual... -
Page 9: Bottom View
Note: Restoring the factory default setting will lose all previous settings included IP address forever. A user needs to run the IPWizard II program to search the device and configure it to let the device work properly again. AirLive CW-720 User’s Manual... -
Page 10: Hardware Installation
Use three screws to fix the Network Camera onto the ceiling or wall. You could also put the Network Camera on the table directly. 5 AirLive CW-720 User’s Manual... - Page 11 4. Connect the external power supply to the DC power jack of the Network Camera. Note: Use the power adapter, 12VDC, included in the package and connect it to wall outlet for AC power. AirLive CW-720 User’s Manual...
-
Page 12: Getting Started
When you install the Camera on a LAN environment, you have two easy ways to search your Cameras by IPWizard II or UPnP™ discovery. 7 AirLive CW-720 User’s Manual... -
Page 13: Ip Wizard
Here is the way to execute IPWizard II to discover Camera’s IP address and set up related parameter in a Camera. When launch the IPWizard II, a searching window will pop up. IPWizard II is starting to search Network Cameras on the LAN. The existed devices will be listed as below. AirLive CW-720 User’s Manual... -
Page 14: View
LAN button. Relative settings will be carried out as below. 9 AirLive CW-720 User’s Manual... - Page 15 LAN setting procedure and click “>>” button will move to next page as below. If you do not want to change username and/or password, just click “Submit” button to perform your setting accordingly. Click “<<” button will go back to previous page. AirLive CW-720 User’s Manual...
- Page 16 After keying in new username and password, click “Submit” button to perform your setting accordingly. Click “<<” button will go back to previous page. 11 AirLive CW-720 User’s Manual...
-
Page 17: Wireless
In case you want to change the IP related parameters of wireless interface, please select the device you want to configure and click the WIRELESS button. Relative settings will be carried out as above. Click SSID to select your wireless AP or router and key in WEP or WPA key. AirLive CW-720 User’s Manual... - Page 18 Click OK to confirm these parameters, then IPWizard II will start to configure this camera with specified information. 13 AirLive CW-720 User’s Manual...
- Page 19 2. Getting Started Once this step finished, IPWizard II will prompt you to unplug the Ethernet cable to activate wireless access. Then IPWizard II will prompt you to test wireless setting or finish wireless procedure as below. AirLive CW-720 User’s Manual...
-
Page 20: Upnp For Windows
IP, also the port forwarding or Virtual Server function of router needs to be setup. 15 AirLive CW-720 User’s Manual...
Need help?
Do you have a question about the CW-720 and is the answer not in the manual?
Questions and answers