Table of Contents
Advertisement
Quick Links
Wireless GPS Tracker with Tilt Angle
Model: R720 G
Wireless GPS Tracker
with Tilt Angle
R720G Series
User Manual
Copyright©Netvox Technology Co., Ltd.
This document contains proprietary technical information which is the property of NETVOX Technology. It shall
be maintained in strict confidence and shall not be disclosed to other parties, in whole or in part, without written
permission of NETVOX Technology. The specifications are subject to change without prior notice.
Advertisement
Table of Contents

Summary of Contents for netvox R720G Series
- Page 1 User Manual Copyright©Netvox Technology Co., Ltd. This document contains proprietary technical information which is the property of NETVOX Technology. It shall be maintained in strict confidence and shall not be disclosed to other parties, in whole or in part, without written...
-
Page 2: Table Of Contents
Table of Content 1.Introduction ..................2 2.Appearance ..................3 3. Main Features .................. 3 4. Set up Instruction ................4 5. Data Report ..................5 5.1 Example of ReportDataCmd ............5 5.2 Example of ConfigureCmd .............. 6 5.3 Example of Threshold Configuration ..........7 6. -
Page 3: Introduction
1. Introduction R720G is a ClassA positioning monitoring device based on LoRaWAN open protocol of netvox, which can monitor the longitude and latitude, altitude and three-axis angle of the current device, and is compatible with LoRaWAN protocol. LoRa Wireless Technology: LoRa is a wireless communication technology dedicated to long distance and low power consumption. -
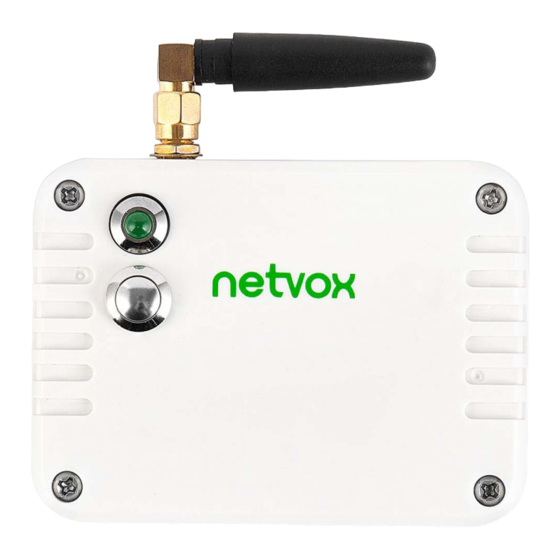
Page 4: Appearance
2. Appearance 3. Main Features 2 ER14505 lithium batteries (3.6V / section) in parallel Compatible with LoRaWAN Simple setting and operation... -
Page 5: Set Up Instruction
4. Set up Instruction On/Off Power On Insert batteries. (users may need a screwdriver to open) Turn On Press and hold the function key for 3 seconds till the green indicator flashes once. Turn Off (Restore to factory setting) Press and hold the function key for 5 seconds and the green indicator flashes 20 times. Power Off Remove Batteries 1. -
Page 6: Data Report
0xFFFFFFFF, and the altitude will be reported as 0xFFFF. 2. This device is used for outdoor positioning. Because there is no GPS signal indoors, it cannot be located indoors The device reported data parsing please refer to Netvox LoRaWAN Application Command document and Netvox Lora Command Resolver http://loraresolver.netvoxcloud.com:8888/page/index... -
Page 7: Example Of Configurecmd
Latitude Battery AngleY AngleZ (Signed AngleX 0x01 (1Byte, 4Bytes,unit:0.000001°, (1Byte Signed (1Byte, Signed (1Byte, Signed unit:0.1V) 0xFFFFFFFF when Value,Unit:1°) Value ,Unit:1°) Value ,Unit:1°) can’t fix ) R720G 0xB5 Longitude altitudeGps (Signed4Bytes, Battery HDop (Signed 2Bytes, 0x02 unit:0.000001°, (1Byte, unit:0.1V) (1Byte,Unit:1) unit:1m, 0xFFFF 0xFFFFFFFF when when can’t fix) -
Page 8: Example Of Threshold Configuration
Config MinTime MaxTime Reserved 0x01 ReportReq (2bytes Unit:s) (2bytes Unit:s) (5Bytes,Fixed 0x00) Config Status Reserved 0x81 ReportRsp (0x00_success) (8Bytes,Fixed 0x00) R720G 0xB5 ReadConfig Reserved 0x02 ReportReq (9Bytes,Fixed 0x00) ReadConfig MinTime MaxTime Reserved 0x82 ReportRsp (2bytes Unit:s) (2bytes Unit:s) (5Bytes,Fixed 0x00) (1) Configure R720 G device parameter MinTime = 300s, MaxTime = 7200s Downlink: 01B5012C1C200000000000 Device return:... -
Page 9: Installation
7. Information about Battery Passivation Many of Netvox devices are powered by 3.6V ER14505 Li-SOCl2 (lithium-thionyl chloride) batteries that offer many advantages including low self-discharge rate and high energy density. -
Page 10: How To Activate The Battery
7.2 How to activate the battery a. Connect a battery to a resistor in parallel b. Keep the connection for 5~8 minutes c. The voltage of the circuit should be ≧3.3, indicating successful activation. Brand Load Resistance Activation Time Activation Current 165 Ω...
Need help?
Do you have a question about the R720G Series and is the answer not in the manual?
Questions and answers