
Summary of Contents for FOS Technologies 200W LED Zoom EXTERIOR GOBO PROJECTOR
- Page 1 USER MANUAL 200W LED Zoom EXTERIOR GOBO PROJECTOR Version 201912 PLEASE READ OVER THIS MANUAL BEFORE OPERATING THE LIGHT FIXTURE...
-
Page 2: Safety Instruction
1. SAFETY INSTRUCTION The 200W LED exterior gobo projector is designed and manufactured to meet the requirements of People’s Republic of China and international safety regulations. Modifications to the product could affect safety and render the product non-compliant to relevant safety standards. Instructions pertaining to continued protection against fire, electric shock, and injury to persons are found throughout this manual. -
Page 3: Product Overview
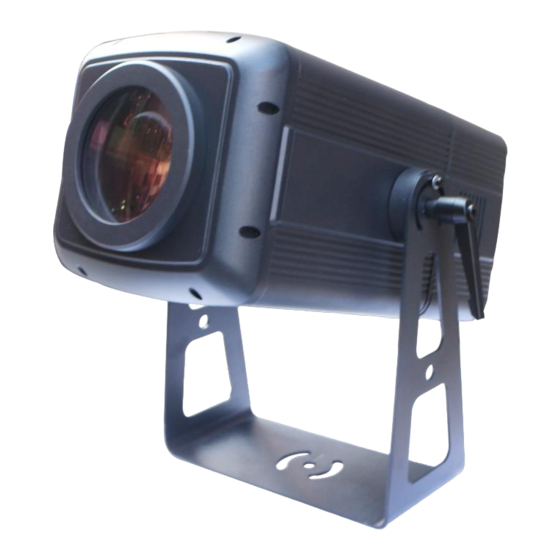
2. PRODUCT OVERVIEW ① Lens ② Housing ③ Fast lock ④Air Outlet ⑤ Base Support / Bracket ⑥Top Access Panel ⑦ Air Inlet ⑧ LCD Display ⑨ESC–Button ⑩Enter–Button ⑪UP–Button ⑫ DOWN–Button ⑬ DMX Indicator Light ⑭ Power OUT(3 pin) ⑮ DMX OUT(3 pin) ⑯... -
Page 4: Specification
4. SPECIFICATION SOURCE ● Light Source: 200W Color White LED ● Color Temperature: 8000K ● Average LED Life: 20,000 Hour POWER ● Input Voltage: 100-240VAC, 50/60Hz ● Power Consumption: 250W max. at full output OPTICAL SYSTEM ● Zoom: 5° - 50° linear motorized ●... -
Page 5: Dimension (Mm)
5. DIMENSION (MM) 6. MOUNTING AND INSTALLATION 6.1 MOUNTING ● The fixture can be mounted in any position. ● Always ensure that mounting surface can withstand 10 times the weight of the fixture. ● Always use a safety cable when mounting the fixture in any elevated position. IMPORTANT SAFETY NOTE!! Always use a safety cable when installing this unit!! Be sure that the safety cable is connected to a solid load-bearing structure. - Page 6 7. REPLACE A ROTATING GOBO Step1: Open the top access panel by a screwdriver. Step 2: Take out the old gobo. Step 3: Insert the new gobo. Step 4: Cover the top access panel by a screwdriver. 8. DISPLAY PANEL INTRODUCTION Using the display panel to set the starting DMX address or make other settings.
- Page 7 The classes of each menu are listed in the diagram as below: - 6 -...
-
Page 8: Dmx Channel Assignments
9. DMX CHANNEL ASSIGNMENTS This fixture has 8 DMX channel as below: - 7 -... - Page 9 HOW TO CONFIGURE AUTO PROGRAM According to different application requirement, users can configure auto program freely via setting the function value on the LCD display. Users can go into the menu “Run Mode->Step&&Value” to set the value of each DMX function. Once the configuration is finished, the configured auto program will be stored, and users can go into the menu “Run Mode->Auto Program”...
- Page 10 11. CLEANING In order to make the fixture in good condition and extend the life time, we suggest a regular cleaning to the fixture. ● Clean the inside and outside lens each week to avoid the weaknesses of the fixture due to accumulation of the dust.
- Page 11 - 10 -...
Need help?
Do you have a question about the 200W LED Zoom EXTERIOR GOBO PROJECTOR and is the answer not in the manual?
Questions and answers