Advertisement
How to replace the mainboard
The mainboard functions as the printer's main operating system. It determines how
the fan, the motor, and the LCD functions. In the following article, we'll show you how
to remove the old mainboard and install the new mainboard.
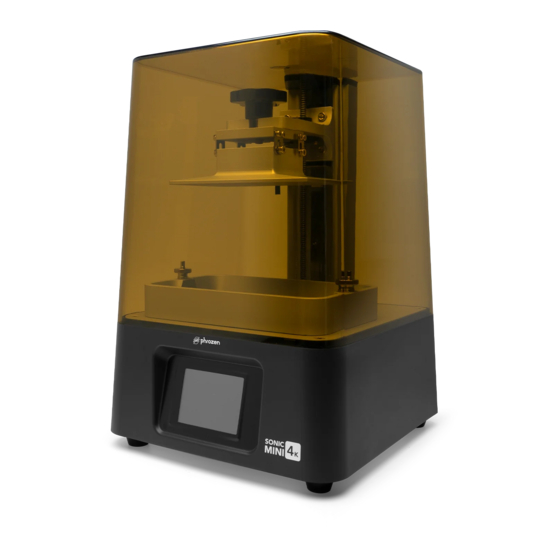
SONIC MINI 4K
Removal of the Old Mainboard:
Step 1: Remove the plastic cover, the vat, and the building plate.
Step 2: Make sure the building plate on the Z-axis is lifted completely. If it isn't, click TOOLS,
and then click MANUAL, click on 10mm several times.
Step 3: Turn off the 3D printer and unplug the power cable.
Step 4: Flip the 3D printer and remove the printer's bottom with an m3 Allen wrench
included in the toolbox.
Step 5: Remove the ➊ LED cable, ➋ fan cable, and the ➌ motor cable from the mainboard.
Advertisement
Table of Contents

Related Manuals for Phrozen SONIC MINI 4K

Summary of Contents for Phrozen SONIC MINI 4K
- Page 1 LCD functions. In the following article, we’ll show you how to remove the old mainboard and install the new mainboard. SONIC MINI 4K Removal of the Old Mainboard: Step 1: Remove the plastic cover, the vat, and the building plate.
- Page 2 Step 6: Remove the two ribbon cables that are connected to the ➍ touch panel (brown) and the ➎ LCD control board (white). Make sure to pull up the latch before removing the cable. Step 7: Use an m2.5 Allen wrench and turn counter-clockwise to loosen the ➏ ➐ ➑ three screws holding the mainboard.
- Page 3 Installation of the New Mainboard: Step 1: Rotate the printer as pictured below and place the new mainboard in place. Make sure the ➒ USB port and the ❿ power cable port are in place. Then tighten the three screws. Step 2: Re-connect the two ribbon cables and the three connectors.
Need help?
Do you have a question about the SONIC MINI 4K and is the answer not in the manual?
Questions and answers