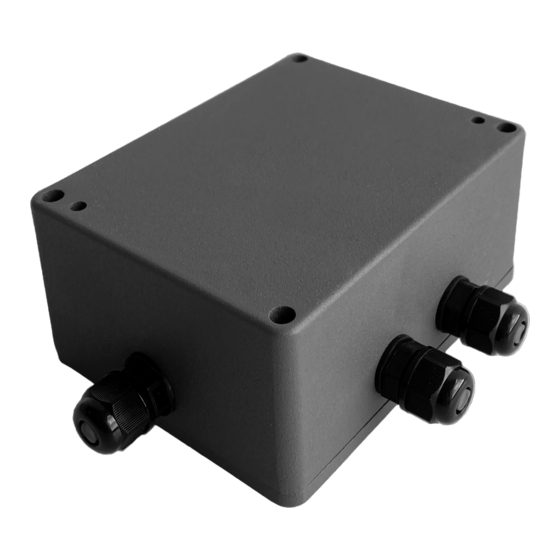
Summary of Contents for Sundrax PixelGate Arma
- Page 1 User Manual PixelGate Arma PXA-P-2E8SPI, PXA-M-2E8SPI, PXD-1-2E8SPI, PXB-1-2E8SPI Version 1.04 March 11, 2020...
-
Page 2: Table Of Contents
PixelGate Arma Contents Specifications Safe operation General information Advantages Installation Web-settings Device settings Network settings Firmware update Connection scheme Technical maintenance Notes... -
Page 3: Specifications
Whenever a fault is detected in the device, please contact the manufacturer. General information «PixelGate Arma» is a pixel strip controller for pixel mapped projects at indoor and outdoor installations when you need to convert ArtNet (DMX over Ethernet) or sACN data to 1 or 2 wire interface. -
Page 4: Installation
PixelGate Arma Installation Warning! Before mounting and turning 1. Ensure the device has no damage due to transportation on the power,you need to make 2. Remove device’s lid after unscrewing the four screws sure protective ground cable 3. When using 12-48V power source, set the jumper at X3 connections and places of their connector. -
Page 5: Web-Settings
PixelGate Arma Web interface settings PixelGate Arma devices support configuring most of their parameters through the web interface using HTTP protocol (TCP port 80). -
Page 6: Device Settings
PixelGate Arma Device settings To access the settings page enter the IP address of the device to the browser. Main settings page of the Pixelate Arma device will be displayed. Pic. 2 Device settings Device settings: Device name Editable device name (up to 18 characters) -
Page 7: Network Settings
PixelGate Arma Network settings To edit the network settings of the device, click on the link “Network”. Static IP Address - view/edit network address of the device Subnet Mask - view/edit IP subnetwork mask Default Gateway - view/edit gateway IP address... -
Page 8: Connection Scheme
PixelGate Arma Connection scheme Power supply 12V POWER 12-48V 12-48 V 12-48 V DOUT 12-48 V 12-48 V DOUT Power supply 5V POWER DOUT DOUT... -
Page 9: Technical Maintenance
The device should be free from dirt, dents, connecting cables and wires must be intact and securely fastened. Notes Please send all your warranty-related questions to support@sundrax.com All Sundrax products are covered by a 36 months warranty. - Page 10 PixelGate Arma Notes...
- Page 11 PixelGate Arma Notes...
- Page 12 Sundrax Electronics 6008, First Central 200 2 Lakeside Drive, Park Royal, London NW10 7FQ United Kingdom + 44 (0) 208 991 33 19 office@sundrax.com www.sundrax.com...


Need help?
Do you have a question about the PixelGate Arma and is the answer not in the manual?
Questions and answers