
Summary of Contents for Shinko Denshi CSP-160 II
- Page 1 USER’S MANUAL FOR OPERATION PRINTER MODEL CSP-160Ⅱ SHINKO DENSHI CO., LTD. Tokyo 3325M81...
- Page 2 はくし...
-
Page 3: Table Of Contents
CONTENTS 1. INTRODUCTION ··················································· 1 2. GENERAL SPECIFICATIONS ·································· 2 3. NAMES OF PARTS ··············································· 3 4. The NAME AND FUNCTION OF ALL PARTS ··············· 3 5. INSTALLATION ····················································· 5 6. ERROR MESSAGES ············································· 6 7. DATA OPERATIONS ·············································· 7 8. -
Page 4: Introduction
USER'S MANUALMODEL CSP-160Ⅱ USRES’MANUAL MODEL CSP-160Ⅱ 1.INTRODUCTION The Operation Micro-Printer CSP-160II, storing data from your Shinko electronic scale, operates Total, Average, Deviation, Maximum, Minimum, Ratio of Data of out of Limits, etc., besides ordinary data recording. The results are printed by cartridge ink ribbon. 1-1. -
Page 5: General Specifications
USER'S MANUALMODEL CSP-160Ⅱ 2.GENERAL SPECIFICATIONS :5×7 Dot Matrices Character Construction :16 digits maximum Printing Digits :Approx. 1 line/sec. Printing Speed :1.8mm(W)×2.5mm(H) Character Sizes :0℃ ~ 40℃ Operation Temperature :155mm(W)×145mm(D)×48mm(H) Dimensions :AC adaptor Power Source :Approx. 400g without AC adaptor and roll paper Weight :Cartridge ERC-05 Violet Ink Ribbon / Color... -
Page 6: Names Of Parts
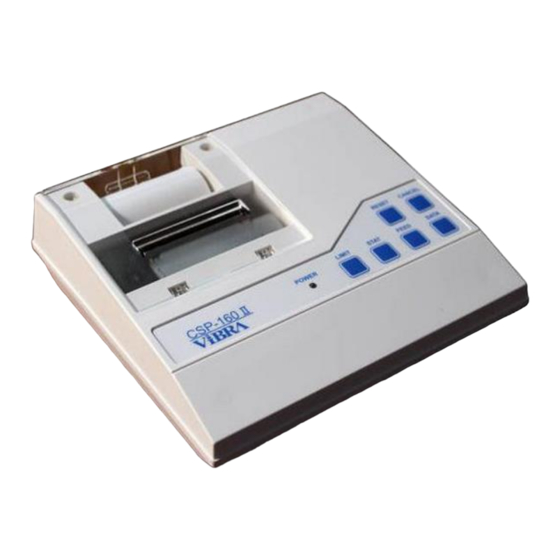
USER'S MANUALMODEL CSP-160Ⅱ 3.NAMES OF PARTS PRINTER COVER POWER SWITCH SIGNAL INPUT JACK FOOT SWITCH JACK DC IN JACK DIP SWITCHES (AC ADAPTOR) 4.The name and function of all parts 4.1 Front part ① POWER lamp Lights on to indicate power is on. Also, indicates by colors: Green: In normal condition of printer. - Page 7 USER'S MANUALMODEL CSP-160Ⅱ 4.2 Rear side, Right side ① POWER Switch for on/off of the power to the CSP-160II SWITCH ② S.IN jack Jack for data from scale by connecting the attached cable. Corresponding plug: T-0718 by TEISHIN ③ F.SW jack Jack for foot Switch to operate the same performance as DATA key.
-
Page 8: Installation
USER'S MANUALMODEL CSP-160Ⅱ 5.INSTALLATION 5.1 Connections 1.Verify that power switches of the CSP-160II Printer and the scale are both OFF. 2.Connection with the scale. Connect one of the connectors of the attached cable with S.IN jack of the CSP-160II and the other connector of the cable to output jack of the scale. -
Page 9: Error Messages
USER'S MANUALMODEL CSP-160Ⅱ 5.3 Roll paper Setting 1.Under power ON, remove the printer cover by lifting it up. 2.Cut the paper tip straight. 3.Inserting the tip into the paper slot, press the “FEED” key to feed the paper out of the outlet. 4.Position the roll paper in the holder, then cover the printer after feeding the paper out of the opening of the Cover. -
Page 10: Data Operations
USER'S MANUALMODEL CSP-160Ⅱ 7.DATA OPERATIONS SETTING CONDINTION OF STATISTICAL OPERATION ITEMS TO BE DIP SWITCH DIP SWITCH NO.6 SET “SET OFF” PRINTED NO.6 No Limit are set Limits are set SET ”ON” ○ ○ ○ TOTAL ○ ○ Number of data ○... -
Page 11: Operations
USER'S MANUALMODEL CSP-160Ⅱ 8.OPERATIONS PRINT SANPLE KEY OPERATION ‥‥To clear memories RESET ‥‥To set limits LIMIT Press for judgements & histogram. ‥‥Input one limit value DATA ‥‥ Input another limit value DATA ‥‥ To finish setting of limits LIMIT DATA ‥‥Data printing, by either of Data key of Printer, or by foot switch, or by command from scale. - Page 12 USER'S MANUALMODEL CSP-160Ⅱ PRINT SANPLE KEY OPERATION DATA ‥‥To start statistical operation, with STAT setting Dip Switch No.6 “OFF” Total amount Number of data Maximum value Minimum value Standard deviation: Range = S N ⁄ = N ∙ Σx − Σx ⁄...
-
Page 13: Connection With Scale
USER'S MANUALMODEL CSP-160Ⅱ 9.CONNECTION WITH SCALE In case the printer CSP-160II is used in connection with any SHINKO electronic scale, set both the printer and the scale referring to the following. Also refer to operation manual for the scale. 9-1 For Automatic Printing : Printing starts automatically by stabilization of data from the scale. - Page 14 USER'S MANUALMODEL CSP-160Ⅱ 2. Setting of the Scale Functions Scale Series Functions Output Provision Standard equipment O.C. HG, PF Standard equipment O.C. CUXII O.C. Option CGX, CGX-K Option O.C. CG, CG-K, CG-KF Option O.C. DJ-E O.C. Option GZII Option O.C. HTR, HT Standard equipment O.C.
- Page 15 USER'S MANUALMODEL CSP-160Ⅱ Print command by Scale Key Printing starts by every pressing of a scale key, regardless of the status of data. 1. Setting of the Printer Set dip switches on the rear of the CSP-160II as follows: Dip Sw. No. 6 OFF : Statistical Operation : Totaling only Dip Sw.
-
Page 16: Clock Adjustment
USER'S MANUALMODEL CSP-160Ⅱ 10.CLOCK ADJUSTMENT 10-1 Setting Date and Time Turn power on with pressing the STAT key CL OCK SET Press the DATE key YES= DATE KEY (Press the CANCEL key for no setting key) DATE 2 0 0 1 / 0 6 / 2 0 Change the Date [STAT] : increase year (2000~2099) [FEED] : increase month (01~12) - Page 17 はくし...
- Page 18 はくし...
Need help?
Do you have a question about the CSP-160 II and is the answer not in the manual?
Questions and answers