Table of Contents
Advertisement
Advertisement
Table of Contents

Subscribe to Our Youtube Channel
Summary of Contents for Venmar 500VF
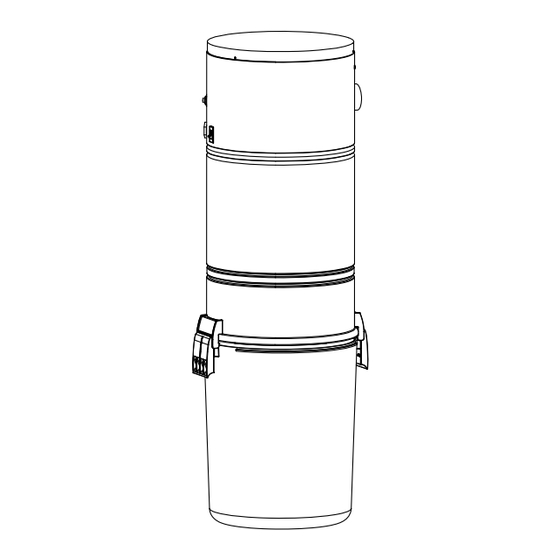
- Page 1 INSTALLATION USER GUIDE CENTRAL VACUUM POWER UNITS FOR RESIDENTIAL USE ONLY 500VF / 600VF / 650VF AB0039 SFDB-DK, SFDB-DL SFDB-DM ODELS ULC; D 1-888-882-7626 ENMAR ENTILATION RUMMONDVILLE UÉBEC VENMAR EGISTER YOUR PRODUCT ONLINE AT VENMAR 30042507B...
-
Page 2: Table Of Contents
WALL INLET INSTALLATION ..3 ISPOSABLE EPLACEMENT V600W VACUSWEEP® (500VF P ) ... . . 10 OWER INLET VALVE INSTALLATION ..4-6... -
Page 3: General Information
GENERAL INFORMATION WALL INLET INSTALLATION TOOL LISTING MAKING THE WALL INLET CUTOUT The wall inlet should be located 18” on-center from the floor Depending on the installation, the use of the following tools and directly in line with the attic or basement inlet tubing hole may be required: previously drilled in the wall plate or header. -
Page 4: V600W Vacusweep® Inlet Valve Installation
V600W VACUSWEEP® INLET VALVE INSTALLATION CONNECTION FROM BELOW Measure distance (X) between the kickplate ABINET (X) + (2¾”) DOOR face and the inside edge of the cabinet. EFERENCE ABINET Then add 2¾” to the measured distance. Refer to figure . Measure out the new 2¾”... -
Page 5: Connection From Behind
V600W VACUSWEEP® INLET VALVE INSTALLATION ( CONT CONNECTION FROM BEHIND Choose a location under the cabinet for the V600W ABINET (X) + (2¾”) DOOR VacuSweep inlet valve so that it can be connected EFERENCE ABINET to the central vacuum tube. Measure distance (X) 2¾”... -
Page 6: Connection In A Wall
V600W VACUSWEEP® INLET VALVE INSTALLATION ( CONT CONNECTION IN A WALL Remove the baseboard and locate studs in the wall where V600W VacuSweep inlet valve will be installed. Locate a position where the inlet will be clear of vertical studs and have free access either up or down dependent on location of central vacuum connection to the EMOVE... -
Page 7: Power Unit Installation
(e.g.: with door louvers). AD0078 CHANGING INTAKE LINE DIRECTION 500VF only: Put back 500VF ONLY APER RING in place the bag by grasping the edges of The intake line connects to the right side of the unit. However, its collar and insert it is possible to change this configuration;... -
Page 8: Mounting The Power Unit
Hang power unit onto wall mounting bracket. Ensure the back brackets of the power unit are engaged with corresponding wall bracket fingers (or top fingers and lower tab for 500VF model; see figure below). Pull the power unit down to secure. 600VF AND 650VF 18”... -
Page 9: Fitting Main Line To Poweru
POWER UNIT INSTALLATION GROUNDING INSTRUCTIONS CONT FITTING MAIN LINE TO POWER UNIT WARNING Improper connection of the equipment-grounding Run house vacuum line up to the elbow behind the power conductor can result in a risk of electric shock. unit. Insert the end of the line in the elbow opening and secure house vacuum line by hand tightening the screw Check with a qualified electrician or service person and nut provided (see illustration below) DO NOT GLUE. -
Page 10: Operation And Maintenance
Then, carefully remove it * Only 500VF unit is equipped with a disposable bag (391C). from the unit. AD0084 HOW TO EMPTY DEBRIS PAIL (600VF AND 650VF POWER UNITS ONLY) ... -
Page 11: Installation Of Hepa Fower Unit Only )
This filter should be checked and cleaned This HEPA filter should be replaced every 5 years. Proceed as if necessary when replacement bag is installed (500VF unit follow: only), or when permanent filter is removed (600VF and 650VF ... - Page 12 TROUBLESHOOTING GUIDE ROBLEMS OSSIBLE CAUSES OSSIBLE REMEDY 1. Loss or decrease of • Debris pail or disposable bag is completely full. • Change the disposable bag or empty debris pail suction occurs. as described on page 10. • Replace the debris pail gasket. •...
-
Page 13: Service Parts
Any third party replacement part used may cause serious damage and drastically reduce the performance level of your unit, which will result in premature failing. Venmar Ventilation also recommends to contact a Venmar Ventilation certified service depot for all replacement parts and repairs. AL0012 500VF... -
Page 14: Warranty
Venmar Ventilation warrants to the original consumer purchaser that its central vacuum power unit will be free from defects in materials and workmanship for five (5) years for 500VF units, eight (8) years for 600VF units and ten (10) years for 650VF units. The first year of this warranty covers the parts and labor in an authorized service center.
Need help?
Do you have a question about the 500VF and is the answer not in the manual?
Questions and answers