Subscribe to Our Youtube Channel
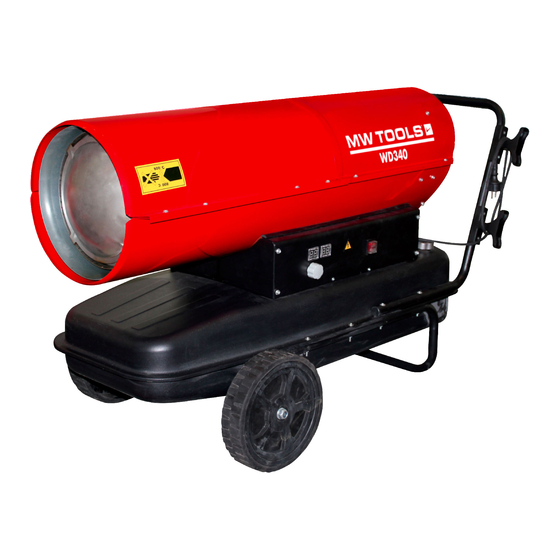
Summary of Contents for MW TOOLS WD340
- Page 1 M1.0.WD340.EN Instruction Manual Diesel/Kerosene Heater WD340 Please read and keep for future reference...
- Page 2 M1.0.WD340.EN Introduction Thank you for choosing a MW-TOOLS product. Read this manual carefully before using the unit and save it for future reference. Disclaimer MW-TOOLS reserves the right to make alterations to specifications, quantities, dimensions etc. for production or other reasons, subsequent to publication.
-
Page 3: General Safety Rules
M1.0.WD340.EN General Safety Rules READ INSTRUCTIONS CAREFULLY. READ AND FOLLOW ALL INSTRUCTIONS. PLACE INSTRUCTIONS IN A SAFE PLACE FOR FUTURE REFERENCE. DO NOT ALLOW ANYONE WHO HAS NOT READ THESE INSTRUCTIONS TO ASSEMBLE, LIGHT, ADJUST OR OPERATE THE HEATER. IF THE INFORMATION IN THIS MANUAL IS NOT FOLLOWED EXACTLY, A FIRE OR EXPLOSION MAY RESULT CAUSING PROPERTY DAMAGE, PERSONAL INJURY OR LOSS OF LIFE. -
Page 4: Product Description
M1.0.WD340.EN 2. Product Description • Diesel or Kerosene direct-fired mobile/portable space heater with open combustion chamber and indirect fired mobile/portable space heater with close combustion chamber 3. Technical Specifications BGO-100A-16-F Model Heat Input* [kW] [Hrs] Air Flow Rating 1300 [m³/h]... -
Page 5: Installation Instructions
M1.0.WD340.EN 1、Insert the wheel shaft J to the corresponding hole of feet pipe E,insert the cotter K to the corresponding holes; slide the plain washer I over the wheel shaft J put the wheel H to the two sides of shaft,,screw the nut G to fix the wheel on the shaft. -
Page 6: Cleaning, Maintenance And Storage
The fuel gauge on top of the tank allows to check fuel level Connect the power cord plug to a AC220V-240V 50 Hz earthed electrical supply system. Earthing is mandatory. Models WD340: When complete “start-up” above, the left display window shows “--”, the right display window shows ambient temperature value. - Page 7 M1.0.WD340.EN Before storing the heater, make sure it is perfectly cool and dry. Cover the unit with a plastic bag, put it in its packing box and store it in a dry, ventilated place. Before starting any maintenance task, shut down, unplug and let the heater cool down for at least 15 minutes.
- Page 8 M1.0.WD340.EN Carefully unscrew nozzle from nozzle fitting. Blow compressed air through nozzle orifice to free it from dirt. Replace nozzle if necessary. Ignition Electrodes Clean, adjust and if necessary replace ignition electrode. For electrode gaps see Fig. 4-5 (dimensions in mm).
-
Page 9: Wiring Diagram
M1.0.WD340.EN HIGH ALTITUDE ISTALLATION: Due to lower oxygen rate with reference to high altitude installation on sea level, it may be necessary to increase air rate by opening the air collar (Fig. 7), or to reduce the setting pressure on fuel pump (Fig. 6). This setting adjustment can be necessary to prevent excessive smoke emission due to lack of Oxygen. - Page 10 M1.0.WD340.EN Faulty or damaged power cord Check and replace if needed E1 displayed on the screen Faulty motor/capacitor Check and if necessary replace Lock-out of appliance due to previous Detect the cause of overheating overheating Shut the appliance down Check air inlet and outlet...


Need help?
Do you have a question about the WD340 and is the answer not in the manual?
Questions and answers