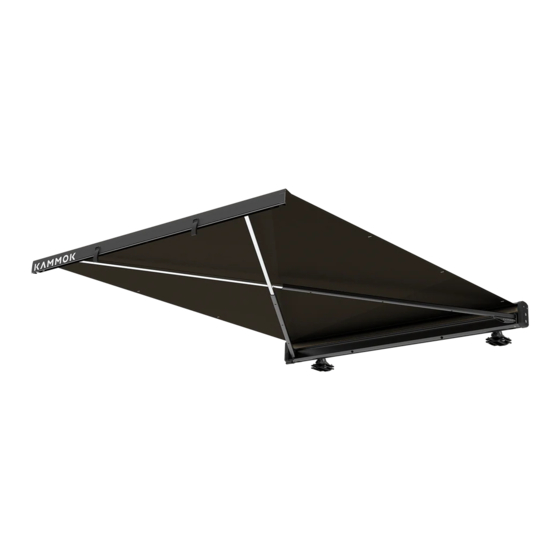
Advertisement
Quick Links
Crosswing
Car Awning
Table of Contents
Parts Included & What You'll Need.............................................................................................Page 2
Crosswing Setup Instructions....................................................................................................Page 3
Crosswing Operating Instructions.............................................................................................Page 6
Adjusting the Awning's Tension.................................................................................................Page 9
Replace the Awning's Fabric....................................................................................................Page 11
Special Circumstances....................................................................................................Found Online
Your Crosswing is carefully designed to be serviceable. Details Found
on our website at kammok.com/crosswing-instructions.
1. In rare instances, you may need to add more tension to your
Crosswing. Please reference the "Adjusting The Crosswing's Tension"
section in the online instructions.
Designed in Austin, Texas | Made in China
2. The fabric on your Crosswing Awning is replaceable if damaged or
for future customization. Please reference the "Replacing The
Crosswing's Fabric" section in the online instructions.
3. For replacement parts due to damage or malfunction, please contact
our Customer Support Team at +1 512-399-1418.
User Manual
1.0
Advertisement

Summary of Contents for Kammok Crosswing
- Page 1 Replace the Awning’s Fabric....................Page 11 Special Circumstances....................Found Online Your Crosswing is carefully designed to be serviceable. Details Found 2. The fabric on your Crosswing Awning is replaceable if damaged or on our website at kammok.com/crosswing-instructions. for future customization. Please reference the "Replacing The Crosswing's Fabric"...
- Page 2 Crosswing Setup Instructions Page 2 Parts Included Crosswing Awning Mounting Clamping Bracket Plates Carriage 5/8 in Flat Head Bolts x 8 Bolts x 8 Bolts x 4 1 5/8 in Bolts with Nylon Lock Captive Lock Washers x 4 Nuts x 12...
- Page 3 � Pinch hazard! Keep body parts clear of moving parts during opening and � Do not pull down on or hang from the awning. closing of awning. � Do not hang any non-Kammok approved items from awning. T-Slotted Roof Racks Cross Bars without T-Slots Trim rubber pad at indents.
- Page 4 Pre-thread two T-slot nuts onto each Awning Slip the T-slot nuts (with Awning Mounting Bracket in Mounting Bracket using two ⅝” bolts, do not tighten. tow) into the T-slots located on the back of the Crosswing Awning using the cutaways at each end.
- Page 5 Tighten both 1 ⅝” bolts on each Angle Adjust Bracket. If the Crosswing is not at the desired position: slightly loosen the four ⅝” bolts holding the Crosswing to the Awning Mounting Brackets. Slide the Crosswing into the desired position along the length of the vehicle.
- Page 6 Do not let go of straps until awning is securely locked in position. There are three points where the Crosswing will lock into place (located at 3’, 4’11”, and 6’6”). You will hear two clicks sounding together at each point.
- Page 7 Page 7 WARNING: Pinch hazard, be careful not to place body parts in path of moving parts. How To Close the Crosswing Place the Control Lever into the unlocked (straight down) position. Grab the two safety straps/pull loops. Pull the awning Without releasing the pull loops, slowly guide the awning out 2”-3”, which will disengage the spring pins.
- Page 8 Special Circumstances Page 8 Special Circumstances Adjusting the Awning’s Tension....................Page 9 Replace the Awning’s Fabric....................Page 11...
- Page 9 High spring tension, do not allow socket wrench or tension adjust hex to spin freely once engaged. Adjusting the Crosswing’s Tension The spring tension should only be increased if the Crosswing is failing to retract easily or you are replacing the fabric, described later in these instructions. Fully open the Crosswing and leave the Control Lever Remove the two Philips head screws holding the in the unlocked position.
- Page 10 (the Tension Adjust hex will push back out and sit into its resting position). Test the new spring tension by closing and opening the Crosswing. Replace Tension Adjust Cover and screws. If less tension is desired, repeat from step 3.
- Page 11 Crosswing Fabric Replacement Page 11 Replacing the Crosswing’s Fabric This is not a regular function and should only be replaced under specific circumstances. Pull the awning out to its fully deployed position. Allow the socket wrench to turn counterclockwise Follow steps 7-9 in the previous section (Page 10) to until all spring tension has been removed from the remove all tension from the spring assembly.
- Page 12 With both ends of the fabric reattached, follow the Crosswing Tension Adjust instructions for increasing tension on Page 9, starting at Step 3. On Page 9, Step 4 of the Crosswing Tension Adjust Instructions, make 35 turns clockwise, then follow the remaining steps to complete the tensioning process.
Need help?
Do you have a question about the Crosswing and is the answer not in the manual?
Questions and answers