Advertisement
CONSTRUCTION CAMERA - BCC200

BCC200 - Installation
STEP 1.
Insert an SD Card and switch on the Time Lapse Camera power.

STEP 2.
Insert the Time Lapse Camera into the Weather Resistant Housing, confirming the waterproof seal is aligned correctly.

 Keep the inside of the Weather Resistant Housing dry before inserting the Time Lapse Camera.
STEP 3.
Please make sure the Time Lapse Camera lens is positioned correctly to fit into the transparent lens (Housing).


Close the Weather Resistant Housing door and latch the buckles (Top and bottom).

STEP 4.
Start Recording
- Set up screen
![]()
- The LCD will display the set up screen.
- Set the Time Interval and AVI frame rate.
- Suggestion
Depending on big or small construction project, we suggest below setting:
![warning]() For more than 80 days using, please choose Energizer® Ultimate Lithium AA Batteries.
For more than 80 days using, please choose Energizer® Ultimate Lithium AA Batteries.
Please find TLC200 Pro user manual for more detail of setting. - Preview screen
- Press OK to proceed to the Preview Screen, frame your subject.
![]()
- Press OK to proceed to the Preview Screen, frame your subject.
- Press OK again to start the recording process.


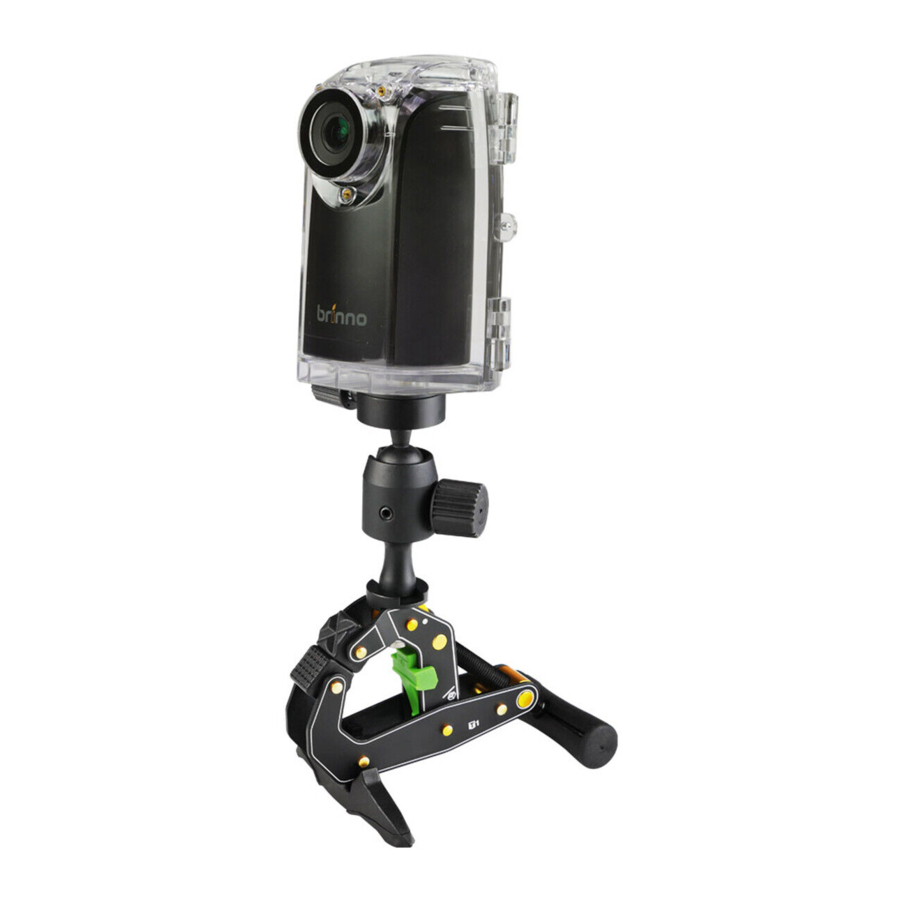
STEP 5. Installation
- (TLC200 pro+Camera Holder)
![]()
- (TLC200 pro+Rubber Strap)
![]()


STEP 6. Finish

While recording, hold the "OK" button until the LCD light turns on and shows the text "Processing", it means the camera is processing file closing. When completed the processing it will display the text "Ready" This indicates the recording session is complete.
Remove the SD card from the camera, and insert it into your computer or laptop to enjoy your amazing Time Lapse Videos!
4F, No.107, Zhou Zi St., Taipei City11493, Taiwan
Phone: +886-2-8751-0306
Fax: +886-2-8751-0549 customerservice@brinno.com
www.brinno.com
Made in Taiwan

Documents / Resources
References
Download manual
Here you can download full pdf version of manual, it may contain additional safety instructions, warranty information, FCC rules, etc.
Download Brino BCC200 - TimeLapse Construction Camera Pro Quick Start Guide
Advertisement
Need help?
Do you have a question about the BCC200 and is the answer not in the manual?
Questions and answers