Advertisement
Quick Links
Advertisement

Summary of Contents for Altius ATSDB-SCA22
- Page 1 SmArT DOOrBELL ATSDB-SCA22 USEr mAnUAL...
-
Page 2: Welcome
WELCOmE We hope you enjoy your purchase! ALTIUS products are carefully designed and produced to the highest standards of performance and safety, backed by our comprehensive 1 Year Warranty. This user manual will provide all the information required for you to setup and use your new product. -
Page 3: Table Of Contents
COnTEnTS Welcome General Safety Warnings Product Overview Operation Settings Troubleshooting Specifications Compliance and Responsible Disposal... -
Page 4: General Safety Warnings
GEnErAL SAfETy WArninGS This product complies with Australian Safety Standard AS/NZS 62368.1 to ensure the safety of the product. imPOrTAnT Location Location: Make sure the location for the product is well ventilated, and away from damp and cold, protected from overheating and away from direct sunlight, away from moisture drips or splashes and protected from excessive dust or grease. - Page 5 Children: Supervise young children to ensure they do not play with the product. This product is not a toy, please keep out of reach of children. Ensure the doorbell is securely mounted to avoid theft. Avoid direct exposure to sunlight and rain. Cleaning and Maintenance Unplug or turn off the product before cleaning it.
- Page 6 The chime is not intended for use by persons (including children) with reduced physical, sensory or mental capabilities, or lack of experience and knowledge, unless they have been given supervision or instruction by a person responsible for their safety. Young children should be supervised to ensure they do not play with the Doorbell or chime.
- Page 7 DO NOT expose the battery to fire or temperatures greater than 60°C. Do not place the battery next to areas which may become hot. Examples include, but are not limited to, on or near a heater, cooking surfaces, cooking appliances or fireplace. DO NOT place the battery pack in a pocket, bag, or other receptacle containing metal objects, such as keys, jewelery, or tools.
-
Page 8: Product Overview
PrODUCT OvErviEW What’s in the box: A. Smart Doorbell B. Indoor Chime C. Micro USB Cable D. Rechargeable Lithium Batteries (2) E. User Manual F. Warranty Card G. Installation Kit... -
Page 9: Operation
OPErATiOn firST TimE USE Take out the supplied lithium rechargeable batteries, remove the protection sheet on the batteries and insert according to the polarity markings (+/-) inside the battery compartment on the back of the product. Ensure the batteries are correctly aligned and properly pushed into place. - Page 10 TUyA SmArT APP Search for the Tuya Smart app in the app store to download, or scan the QR code below. Note: your mobile phone must support Android OS 5.0 or IOS 10.0 or above. You must also be connected to a mobile network or Wi-Fi connection.
- Page 11 COnnECT DOOrBELL TO APP Tap on the “+” icon or “Add Device”. Select “Security & Sensors” from the categories. Select “Smart Camera”. After inserting the batteries as described on page 9, you will hear a notification indicating that the doorbell is now ready to begin pairing. The LED light will flash blue.
- Page 12 Tap “Continue”, then use the doorbell the scan the QR code that will appear on the screen. After you hear a sound, tap “I heard a prompt”. Once the doorbell has connected to Wi-Fi, tap “Done”. Setup is now complete and your doorbell is now connected to the app.
- Page 14 Resolution: tap to change between SD and HD resolution Battery % indicator Turn microphone on/off Screenshot current video (requires micro SD card (not included) inserted into the doorbell) Full screen display Gallery: view captured screenshot (requires micro SD card (not included) inserted into the doorbell) Playback saved files on your micro SD card Press to talk...
- Page 15 COnnECTinG THE DOOrBELL TO CHimE First, ensure the doorbell is connected to your phone. Plug in the chime to a power source. Press the Tune button on the chime, there are many different tunes built-in. Press and hold the volume control button until the LED indicator lights up blue.
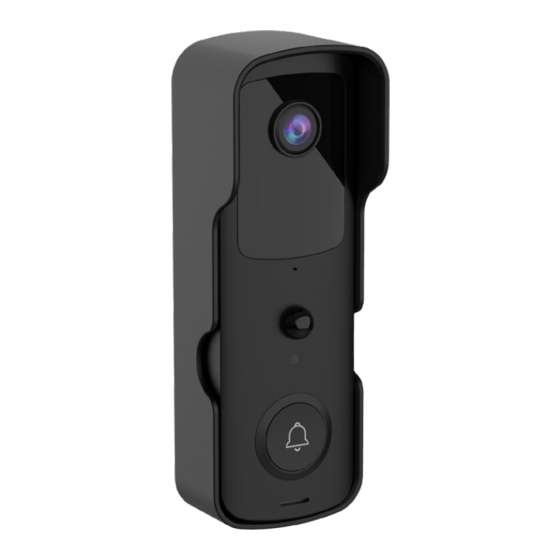
- Page 16 Front Back Lens Speaker Microphone Reset button LED Indicator Micro USB charging port light Micro SD card slot Motion sensor Battery compartment Call button Security screw hole Indicator Tune Volume control Front Side...
- Page 17 inSTALLATiOn KiT A. Allen key B. Mansory plugs (5) C. Wall Mount screws (5) D. Case screws (2) inSTALLATiOn Tools required: to complete the installation you will need: A. Pencil B. Philips Head Screwdriver C. Power Drill D. Hammer WARNING: Mount the doorbell as far away from any water source and direct sunlight.
- Page 18 Hold the back plate against the wall and align the holes in the plate to the holes drilled into the wall. Screw the back plate to the wall with the wall mount screws (C) and then tighten the screws. Slide the doorbell into the back plate. You will hear a click sound indicating it is securely locked in.
-
Page 19: Settings
SETTinGS Device View device ID, IP address etc. Information Tap to Run and To turn on smart scenes and run Automation automations Purchase VAS Purchase Value added service such as cloud storage FAQ & Check FAQ (frequently asked questions) Feedback &... -
Page 20: Troubleshooting
TrOUBLESHOOTinG PrOBLEm SOLUTiOn • Ensure doorbell is on (light indicator should be on). • Disable firewalls on all devices. Doorbell cannot • Remove the app and connect to app re-install. • Reset the doorbell using the reset button and reconnect to the app. •... - Page 21 PrOBLEm SOLUTiOn • Ensure doorbell is plugged in to a power source. • Other electronic products may cause interference with your smart security doorbell. Try installing your smart security No video doorbell as far away from and/or light these electronic devices as indicator is off possible: wireless routers, radios, mobile phones,...
-
Page 22: Specifications
SPECifiCATiOnS Resolution 1920 x 1080 Viewing angle 155° Night visual range Up to 5m Micro SD card Up to 128GB Chime Input: AC 230V-240V, 50Hz Dimensions 80 x 80 x 116 mm (W x D x H) For Technical and Warranty Support 1300 886 649 tempo.org/support Distributed by Tempo (Aust) Pty Ltd,... -
Page 23: Compliance And Responsible Disposal
COmPLiAnCE AnD rESPOnSiBLE DiSPOSAL Packaging The packaging of your product has been selected from environmentally friendly materials and can usually be recycled. Please ensure these are disposed of correctly. Plastic wrapping can be a suffocation hazard for babies and young children, please ensure all packaging materials are out of reach and are safely disposed of. - Page 24 CUSTOmEr HELPLinE AU: 1300 886 649 TEmPO.OrG/SUPPOrT DiSTriBUTED By: TEmPO (AUST) PTy LTD, PO BOx 132, frEnCHS fOrEST nSW 1640...
Need help?
Do you have a question about the ATSDB-SCA22 and is the answer not in the manual?
Questions and answers